Photographing fast moving sports with a DSLR is one of the most exciting (and sometimes, challenging) ways to step up your photography skills. Whether you’re hoping to freeze the action at a soccer match or get crisp shots of a dirt bike race, knowing your camera, your gear, and a few clever tricks can really help you nail those perfect moments. Add in indoor events or night lighting and you’re in a whole new ball game of challenges again! This is my main area of interest and I’ve spent plenty of time on the sidelines, learning the ropes through both successes and complete misses, so I’ll walk you through the best ways to approach sports photography to help you get sharp, dramatic images you’ll be stoked to show off.
Why Sports Photography with a DSLR is Worth Your Time
Shooting fast paced sports isn’t just pushing a button and seeing what happens. It requires anticipation, quick reflexes, and knowing how to make the most of your DSLR’s features (plus a pretty solid knowledge of the sport in front of you so that you can accurately predict where your subject will be half a second from now). A DSLR is pretty handy here because it gives you manual control, fast autofocus, and the ability to swap lenses to fit your needs.
As an Amazon Associate I earn from qualifying purchases.
DSLR cameras have really found a home in the sports photography world because they’re built to keep up with movement. The surge in mirrorless cameras has been huge, but DSLRs are still a favourite because of their reliable battery life and tough build. This is super useful for spending hours out at the field or track. Plus, when it comes to sports you often don’t have a lot of time to think before missing the perfect shot that may not come around again so working with familiar equipment in this capacity means faster adjustments and fewer missed images.
Sports photography has a long legacy, especially in documenting big events and capturing onetime plays. Camera tech keeps getting better, so learning how to dial in your settings for sports is a smart way to get results that look pro, even if you’re just starting out.
Plus, picking up sports photography skills can help you out in lots of other photography genres. When you can handle fast action and changing lighting, you’ll be better prepared for all sorts of unpredictable scenarios, including wildlife, concerts, or candid events where moments come and go in a flash.
As much fun as it is to play mirrorless I’ll be keeping my DSLR as a primary camera and lens setup for the foreseeable future! Check out the differences between mirrorless and DSLR in our other post if you’re interested in learning more.

Getting Ready: What You Need for Fast Action Sports Photography
Getting geared up for shooting sports isn’t just about having an expensive camera. It’s about mixing smart gear choices with a basic understanding of your setup. Here are pieces I always have ready when I’m heading to shoot a fastmoving event:
- DSLR camera body: Any recent model will work, but choosing one with a good frame rate (frames per second, or FPS) helps you catch more moments. Quick Tip: Make sure the memory card isn’t slowing you down either – something with quick write speed is important or it won’t matter how fast your camera can shoot – you’ll be stalled and stuck waiting until the card can store it anyways.
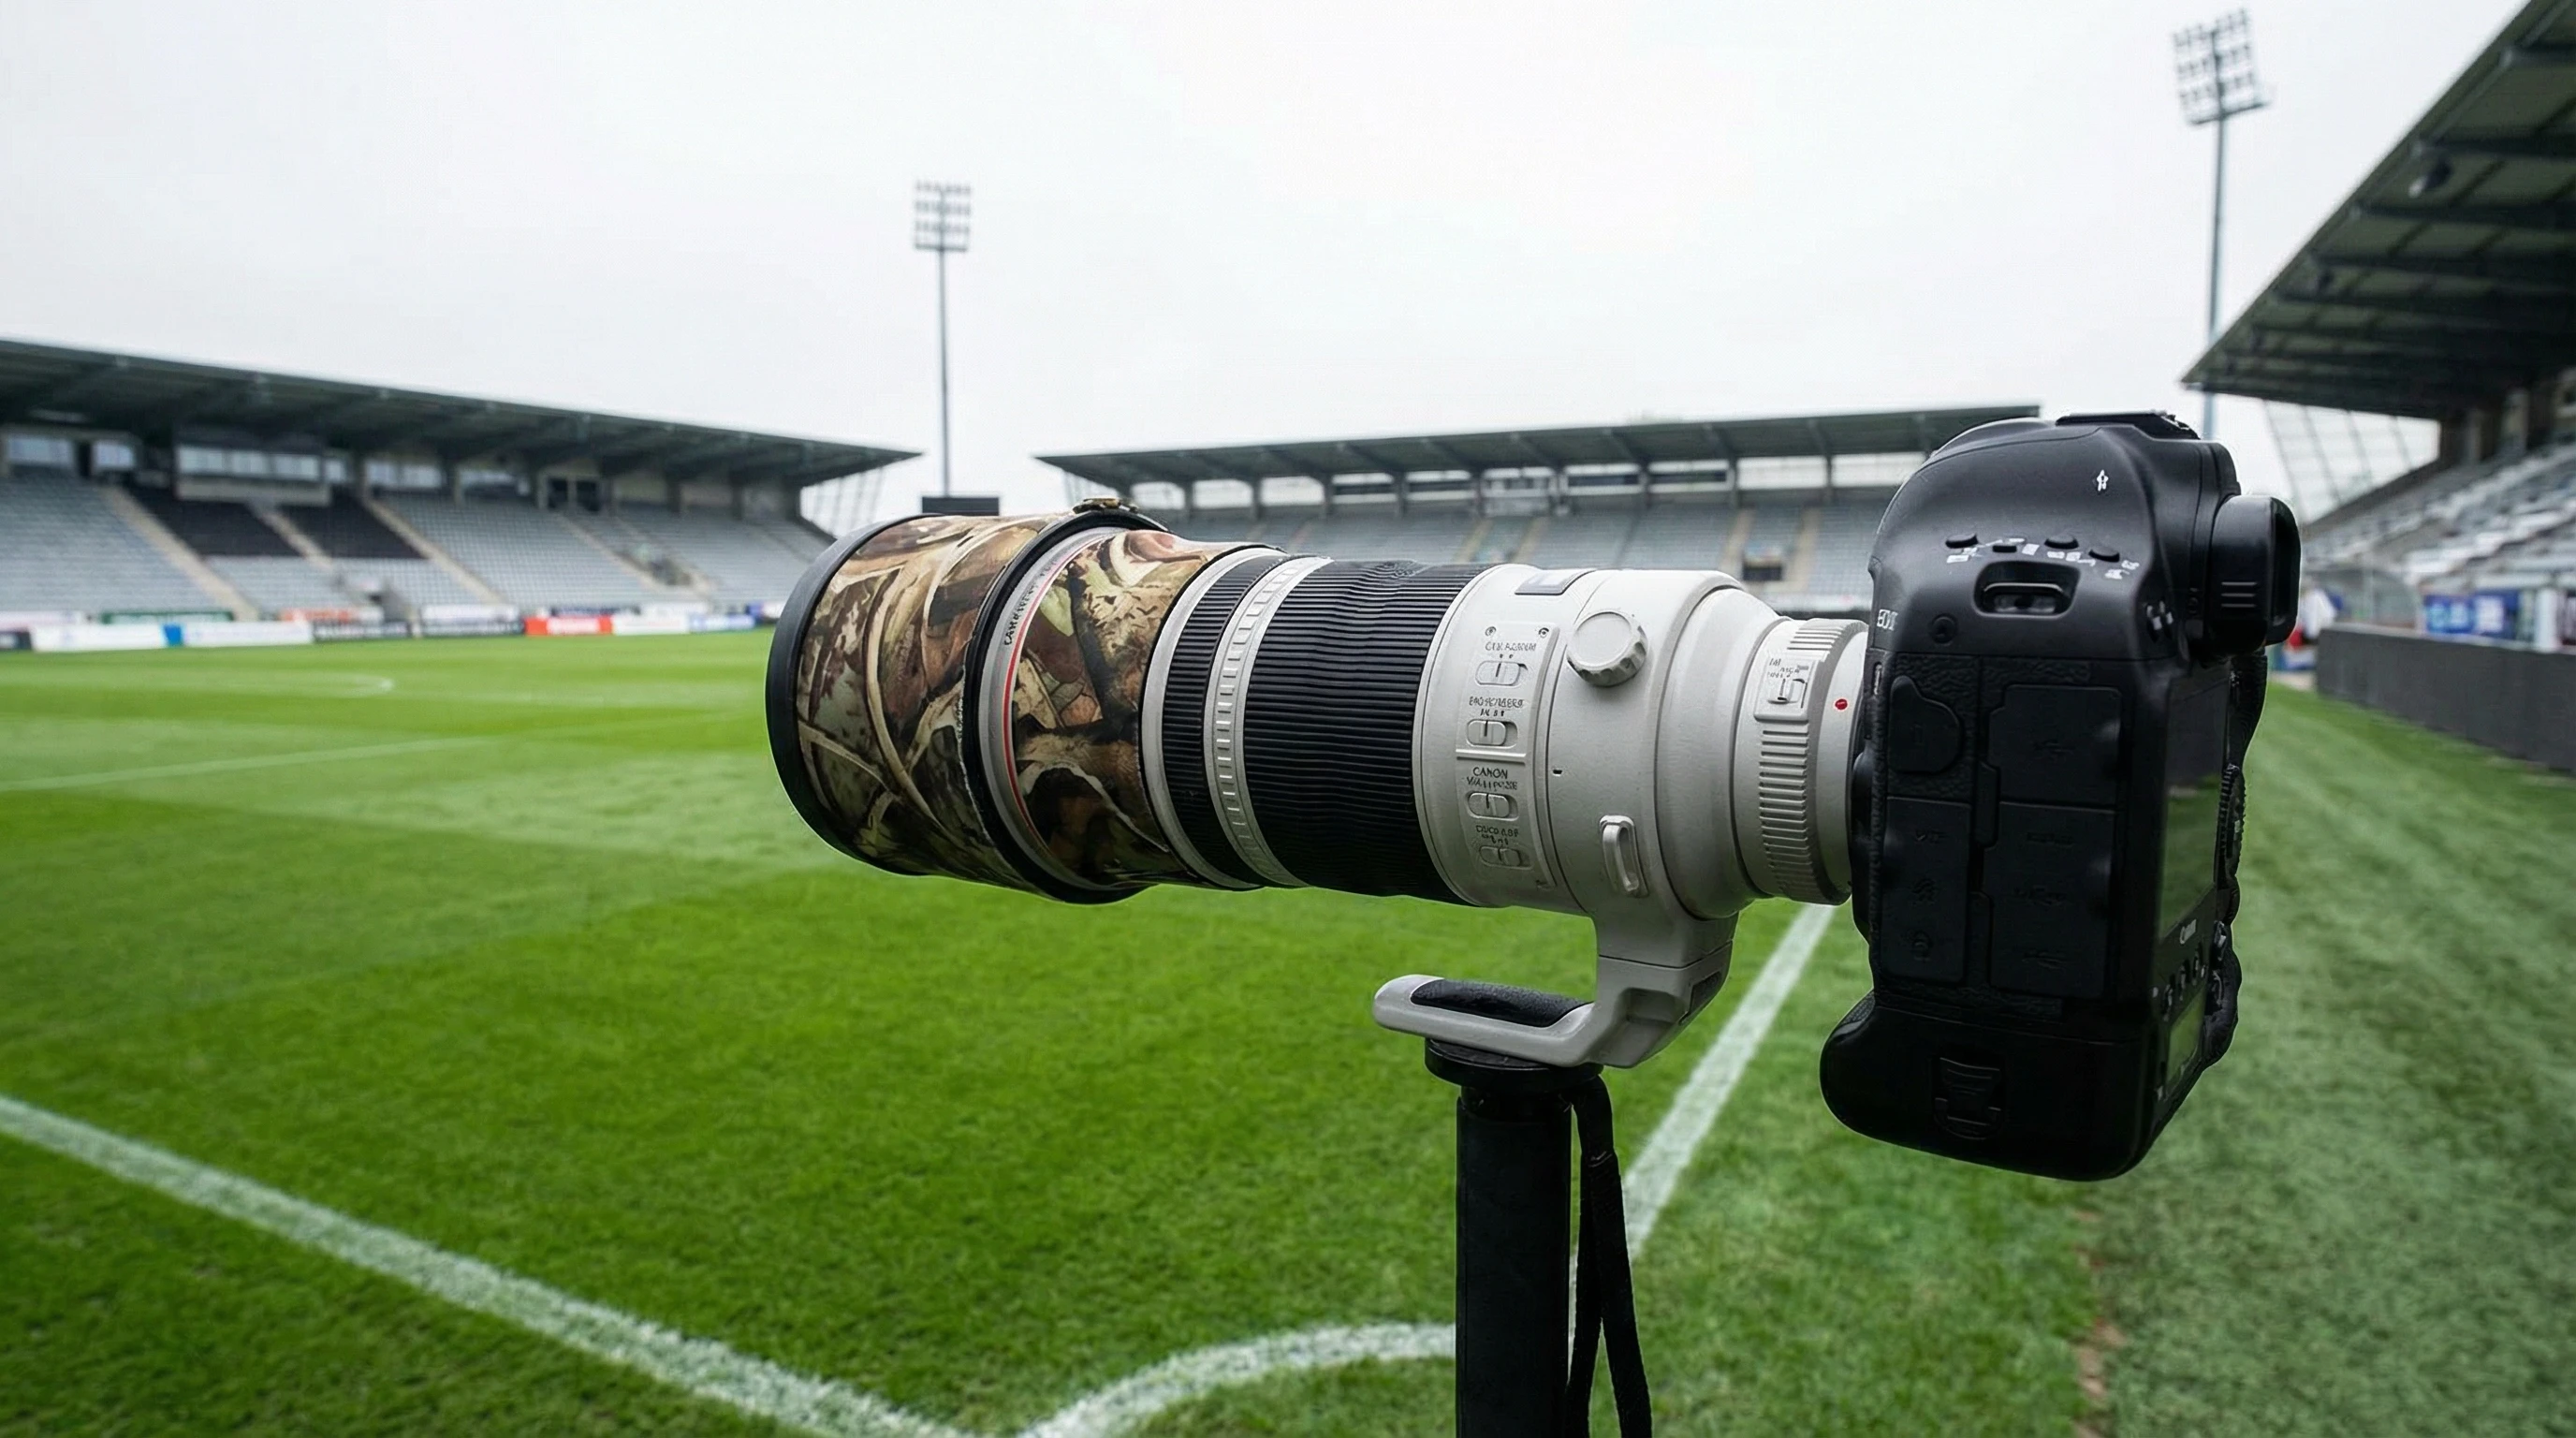
- Telephoto lens: A lens in the 70-200mm or 100-400mm range is really useful for sports, since you’ll often be far from the action. Fast lenses with wide apertures (like f/2.8 or f/4) gather more light and focus faster. They can get expensive though so you may have to compromise a bit on one end. You can probably get away with f/4 if mostly shooting in daylight, and I have certainly used it indoors too but it definitely requires more skillset and preparation, allowing a lot less room for error than an f/2.8 would…but for a few thousand difference in cost sometimes it’s worth just upping your skill game for a while first and upgrading the lens later. I tend to go with a Nikon Z 70-200mm f/2.8 as my ideal, with a second 400mm f/4.5 for shots farther away as I find at least semi-affordable quality better without the zoom range as the subject gets farther away and if your focus and lighting is on point you can always crop in later while still maintaining incredible quality.
- Extra batteries and memory cards: Sports events can last a while, and you’ll shoot a ton of images. It’s always a drag to miss the winning goal because of a dead battery or full SD card.
I always like to arrive with at least 3 fully charges batteries – one in camera and two backups. I find having the dual battery charger helps a lot so I can plug my single plus it in and have all 3 batteries ready to go again quickly for the next shoot. ***Make sure you choose a battery compatible with your specific make and model of camera as many are shaped roughly the same while not necessarily actually being identical***
I’ve discussed memory cards in many places here but for good reason – enough space to shoot RAW + JPEG fine and enough speed that I don’t miss the perfect frames in quick succession are my requirements. I tend to default to SanDisk Extreme Pro and Lexar Professional just because they’re affordable and I’ve had good luck with them in the past but really any 128-256GB+ card with a write speed of at least 200MB/S is the bare minimum I would consider. 2TB cards are available these days but I often go for multiple cards a bit smaller so if the card ever breaks it’s not a total loss of my entire memory card investments. These days a lot better and fast is out there too, but you’re going to pay for it. If it’s possible to have one spectacular card you start out with and then a couple 200-260MB/S as your back ups thats not a bad plan that ensures at least for the bulk of the shoot you won’t be worried about the memory card holding you up. - Monopod: Balancing a long, heavy lens for an entire game can wear you down fast and the weight distribution isn’t right for just a standard tripod alone without adapters. A monopod keeps your lens gear steady and your arms from getting tired. I spent years without this and did okay, but it is helpful for both your body and the shot -no matter how steady the hand if you’re still breathing it’s still got some motion and when you’re working with a fast subject in low light stability can be a make or break difference.
- Lens cloth or cleaning kit: Dust, moisture, or stray fingerprints can pop up anytime at sporting events. A quick wipe can rescue an otherwise great shot. Just be careful what you use – a gentle wipe with a good microfibre cloth is the only thing that will touch my lens without some research into whether a spray is compatible with the particular glass I’m looking to clean or not.
These basics let me focus on the action, without having to stress about my kit letting me down at the crucial moment.

Essential Camera Settings for Freezing Sports Action
Nailing those sharp, dramatic shots of runners or players comes down to knowing which camera settings to use. I’m always adjusting these three things, depending on the light and how fast the action is moving:
- Shutter speed: The faster, the better! For most sports, I start at 1/1000 sec or quicker. That’s usually enough to freeze movement, even if someone’s sprinting at top speed. Sometimes in low light you have to make compromises but for the average outdoor or well lit sport 1/1000 is no problem.
- Continuous autofocus (AI Servo/AFC): This keeps your focus locked onto a moving subject. Single shot focus just doesn’t keep up when things move unpredictably.
- Burst/continuous shooting mode: This setting lets the camera take several shots with one press. Super useful for catching a sequence of action, like a basketball player jumping for a dunk. Personally, I rarely use burst mode once I know my subject and can predict the timing I want but will shoot quickly in sequence still to get a few frames of a jump/kick/canter stride/whatever.
- Auto ISO: Light conditions change nonstop in sports. Letting the camera control ISO helps avoid dark or grainy images while you focus on shutter speed and aperture. This tends to work well in good lighting – as with everything else it seems you need to up your manual skill game when conditions are suboptimal.
- RAW format: Shooting in RAW gives you more room to fix exposure or colour later in editing, especially if lighting is all over the place. RAW + JPEG fine is even better because it also gives you a polished version to look at without compromising your ability to perfect the original later.
Getting comfortable with these basics means your chances of missing the action go way down, and your images will look way more polished even straight out of the camera.
Another setting worth mentioning is image stabilization, found in some lenses and camera bodies. It won’t help freeze action, but it can reduce blur from camera shake, especially useful when tracking subjects at long focal lengths. Better yet, use a tripod.monopod combination that stabilizes and supports both your camera and lens.
QuickStart Steps for Photographing Fast Moving Sports
Even with the perfect camera settings, good sports photos are about more than just gear. Here’s how I like to approach a shoot for the best results:
- Scout your location: Check lighting, background clutter, and where the most action will happen. Plan where you’ll stand ahead of time. Another major thing to factor in is the background – try to find somewhere that is won’t be crazy busy and distracting behind your subject. Even blurred out with depth of field I personally find action shots look best when I still have enough detail in the background to know where the subject was without it totally taking away from the focus of the image.
- Set up your camera and lens: Mount your lens on a monopod if you’ve got one, and get your settings dialed in (shutter speed first, then aperture and ISO).
- Focus on what’s important: Track the ball, the finish line, or the main subject. Don’t just shoot random players. Following the action makes your images tell a clear story. I like to track the main subject – the ball is a bonus if its involved but having my subjects face in focus along with whatever they’re primarily moving (arms or legs depending on sport) is important to me.
- Shoot in bursts, not just singles: Action changes in a split second. A single shot might catch a weird face or half the story, but burst mode helps you choose the frame with the most impact. This doesn’t have to mean you use actual burst mode, manually shooting in quick succession is actually my preference most of the time.
- Review and adjust: Take a quick peek at your shots during breaks. Check sharpness and exposure, and tweak your settings if needed.
Breaking down your approach keeps things manageable, even when the adrenaline is high.
Things Worth Considering Before Your First Sports Shoot
Shooting sports is fun, but there are some challenges most folks run into the first few times out. Here are some of the hangups I’ve seen and how to work around them:
- Access and permissions: Some venues or events have rules about where photographers can stand (or if you can shoot there at all). It’s smart to ask beforehand or check with organizers so you’re not stuck on the sidelines, literally.
- Lighting headaches: Indoor arenas, cloudy days, or harsh sun can make getting bright, sharp images tricky. Fast lenses and Auto ISO help here, but you might have to make peace with some grain or bring a flash for indoor shots, if allowed. Keeping in mind the location of light too – if there are large windows its ideal that they brightest light is coming from behind you instead of the subject unless you’re specifically looking for unique shots with less detail.
- Focusing chaos: Lots of fast movement in one frame can fool your autofocus system. Practice choosing the right AF point and don’t be afraid to switch to manual focus for predictable moments, like the finish line shot.
- Weather problems: Shooting in the rain or dust can give your kit a hard time and make things uncomfortable. I keep a rain cover or plastic bag handy for my camera, and a micro fiber cloth for wiping the lens.
One more thing: If you’re new to shooting sports, try practicing at local youth games or pickup matches in the park. These settings offer great opportunities to hone your skills without the pressure of big crowds or strict rules, just make sure to get the OK from coaches and parents first – offering the photos up for free to parents that were okay with their child being photographed can go a long way and looks much less sketchy than just sneaking in and taking shots at random.
Quick Tips for Keeping Gear Safe
Weather and rough conditions can be tough on your equipment. I use a camera rain cover for wet days, and a light towel for super dusty or sandy conditions. Cleaning gear right after a shoot makes a huge difference, especially if you’re often at outdoor events. Remember to store your gear somewhere dry between shoots to prevent any mold or damage from moisture buildup.

Leveling Up: Advanced Sports Photography Tips
Once the basics feel automatic, there are a few things I find really bump up the wow factor in sports images:
Get lower or higher: Shooting from a low angle emphasizes speed and motion, while getting above the action (like from stadium stairs or a balcony) shows context and big plays. Try both and see what clicks for you. In the equestrian world in particular, I love a good shot emphasizing their speed and power from a lower standpoint looking up at an angle towards them!
Use panning for creative blur: Instead of freezing the action every time, try following the player with your camera as you shoot at a slower shutter speed (like 1/250 sec or 1/125 sec). This technique creates cool motion blur but keeps your subject sharp, a classic look for motorsports or cycling. It does take some practice and perfecting so make sure you go for some normal shots too, especially if you’re not yet confident in this technique.
Track key players or positions: Focus on athletes who are central to the game: the quarterback, the sprinter in the lead, or the goalie, for instance. Isolate them for a few seconds as you shoot, and you’ll get more memorable shots than if you just spray the whole field.
Try different focal lengths: Wide-angle shots can show the whole scene: crowds, field, and all, which adds a sense of drama and makes viewers feel like they’re in the moment. Switching up your lens from time to time keeps your portfolio fresh and interesting.
Capture emotion and reaction: Don’t just focus on the action itself. Some of the most powerful sports images come from capturing the emotional highs and lows: players celebrating a win, coaches yelling advice, or fans sweating out a close game. These shots add a layer of storytelling to your work. Sports candids are some of my favourites!
Sports Photography Gear in Real Life: What Works Best?
When deciding where to spend your money, balancing gear is key. My own mix of equipment usually looks like this:
- Telephoto zoom lens: A 70-200mm f/2.8 is a goto for many, but longer lenses (300mm, 400mm) come in handy for bigger fields.
- Wide or standard zoom: Sometimes the sideline shot or pregame warmup tells a better story than the main action, so a 24-70mm or similar zoom is super handy. Personally, I like to carry my 35mm f/1.8 and 50mm f/1.4 instead of a close range zoom since I find they’re better quality for the price and they allow me a lot more low light freedom; if i’m shooting that close anyways I can always crop in post processing if needed.
I always intend to keep a DSLR in my accessible equipment so when I eventually purchase a mirrorless too it’s nice to know that this adapter means any investments in quality glass (lenses) won’t be lost on the new camera. - Protective bag or backpack: Running between fields, you want to know your camera is safe from bumps and weather. I like a tough, padded backpack with easy access so I don’t miss a moment. A good one can last decades so make sure you account for space to put a lens or two that may be added to your collection, and also select for something comfortable for you to wear. In an ideal world a photographer has two – one larger one for bringing all gear that may be needed, and one a bit smaller for only what you’re using during that particular outing so you don’t have to lug around 100 lbs all day – good glass often isn’t light and it’s wild how much you notice that after a long day of hiking with your camera and backup lenses.
Many pro sports shooters use two cameras strapped around them, one with a long lens, one with a wide. This saves time swapping gear mid game and keeps your hands free for fast reactions. This is a fabulous setup for most but most of the time I find I can get by with just one which means I have my best quality lenses on my best quality camera body rather than having to put on on an older body.
If you’re working on a tight budget, renting a lens for a big game can be a smart option. It gives you the reach and speed you need for just a portion of the cost. Over time, as you figure out your favorite sports or shooting styles, you’ll get a better sense of which gear is worth the investment.
Frequently Asked Questions
Some common questions always come up when getting started in sports photography. Here are a few I hear most often:
Question: How do I get sharp images even when players are running fast?
Answer: Start with a shutter speed of 1/1000 sec or higher. Use continuous autofocus and burst mode to up your odds of catching that sharp frame while you’re still learning.
Question: Can I use a kit lens for sports, or do I need a fancy telephoto?
Answer: Kit lenses work for some sports, but you’ll struggle with distant or fast action. A midlevel telephoto zoom (even a used 70-300mm) opens up many more options and sharpens your results.
Question: How close should I try to get to the action?
Answer: As close as event rules let you. Sidelines, behind goals, or from the stands can all work. Familiarize yourself with where you’re allowed before each event, and move around when possible for better variety. It’s not just how close you can get, but also where the light is coming from and what backdrops are available.

Getting Out There and Improving Your Game
Sports photography takes patience, quick thinking, and a willingness to experiment with your techniques. Each event is a chance to learn something new, and you get better with each outing. The anticipation, the drama, and the unpredictability are all part of what makes this style so energizing. Shooting again at the same venue can be super rewarding as you feel like you’ve already got a good head start to great images knowing your environment ahead!
Packing the right gear, setting up your camera for fast action, and learning to read the game are all skills you’ll grow over time. There’s nothing like catching that perfect peak action shot; those are the moments that stick with you and remind you why you started shooting sports in the first place.
If you keep practicing, stay curious, and don’t mind a few missed opportunities, you’ll see your skills—and your confidence—grow game after game. Eventually, you’ll be spotting those next level cool moments before they happen and nailing shots that truly stand out.