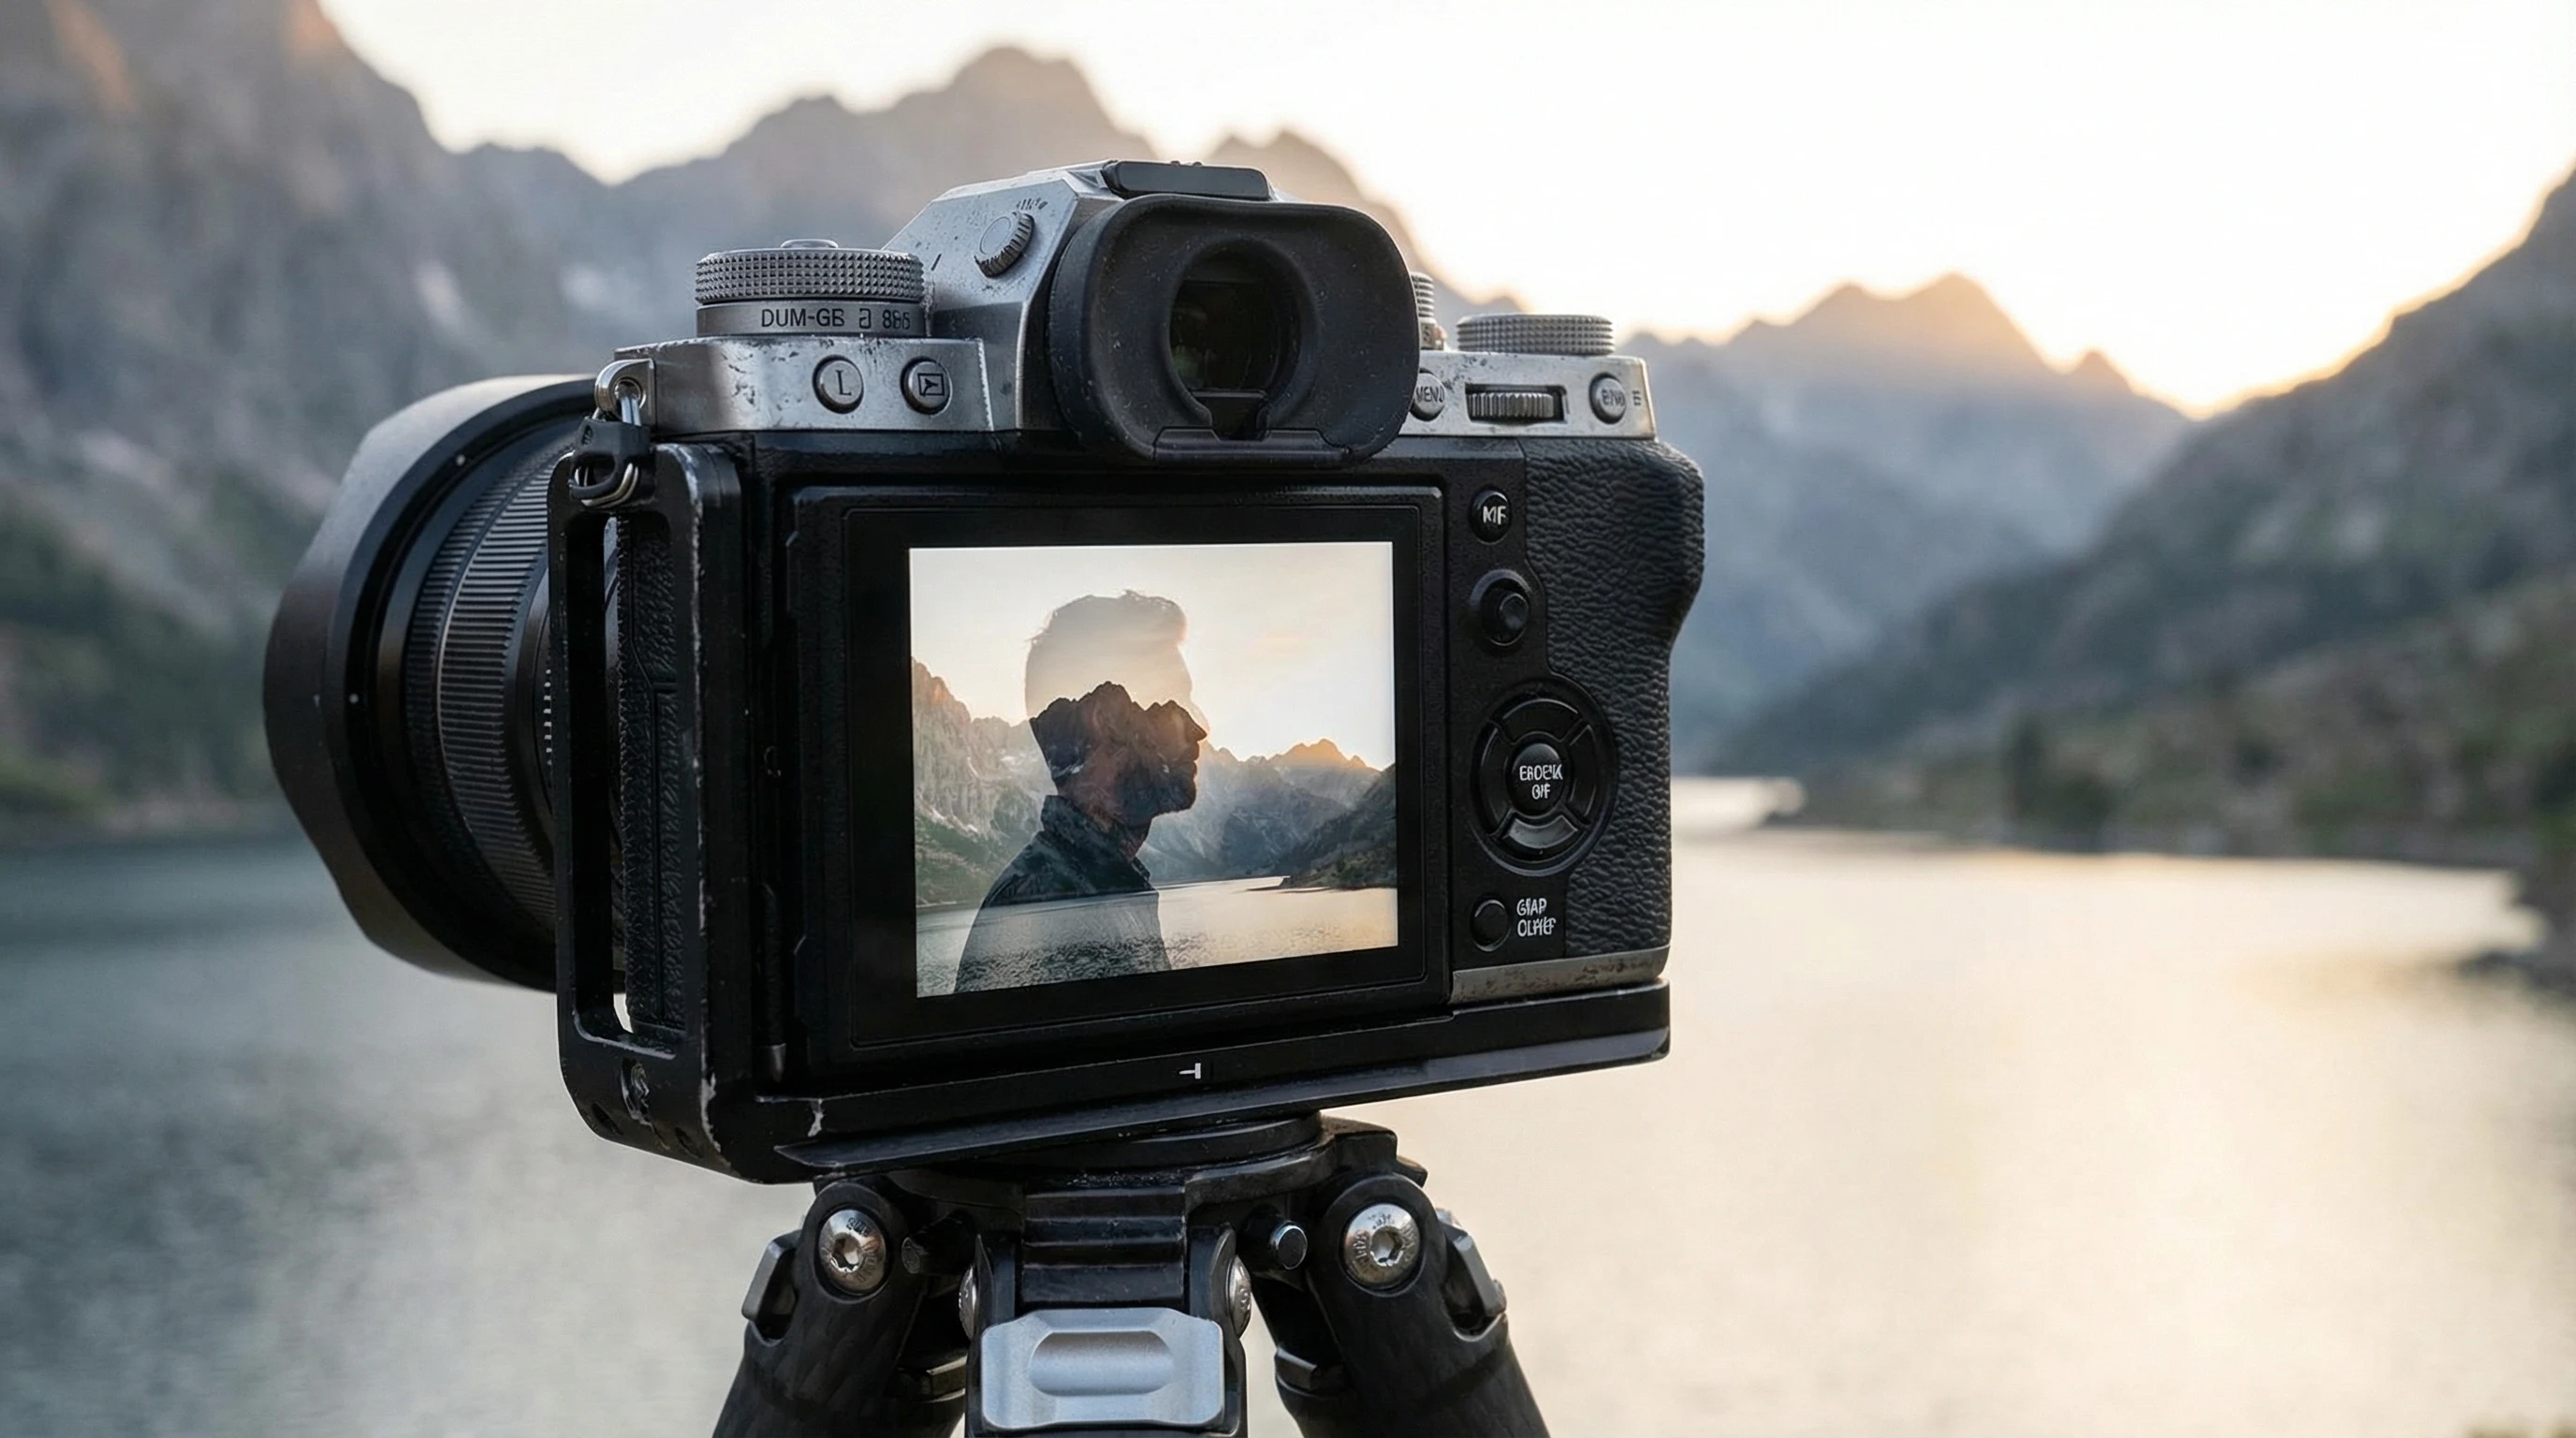
Creating double exposures in camera is a truly rewarding way to experiment with creative photography. Mirrorless cameras have made this process much more straightforward compared to the old film days. If you’re interested in blending two images into a single shot—such as combining a silhouette with a cityscape or overlaying a portrait with clouds—there are a few steps and settings to help you get there. In this article, I’m sharing exactly how I approach in camera double exposures on mirrorless cameras and how you can kick things off with your own unique creations.
Why Try In Camera Double Exposures?
Double exposures have gone from film to digital, and they’re now way more accessible. They can add mood, mystery, or a sense of surprise to photography—all without relying on heavy digital editing. If you want to create visually eye-catching results and stretch your creativity, it’s worth experimenting with double exposures. Cameras like the Canon EOS series, Nikon Z lineup, Sony Alpha, and Fujifilm X series all have multiple exposure modes, making this process much easier than fighting with film rolls and manual overlays.
I first stumbled onto double exposures while watching street photographers blend architecture into portraits in camera. Watching the image pop up instantly on the camera’s LCD screen was what inspired me to try it myself. If you’re looking to bring an artistic edge to your images or just want to see what’s possible, the double exposure features in mirrorless cameras are easy to get into and offer loads of creative options.
Mirrorless Cameras That Support In Camera Double Exposures
Not every mirrorless camera comes with a built-in multiple exposure feature, but there are plenty of popular models that do. Here are a few worth checking out if you want to experiment:
- Canon EOS R Series: Features a simple double exposure mode, providing several flexible blending options.
- Nikon Z Series: Multiple exposure mode in these cameras is very handy, with both additive and average blending settings offered.
- Fujifilm X series (for example, X-T4, X-T5): Delivers classic film-like aesthetics plus an easy multiple exposure tool.
- Sony Alpha Cameras: Certain models, like the Alpha 7R IV, support in camera double exposure through dedicated apps or firmware tools.
If you’re unsure whether your camera supports this, a quick look in the menu or a check on the manufacturer’s site will clue you in.

The Basics: What Is An In Camera Double Exposure?
An in camera double exposure blends two different photos together into a single frame, right as you take the shots—no extra digital trickery required. The camera overlays the exposures, either as you shoot or by pairing an existing image with a new one. Modern mirrorless cameras process this instantly, showing you the blend right on the LCD.
Back in the film days, photographers would manually wind film back and try to guess how the images would overlap. Now, you get instant feedback with your camera, making the process far more predictable.
- Additive blend: Combines the brightness of images to stack the exposures, creating dramatic silhouettes.
- Average/Mean blend: Balances the exposures, ensuring your final image isn’t too bright or too dark.
You can usually pick between these options in your camera’s multiple exposure menu.
Step By Step: How to Shoot In Camera Double Exposures
- Locate the Multiple Exposure Function: Most mirrorless cameras have a multiple exposure mode in the shooting menu, labeled as “Multiple Exposure,” “Image Overlay,” or “Creative Shooting Modes.”
- Select a Blending Mode: You’ll generally have options for Additive, Average, Bright, or Dark blends. Additive emphasizes highlight areas, while Bright and Dark showcase either the lightest or darkest spots. I typically begin with Additive and adjust based on my subject.
- Take Your First Image: This is the foundation of your double exposure. Areas of the shot that are black or very dark will allow the second image to come through more clearly. High contrast shots—like a silhouette against a bright sky—work well for starting out.
- Preview and Frame the Second Shot: Most cameras overlay the first shot as a semi-transparent ghost image on the LCD, letting you line up your second photo exactly where you want key details to sit within the frame. Landscapes, clouds, leaves, or patterns often look fantastic here.
- Capture the Second Exposure: Snap the next photo, and your camera merges the images based on your chosen blending mode. Check out the live preview to see if you got the look you wanted.
- Save or Try Again: Many cameras let you save, retake, or reshoot either shot as needed. Some also support more than two exposures—allowing triple or even quadruple creative blends.
Typically, cameras have a cap (usually 2 to 10 exposures per composite). You can often shoot in RAW for higher quality, so you aren’t locked into compressed JPEGs.

Tips to Achieve the Double Exposure Look You Want
- Start Simple: Pick a black or dark silhouette for your first shot, then fill it with texture—leaves, clouds, old brick, or reflections—for the second image.
- Use Contrasting Subjects: A side profile against the sky, paired with a city skyline, pops because of the bold shapes and clean lines.
- Control Exposure: Try to avoid overexposing the first shot, since it can wipe out needed details. Underexposing by a stop helps.
- Tripod Can Help: For lining up creative patterns or matching scenes across exposures, a tripod is useful for precision.
- Play with Focus: Focusing foreground and background elements differently between exposures can add extra depth to your blends.
Problem Areas and Solutions
- Motion Blur: Movement in either exposure—like wind or walking—can soften or ghost the composite. Sometimes that ghost effect enhances mood, but it’s good to expect it.
- Overexposure: Bright highlights across both shots can “blow out” and lose detail. I often reduce exposure by a stop to be safe. Watch for on-screen warnings.
- Color Blend Issues: Overlapping contrasting colors, like green and red, might create odd brown patches. Shooting in black and white, or correcting colors in post, helps get balanced results.
Creative Ideas for Double Exposures on Mirrorless Cameras
Double exposures are more than a neat trick—they’re a tool for telling stories and layering ideas. Here are ideas you can try out:
- Portrait Meets Landscape: Go classic by putting a side profile over a forest, mountain, or city scene.
- Urban Texture: Combine building patterns or neon lights with street portraits for a new take on urban photography.
- Nature Overlays: Blend clouds, flowers, or leaves into a subject for a dreamy, abstract effect.
- Shadow and Pattern Play: Use shadows as one base and overlay textures or geometric shapes for artistic abstracts.
- Street Shots: Combine city lights and motion with silhouettes for urban moods packed with energy.
Mixing and matching elements can lead to surprising results, so don’t hesitate to experiment. Seeing the instant preview on your mirrorless camera makes trying new ideas easy and fun.
Troubleshooting Common Issues
Some problems might pop up when shooting in camera double exposures. Here’s what I’ve run into, plus advice on how to fix or avoid them:
- “Images look washed out”: Lower the exposure in both shots. Set exposure compensation to -1 or lower if it’s really bright.
- “Layers don’t line up”: Use live view or overlays to guide your framing. Clear shapes or lines in the base image make it easier to match things up in the second shot.
- “Colors aren’t vivid”: Try switching to black and white or pump up the contrast in camera. Many cameras let you save a monochrome version and keep the color one just in case you want both.
A bit of pre-planning helps, but honestly, getting a feel for what blends well comes from repeated trial and error. After a few sessions, you’ll start to spot what subjects and compositions match up best for your style.

Real World Scenarios: When I Use In Camera Double Exposures
Some of my best creative breakthroughs came while wandering my city, camera ready, blending puddle reflections or gritty brick textures into portraits. Before a portrait shoot, I often capture a base image outside, then overlay it with something personal—anything from a favorite pattern to a piece of nearby nature that tells a story.
- Street Scenes: Layering busy crowds or crosswalks over casual portraits for a dynamic, urban look.
- Landscapes: Blending clouds into tree lines, or water patterns with mountains for whimsical, dreamlike scenes.
- Travel: Combining silhouettes with locations to create unique memories beyond the typical tourist photo.
Since your camera gives you instant results, you’re able to try again on the fly or tweak your plans. The more you shoot, the more you’ll pick up what works for double exposure storytelling.
Frequently Asked Questions
Let’s answer some common questions about getting into in camera double exposures:
Q: Do I need any special lenses for double exposures?
A: Standard kit lenses will do the job. A wide prime or fast 50mm can help if you want that shallow depth of field, but they’re not required. Macro lenses are fun if you want lots of texture up close.
Q: Can I edit my double exposures in Lightroom or Photoshop after shooting?
A: Absolutely. Your double exposure files can be edited like any normal photo. If you shoot RAW, you’ll have more freedom to adjust exposure, contrast, or convert between color and black and white.
Q: Can I fix a double exposure that didn’t turn out right?
A: Minor tweaks, like raising contrast or adjusting exposure, can help in edit. But if it’s not what you were hoping for, it’s usually faster to try again in camera and adjust your setup. Practice will help you nail the look faster.

Wrapping Up
In camera double exposures are one of my favorite ways to push creativity with mirrorless cameras—without having to fire up editing software. With a bit of patience and a touch of planning, anyone can create layered, artistic shots that really stand out. Modern cameras make the process simple; open up that multiple exposure menu and see what new ideas you can bring to life.