Filters in photography are some of my favorite tools to get creative with my shots. Whether I’m looking to bring out dramatic skies or soften a portrait’s background, filters let me experiment without relying entirely on editing software. If you’re curious about how to get started using filters for creative effects, I’ll break it all down with practical tips, clear examples, and a few “watch outs” to help you avoid common mistakes.
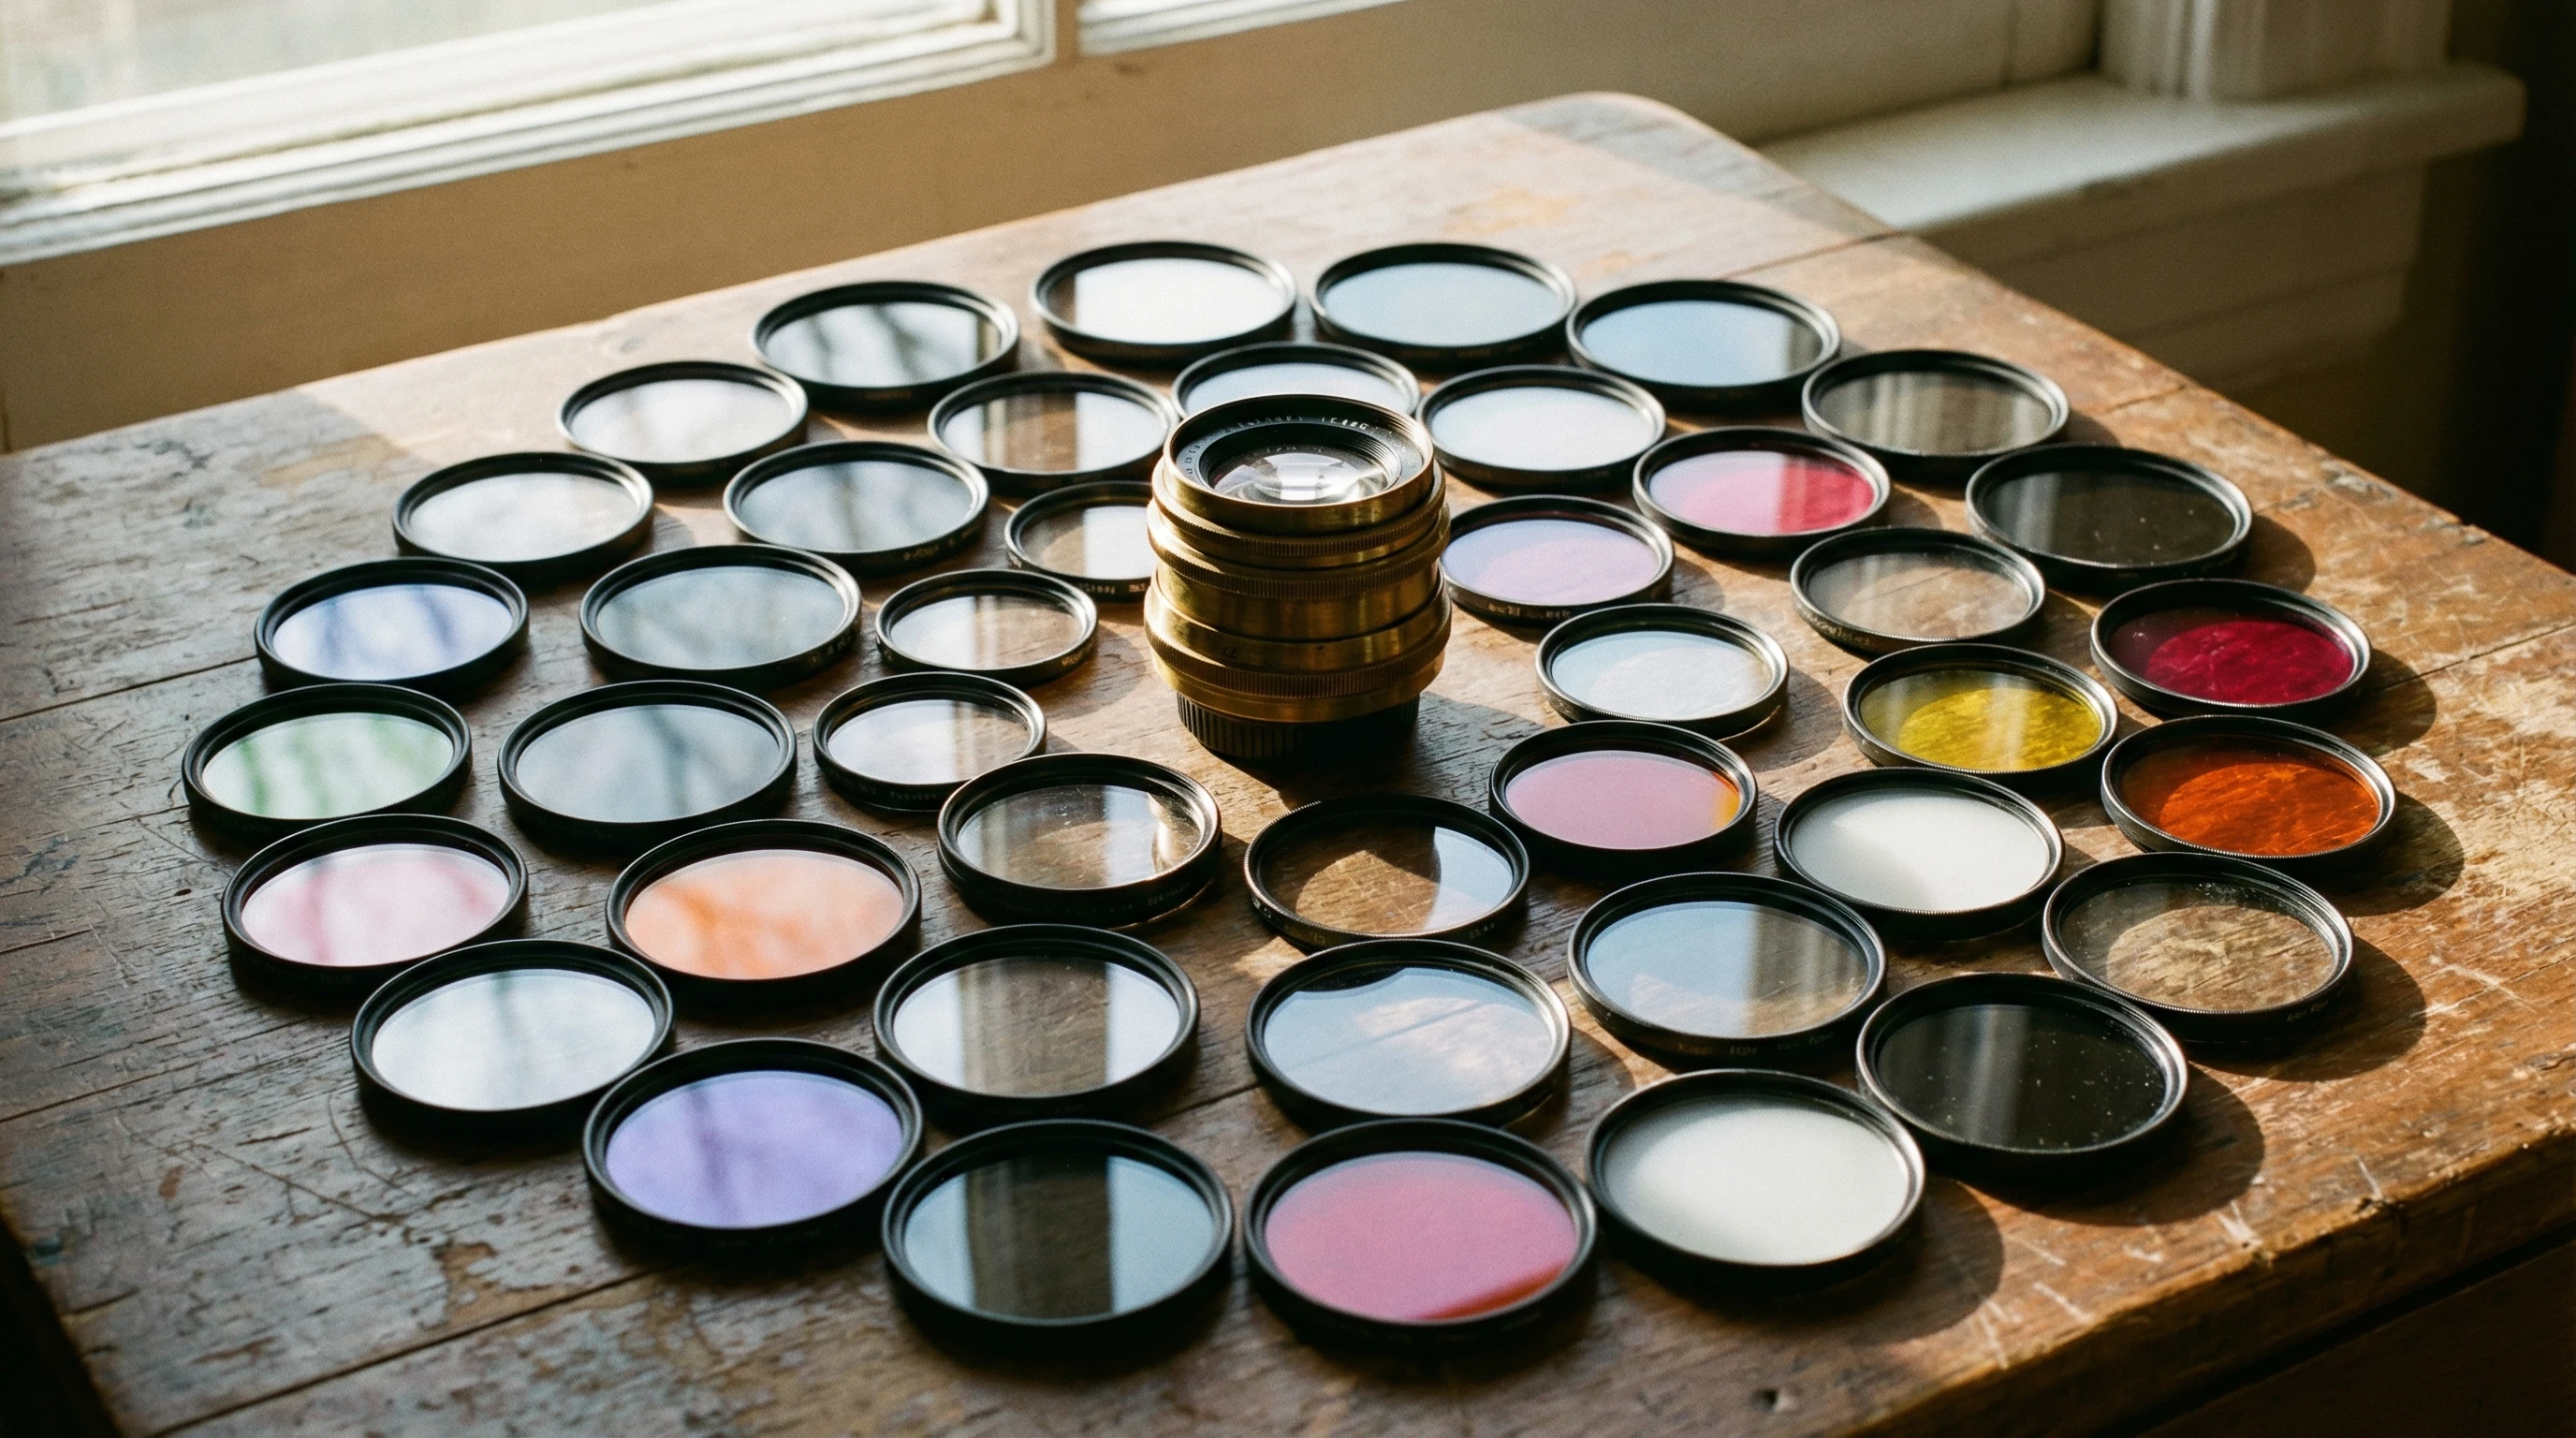
Understanding Photography Filters: What They Are and Why They Matter
Filters are simple pieces of glass or resin that you place in front of your camera lens, affecting how light enters and hits your sensor. I use them to control exposure, add colors or effects, and even protect my expensive lenses. Filters come in a bunch of types, each with their own unique creative uses. The most popular for creative photography are:
- Polarizing filters: These reduce reflections and intensify color contrast, especially handy for landscapes.
- ND (Neutral Density) filters: These block out some light, letting me use slower shutter speeds in daylight without blowing out the photo.
- Graduated ND filters: These are great for balancing the sky and the ground, particularly with sunset landscapes.
- Color filters: These add color casts and can totally change the mood or impact of a photo.
- Special effects filters: Things like starburst, softfocus, or infrared filters give lots of creative freedom.
Learning what each filter does helps me decide which one is right for a specific creative look. I find filters pretty affordable compared to lenses, and they make a big difference. They are also relatively lightweight, meaning you can carry several in your bag without hassle. As with any tool, practice helps you get the most out of them, so don’t be afraid to experiment.

Getting Started with Creative Filters
If you’re just starting out, it’s smart to learn the basics of filters before building a big collection. I started with just a circular polarizer and a threestop ND filter. These covered most of my needs at first, but as I got more curious, I explored others. Here’s what I think every beginner should know:
- Polarizing Filters: Great for making skies pop and removing glare from water or glass. I use them a lot when shooting outdoors on bright days. They can also increase color saturation so the blues and greens jump off the screen.
- ND Filters: Ideal for silksmooth water, motion blur of clouds, or emptying crowded spaces by using slower shutter speeds. They come in different strengths (measured in stops), blocking a little or a lot of light depending on the effect I want.
- Graduated ND Filters: Super useful for highcontrast scenes, especially where the sky is much brighter than the ground. By darkening only part of the frame, I protect sky details without underexposing the rest.
- Color and Effects Filters: These are fun to experiment with for more dramatic or artistic shots. Sometimes I’ll try them on older manual lenses for a total retro look. Color filters can also help correct color casts caused by certain lighting situations, adding versatility to your kit.
I recommend trying each one separately at first to see its effect, then mixing them for more unique results once you’re comfortable. Shooting the same scene with and without a filter helps you track down which filter does what, and build your creative instincts.
Quick Guide to Using Filters for Creative Effects
Filters can totally change your photography, but it takes a bit of trial and error to figure out what works best for your style. Here are some steps I follow to get the most out of my filter collection:
- Choose the Right Filter for the Scene: Before I set up, I think about my creative goal. Am I trying to make water smooth, or add drama to the sky? The answer helps me pick which filter to use first.
- Set My Camera Settings: I usually shoot in manual or aperture priority mode. I set exposure without the filter first, then attach it and adjust as needed because many filters (especially ND and polarizers) change the exposure.
- View and Adjust: After installing the filter, I check the composition in my viewfinder or on the screen, looking for any unwanted color shifts, vignetting (darkened corners), or weird reflections.
- Stacking Filters: Sometimes I stack a polarizer and an ND filter together for complex scenes. If you do this, just watch out—it can amplify vignetting or reduce sharpness on wideangle shots.
- Experiment and Review: I shoot a few variations, both with different filters and without, so I can compare results later. Trying lots of combinations helps me stumble upon new looks that I like. Don’t hesitate to shoot multiple angles or exposures for the same scene.
Working with filters reminds me to slow down and get intentional about my shooting. It’s a nice break from quick snapshots and helps me think more about what I’m creating. Filters also make me more aware of light, color, and composition—skills that benefit all my photography.

Things to Consider When Buying and Using Filters
Picking filters seems simple but there are quite a few things I weigh before spending money. Here’s what I’ve learned from buying and using filters on all sorts of shoots:
- Filter Size: This depends on the thread size of your lens (usually marked in mm on the lens cap). Getting the right size means the filter fits perfectly, avoiding light leaks and vignetting.
- Quality of Materials: Cheaper filters can sometimes cause flare, color issues, or reduce sharpness. I usually check for multicoated glass for better results and easier cleaning.
- Ease of Use: Some filters, like variable ND filters, are super flexible and save me time switching different strengths. Slidein filters with holders suit bulky setups or multiple filter use. Magnetic filters are gaining popularity as a userfriendly option.
- Carrying Case or Pouch: Filters are super easy to scratch or smudge. Good cases or pouches keep them clean and ready to use.
It helps to read reviews and try a few instore if you can. If you shoot with multiple lenses, an adapter ring can make your filters work on all of them; a handy and budgetfriendly addition to your kit. Take care to keep filters dustfree, and store them securely to prevent damage during travel. If you ever upgrade your lens size, stepping rings let your older filters fit larger diameters.
Polarizing Filters
Polarizing filters are amazing, but not every shot benefits from them. On a cloudy day, I find the effect is subtle, while midday, they can be almost too strong. Offangle reflections and rich colors are where they really shine. When I use them, I twist the front ring like a dial until I see the desired effect in my viewfinder. They also help cut through haze in distant landscapes for clearer shots.
ND Filters
Not all ND filters are created equal. Some “budget” versions have a slight color cast that’s hard to correct in editing. I watch for unexpected magenta, green, or blue tints when shooting water or long exposures. It’s a small tradeoff for the creative control ND filters give, but worth keeping in mind so you can fix it in post if needed. Consider variable NDs for flexibility, but remember they sometimes suffer from uneven results at extreme settings.
Graduated ND Filters
These are my favorites for landscape photography at sunrise or sunset. Sliding them up or down in the holder lets me line up the transition with the actual horizon. Hardedged grads are good for flat horizons, while soft grads work better with mountains or uneven scenery. Adjusting these carefully preserves foreground detail while still capturing a vibrant sky.
Color and Special Effects Filters
Color and special effects filters are where I really experiment. Sometimes a light blue or orange warming filter can change the mood instantly. Star filters add a fun sparkle to night scenes, while soft focus filters are perfect if I’m after that dreamy, vintage look for portraits. It’s fun to try out different filter combinations and see what happens. Some photographers also use colored gels for flash photography, mixing in some variety with lighting creativity.

Pro Tips for Creative Filter Photography
Over time I’ve picked up some valuable hacks to get better results with creative filters:
- Clean Filters Often: Smudges and dust show up fast, especially on wide shots. I use a microfiber cloth and keep a lens pen handy.
- Bracket Exposures: Because filters can throw off the camera’s metering, I like to take several shots at different settings, just in case.
- Carry Spares: I keep a backup filter or two for my mostused sizes. Dropping a filter on rocks can spoil a whole shoot if I don’t have another.
- Try Filters in PostProcessing: If I don’t have a filter handy, some effects can be simulated with editing software. But starting with a physical filter usually gives better results and saves editing time. Digital filters work well for minor tweaks, but certain effects (like polarization) are hard to replicate exactly on the computer.
Learning to use filters opens doors to all kinds of creative experiments. There’s always something new to try and different ways to make a photo unique. Sharing your results with others can lead to fresh ideas and even feedback for further improvement.
Common Filters and Their Photo Uses
Here’s a quick reference for what each filter type is often used for, based on my experience:
- Polarizing Filter: Making the sky a deeper blue, reducing glare off water, boosting greenery in plants and trees.
- ND Filter: Smoothing water, creating ghostlike motion in people or cars, stretching cloud movement over longer exposures.
- Graduated ND Filter: Balancing exposure between bright skies and darker foregrounds for a more naturally exposed image.
- Warming/Cooling Filters: Quickly adjusting the overall color mood in camera without postprocessing tweaks; warming filters add a cozy look, while cooling filters give a crisp or moody feel.
- Star/Special Effects: Adding sparkles, halos, or soft glows, especially appealing for night shots or portrait sessions with ambient lights.
Frequently Asked Questions
Here are questions that pop up a lot from fellow photographers starting out with creative filters:
Question: Can I use more than one filter at a time?
Answer: Yes, stacking filters works, but too many can cause vignetting or decrease image quality, especially with wideangle lenses. Try to limit stacks and always check your corners for dark shadows.
Question: Are filters still useful if I edit my photos later?
Answer: Filters give effects that are difficult or impossible to replicate digitally, like polarization or smoothing water in real time. They save time in editing and help you get “the shot” in camera.
Question: Will cheap filters damage my lens or camera?
Answer: Most lowcost filters won’t damage your lens, but they can reduce optical quality or introduce weird colors. Investing a bit more in quality glass filters is worth it if you want sharp, clean results.

Final Thoughts
Using filters for creative effects lets me push my photography further, creating images that pop right out of the camera. With the right filter, planning, and some trial and error, anyone can get unique, stylish photographs that are tough to match with editing alone. Give a couple of filters a try, and see how much fun creative photography can be. Filters are approachable even for beginners, and experimenting helps grow your artistic skills.
If you want to see more filter examples or get gear suggestions, check out some trusted photography blogs like DPReview or look up video guides on YouTube. Searching for realworld filter reviews and photos inspires new ideas, and can make it easy to compare results or learn fresh shooting techniques. Stay curious, keep experimenting, and you’ll keep stepping up your creative filter photography in no time!