Using a reflector for outdoor portrait photography can make a huge difference in your final shots. Bright sunlight, scattered shade, and tricky backgrounds are common in outdoor locations and can give you uneven lighting or harsh shadows on your subject’s face. Reflectors are a super useful and budget friendly way to brighten those shadows and produce flattering, balanced portraits. No fancy lighting gear required. I’m here to break down everything you need to know to get the most out of reflectors for your outdoor portraits.
Why Reflectors Matter in Outdoor Portrait Photography
Natural light is beautiful, but it’s not always easy to control. Bright sunlight can lead to sharp shadows under the nose and eyes. On cloudy days, your portraits might look a bit dull. Reflectors act like extra hands; they bounce available light where you need it, giving your subject a soft, natural glow instead of letting shadows take over. Even a cheap reflector can give a boost to portrait details without a bunch of complicated gear. Outdoor photographers, whether beginners or experienced, find reflectors handy for stepping up the quality of their photos without breaking the bank.
Different environments call for slightly different lighting tricks. Portraits in the shade might need a silver or white reflector to boost soft light, while harsh midday sun works better with gold or translucent surfaces that gently diffuse things out. Reflectors are popular tools because they’re easy to carry, pack flat in your bag, and are super versatile when you need to adapt to outdoor conditions that change quickly.

How Reflectors Work: The Basics
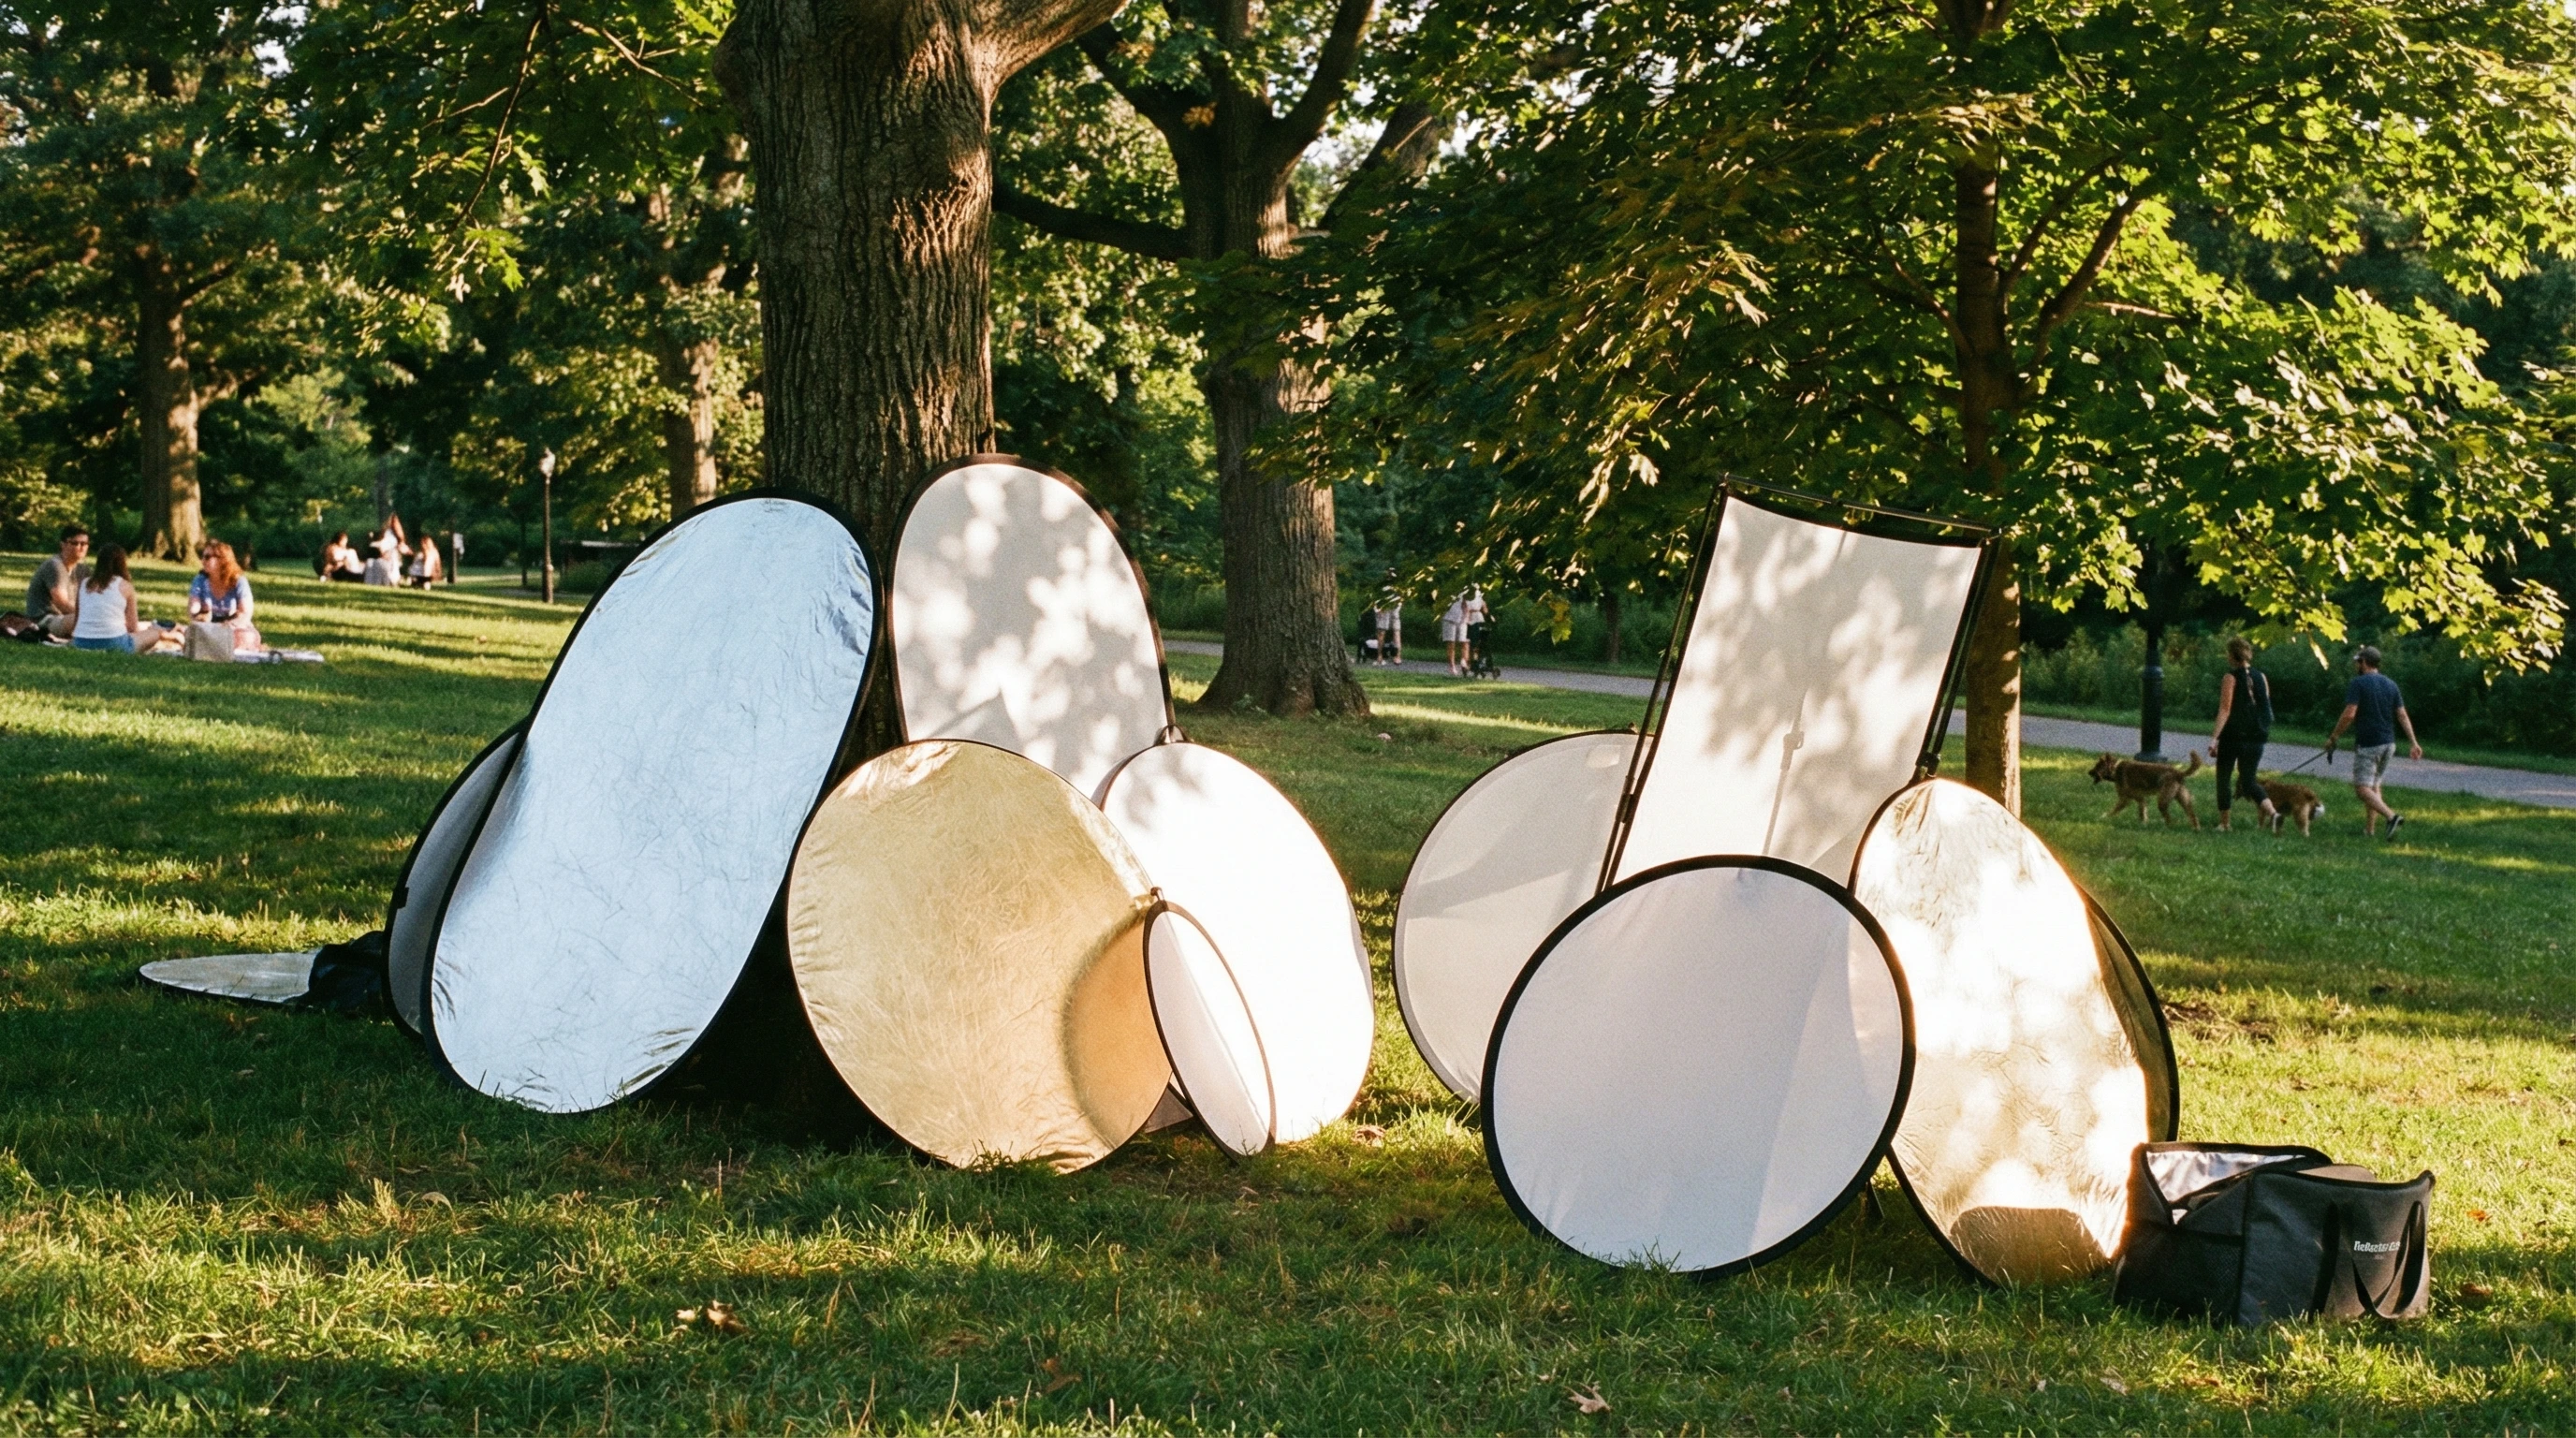
Think of a reflector as a portable patch of sunlight. In outdoor portrait photography, you use reflectors to fill in shadows, create catchlights in your subject’s eyes, or even soften harsh sunlight. Here’s a quick look at the types of reflectors and what they do:
- White Reflectors: Gives a soft, neutral bounce, perfect for filling shadows without changing skin tones.
- Silver Reflectors: Provides a brighter, cooler light, especially useful on overcast days or in deep shade.
- Gold Reflectors: Adds a warm, golden glow, ideal for sunrise or sunset outdoor shots or to warm up cool light.
- Translucent Reflectors: Diffuses direct sunlight, turning harsh light into a softer, cloudlike effect.
- Black Reflectors (Flags): Soaks up light, which is useful for creating definition or darkening bright spots.
Most collapsible reflectors come as 5in1 kits, so you can switch surfaces based on your surroundings. Using the right side makes a noticeable difference, so spending a minute choosing is worth it for flattering outdoor portraits.

Simple Techniques: Getting Started With Reflectors
If you’re just picking up a reflector for the first time, you don’t need to overthink it. Using a reflector involves just placement and angle. Here are some basic tips for outdoor work:
- Position the Reflector Opposite the Main Light: If the sun is to your subject’s right, place the reflector on their left to bounce sunlight into the shadows.
- Use the Right Color: White for subtle, natural fill, silver for strong, bright kicks, and gold for added warmth. Match to the mood you want.
- Find Your Angle: Tilt the reflector until you see the light bouncing onto your subject’s face. If they squint or the light is too harsh, adjust the distance or angle back.
- Ask for Help: Outdoor shoots are easier with a friend to hold the reflector. Wind can make it tricky, but an assistant makes even big reflectors easy to manage.
Reflectors are more powerful the closer they are to your subject, but too close and you risk overbrightening skin or making things look unnatural. Start a couple feet away and move in gradually. Watch how the light changes. When things look soft, bright, and clean, you’ve found the sweet spot!
Tips for Using Reflectors in Different Outdoor Settings
Every outdoor location has its own lighting personality. Here are a few tailored tips to get the most out of reflectors in common scenarios:
- In Open Sun: Direct sun can make for unflattering shadows. Hold a translucent reflector between the sun and your subject to create even lighting, then add a white or gold bounce from below to fill shadows under the chin and eyes.
- Under Trees or Patchy Shade: Mixed lighting under foliage causes distracting spots. A silver or white reflector helps even things out by bouncing extra light into shadowed parts of the face, making skin tones match across the portrait.
- Cloudy Days: Overcast skies act as nature’s diffuser but might need more “pop”. Silver reflectors are great for adding contrast, making facial features stand out.
- Golden Hour: Sunrise and sunset naturally give a golden tone. Use a gold reflector to play up those warm shades for dreamy, classic portraits. Hold the reflector slightly behind the subject for backlight, and bounce it forward for a soft, halo effect.
With a little trial and error, you’ll start to spot which setup works best for each environment. I like to do a quick test shot (with and without a reflector) to check results before committing to the setup fully.

Practical Challenges: What To Expect and How To Deal
Reflectors can feel awkward outdoors at first, especially in windy spots. Some of the issues I’ve run into include:
- Windy Conditions: Lightweight reflectors can blow away or be tough to hold. Go for smaller sizes, or bring along spring clamps and a sturdy stand. If you’re working solo, look for reflectors with handles.
- Balance and Position: It’s easy to cast odd reflections onto your subject’s face, leading to hot spots or unwanted shadows. Watch the catchlights in your subject’s eyes. When you see a small, clear spot of reflected light, things are lined up well.
- Keeping Things Natural: Overusing a reflector can make your portraits look artificial, almost studio like. If the fill is too intense, move the reflector further away or angle it so less light bounces back.
- Getting the Subject Comfortable: Sometimes, the extra brightness can make people squint or feel uncomfortable. I always give quick breaks between shots and adjust the angle to avoid direct reflection into their eyes.
If you have persistent problems, don’t stress. Reflectors are about experimenting. Often, a few tweaks are all it takes for smoother, more flattering outdoor portraits.
Creative Tips for Standout Outdoor Portraits
Once you’re comfortable handling reflectors, try these extra tricks to help your portraits really shine:
Boost Eye Sparkle: Hold the reflector low so it bounces light toward your subject’s face. This not only brightens shadows but adds a bright catchlight in the eyes, making them look lively.
Try Two Reflectors: For super soft light with depth, use a translucent reflector overhead to diffuse sunlight, then fill from the front with a white or gold one for clean, even results.
Create a Mood: Use different colored reflectors for different vibes: gold for warmth, silver for drama, or white for a gentle touch. Experiment with black “flags” to carve out some shadow—perfect for dramatic looks.
Walk Around Your Subject: Move the reflector and yourself before each shot. Small changes in angle or position reveal how much control you can get over natural light. I’m often surprised by how big a difference a slight switch can make.
Add Interest with Backgrounds: Don’t forget to use your reflector to throw some fill light on background elements, like flowers or interesting textures. This adds depth and interest to the whole portrait, not just the face.
Reflector Buying Guide: What To Look For
You don’t need to spend a fortune. A good 5in1 reflector kit usually covers every lighting situation. Popular sizes are around 32 to 42 inches, offering enough surface area for portraits without being unwieldy in a breeze. Foldable ones are great for easy packing and carrying during a day outside.
- Handles or Builtin Frames: These make reflectors easier to grip or mount on light stands if you’re shooting by yourself.
- Surface Quality: Check for smooth, wrinklefree surfaces since creases or tears can throw uneven light onto your subject.
- Bargain vs. Name Brand: Budget options often work just fine, but read a few user reviews to doublecheck build quality and durability—especially if you do lots of outdoor shoots.
It’s always good to bring a reflector bag, too. They have a habit of picking up every bit of grass in the area; a simple cover keeps them clean and ready to go.

Frequently Asked Questions
Do I really need an assistant to use a reflector outdoors?
A friend is definitely helpful for holding reflectors, but it’s not strictly required. Lightweight models can be propped on a chair or clipped to a light stand. Just remember to keep an eye on sudden gusts of wind.
What size reflector is best for outdoor portraits?
I like using 32inch reflectors for most casual portraits. For groups or fullbody shots, something bigger (42 inches or up) works great. Smaller sizes (around 22 inches) are very portable but give less coverage.
Can I use household items as a reflector?
Absolutely! White poster board, a car sunshade, or even a clean bedsheet can bounce light in a pinch. Store bought reflectors fold up smaller and usually last longer.
Wrapping Up
Getting familiar with reflectors really opens up new possibilities for outdoor portrait photography. With a little practice and creativity, you’ll find it easier to handle difficult lighting and flatter your subjects no matter where you shoot. The best reflector is the one you actually use. Experiment, have fun, and enjoy those brighter, more balanced outdoor photos!