Bokeh is a word you’ll hear often in portrait photography circles. It’s all about getting that dreamy, soft background blur behind your subject. Creamy bokeh helps portraits pop, making your subject stand out while giving the whole shot a polished, professional vibe. If you’re after that look, there are some techniques and camera settings you’ll want to keep handy. In this guide, I’ll walk you through easy ways to achieve creamy bokeh, plus share a couple tricks I use myself.
Understanding Bokeh: What Is It and Why Do Portrait Photographers Love It?
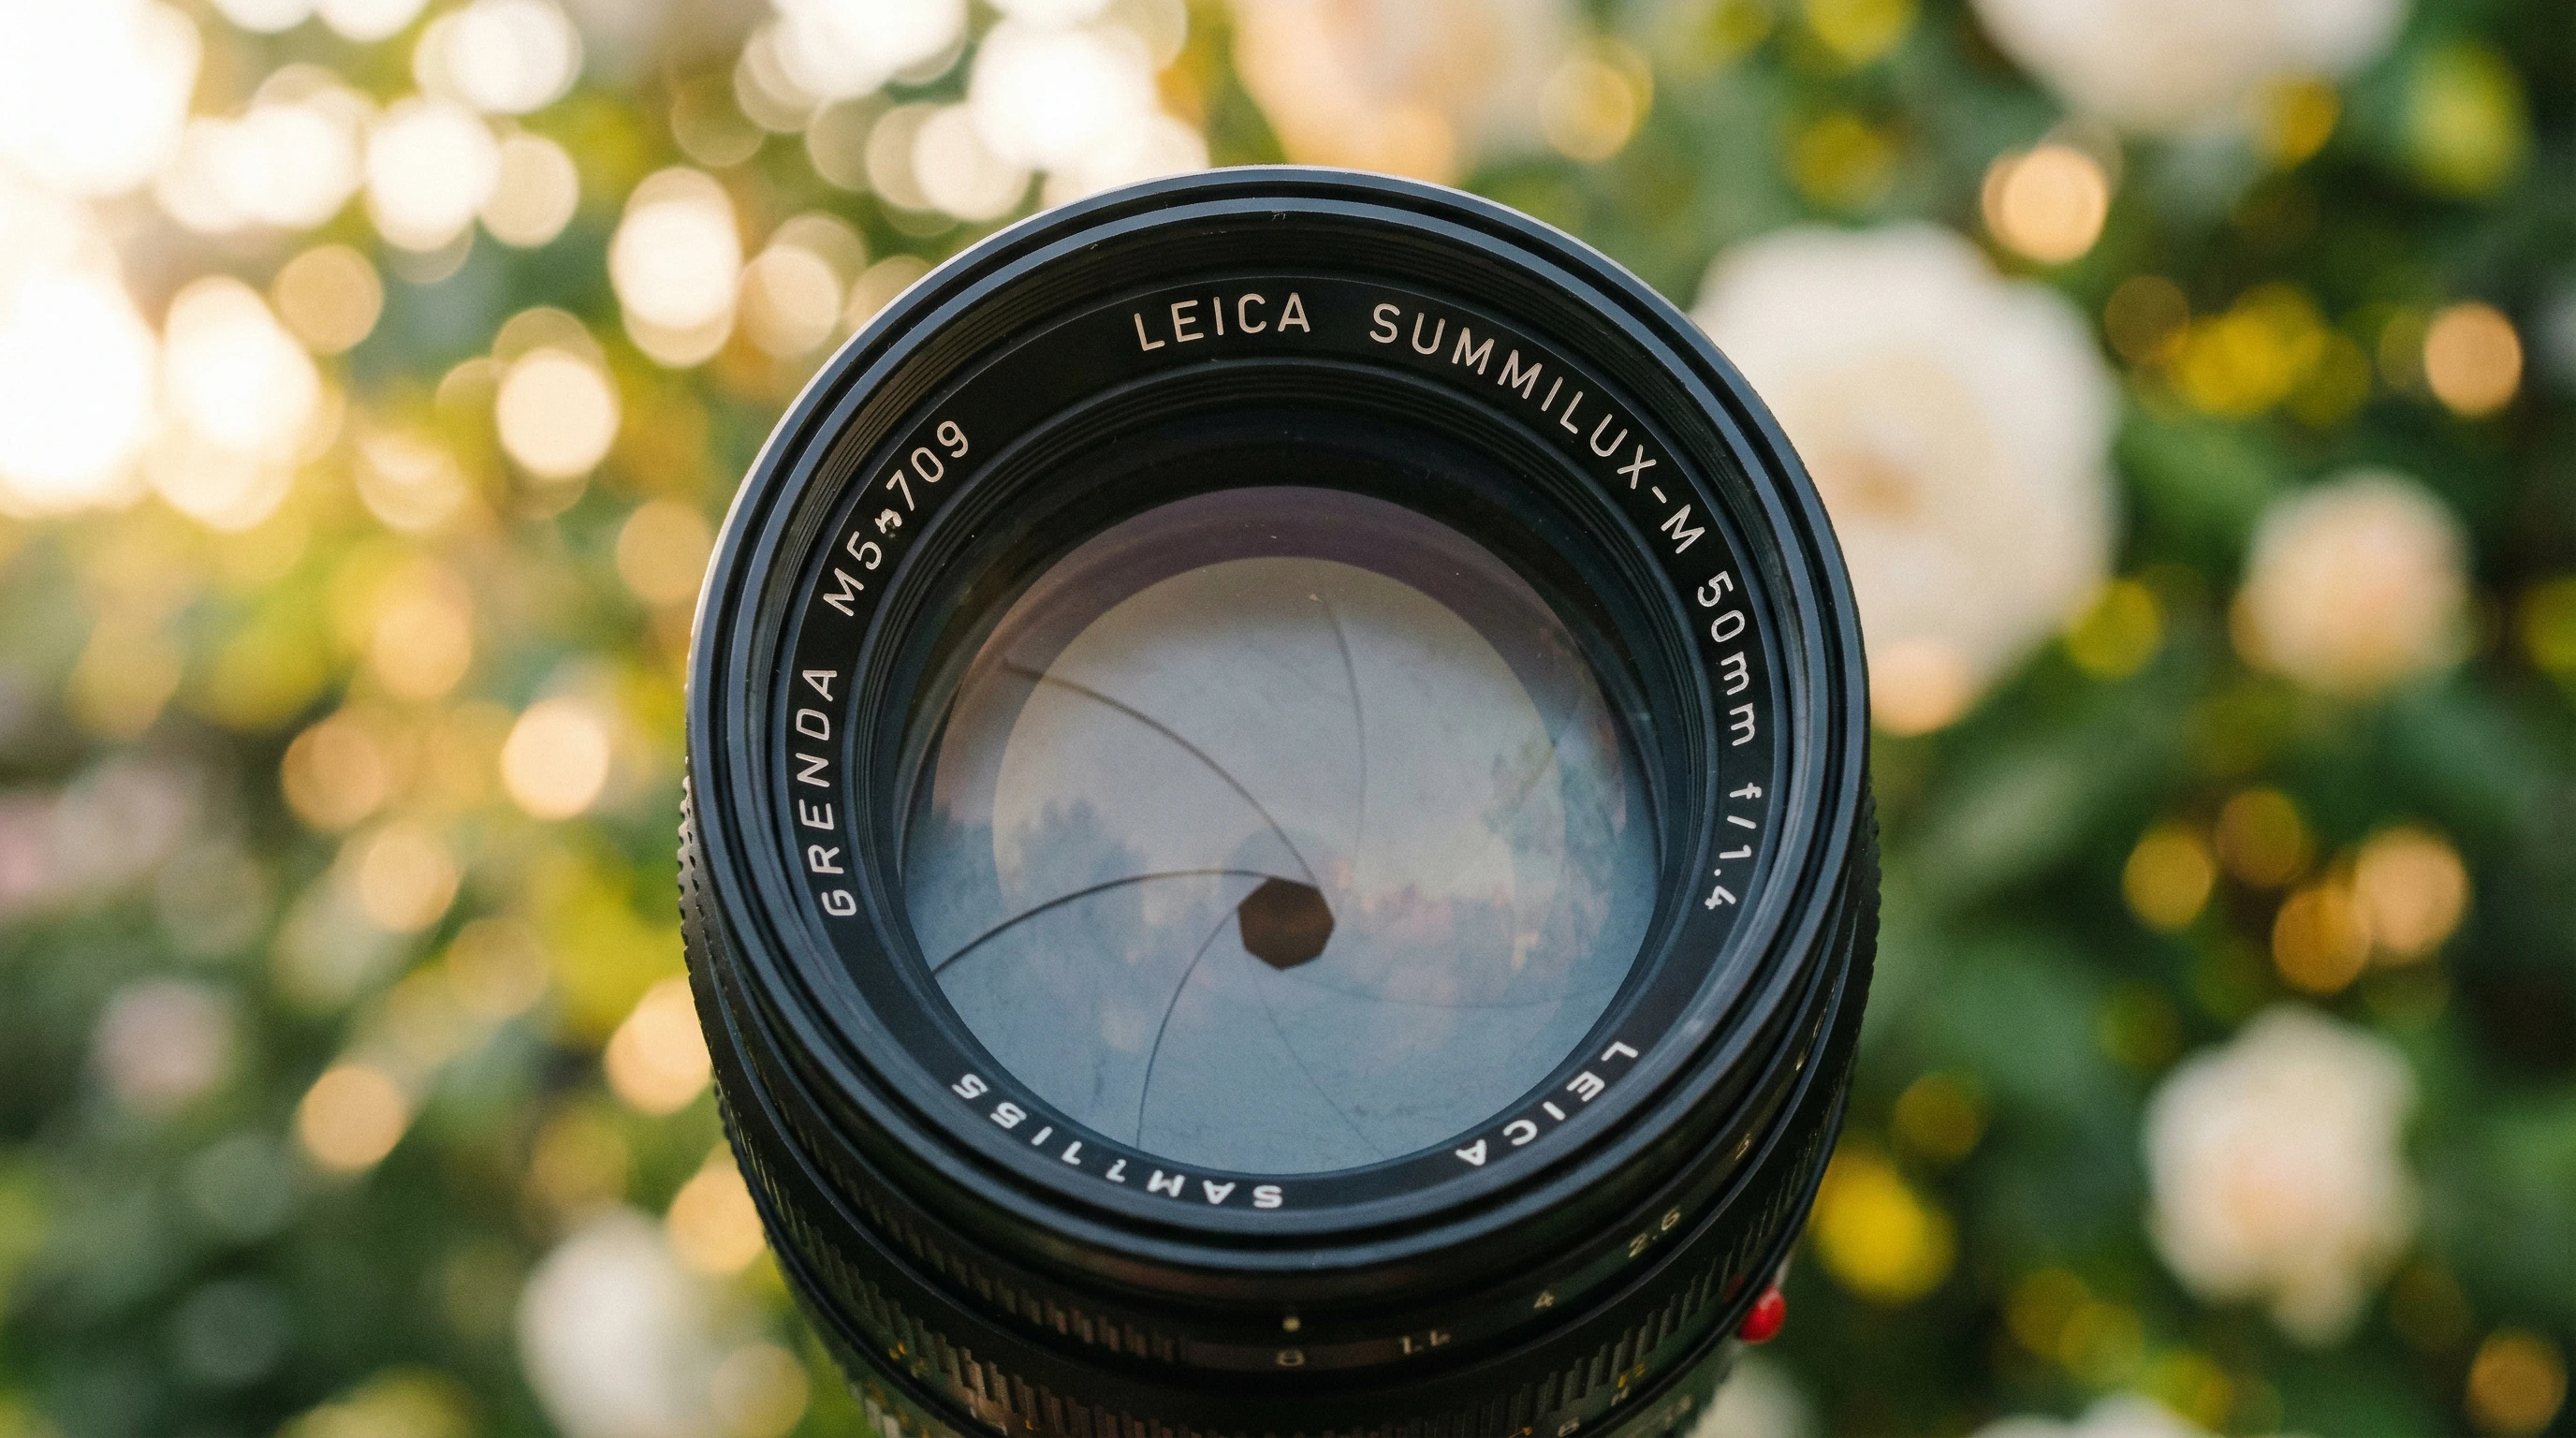
Bokeh is a term that comes up a lot when talking about photography, and if you’re just starting out, it’s worth checking out exactly what it means. Basically, bokeh comes from the Japanese word for “blur,” and it refers to the out-of-focus areas in a picture. Good bokeh feels smooth and creamy—think soft circles or shapes in the background, not harsh, jagged edges.
Portrait photographers love bokeh because it’s the perfect way to highlight a person’s face or eyes while toning down visual distractions. If you’re shooting in busy parks or crowded spots, creamy bokeh keeps all that clutter from fighting for attention, so your subject is front and center. That’s pretty much always the goal in portraits.
Camera makers hype up lenses that produce nice bokeh, and there’s even a kind of arms race among companies trying to make lenses with bigger apertures for this reason. There’s also a strong following on social media—the hashtag #bokeh is packed with creative shots. But behind all the hype, the basics of creating bokeh are pretty simple once you get a feel for it.
Key Gear for Achieving Creamy Bokeh in Portraits
The camera and lens you choose are huge factors when it comes to bokeh. Here’s a breakdown of gear choices that really matter if you want creamy background blur:
As an Amazon Associate I earn from qualifying purchases.
- Wide Aperture Lenses: Lenses with big maximum apertures, like f/1.2, f/1.4, or f/1.8, are super popular for portrait bokeh. The lower the number (wider opening), the better the blur you’ll get.
- Longer Focal Lengths: Portrait photographers love lenses in the 85mm to 135mm range. These compress the background and create smoother bokeh.
- Full Frame Cameras: Full frame sensors usually blur backgrounds more than smaller sensor sizes, but don’t stress if you have a crop sensor—you can still get great bokeh with the right lens and enough distance.
Many photographers love prime lenses, which usually have bigger apertures than zoom lenses. Thankfully, there are also budget-friendly options. The classic “nifty fifty” (50mm f/1.8) is offered by nearly every camera brand and is an excellent starting point for bokeh.

How Distance and Aperture Settings Affect Bokeh
Once you’ve picked your gear, most of the magic comes from how you set up your shot. When framing a portrait, I always look at three things:
- Aperture: Use the widest aperture your lens allows for the softest backgrounds. On a 50mm f/1.8 lens, shooting wide open at f/1.8 gives a super creamy blur.
- Subject to Background Distance: The farther away your subject is from the background, the more blurred and creamy it’ll look in the picture. Move your subject away from walls or trees to boost the effect.
- Shooting Distance: The closer you are to your subject, the more pronounced the background blur will be. Filling the frame with a tight head-and-shoulders portrait can really increase bokeh.
Playing with different positions and distances can seriously change how the bokeh appears. With minor tweaks, you can really make your shots more eye-catching.

Lens Choice and the Impact of Aperture Blades
Not all lens blur looks the same. That’s mostly due to the lens design, especially the number and shape of the aperture blades inside. Lenses with more rounded aperture blades tend to produce softer, more circular bokeh balls. Those with fewer or straight-edged blades might create background blur that looks a bit more geometric.
Some of the best creamy bokeh comes from lenses made specifically for that look. The “portrait king” 85mm f/1.4 is famous for its buttery backgrounds. Vintage lenses can give quirky bokeh effects, such as swirly or dreamy backgrounds, that look like film photography.
Camera Settings for Better Bokeh
The right lens and distance carry a lot of weight, but your camera settings tie it all together. Here’s my quick checklist for creamy bokeh portraits:
- Shooting Mode: Go with aperture priority (A or Av mode) and set the aperture as wide as you can. The camera will handle shutter speed and ISO for the scene.
- Focus Point: Use single-point autofocus and place it right over the eye. Keeping the eyes tack sharp while the rest melts away makes a huge difference.
- ISO: Stick to low ISO (like 100-400) for crisp images, but don’t be afraid to go higher if you need to keep your shutter speed up in low light.
Your camera might also have face or eye autofocus, which can be a big help—especially if you’re moving or working with kids and pets.
Background Selection and Composition
The background has a huge effect on how creamy the bokeh appears. Noisy or cluttered backgrounds with strong colors might be distracting, even when blurred. Softer, natural colors and lights usually work best for backgrounds, blending into a lovely wash behind your subject.
Look for backgrounds that are far away—think open parks, streets, or rows of distant lights. String lights, for instance, make those next-level cool bokeh “orbs” you’ll spot on Instagram. I often move around my subject to pick an angle where the background is farthest or where clutter is minimal.
Tips and Workarounds: Getting Creamy Bokeh Without Expensive Gear
Don’t have a fast lens or pricey camera? No worries—you can still get eye-catching bokeh! Try these workarounds:
- Use Longer Focal Lengths: Even with a slower lens, longer zooms like 70-200mm at full zoom can throw the background out of focus, especially if you stand further back and zoom in tight.
- Get Closer to Your Subject: The closer you are, the less depth of field—you get more blur, even with regular lenses.
- Background Distance: A background that’s much further away (like an open field or skyline) makes your subject stand out from it.
- Portrait Mode on Smartphones: Most modern phones now offer portrait mode, using software to make some background blur. Sometimes it’s not perfect, but it’s fun and quick for simulating the creamy effect.

Common Challenges and How to Tackle Them
Things don’t always go smoothly when you’re chasing creamy bokeh. Here are a few typical issues and how I handle them:
Light Leaks and Harsh Bright Spots
Backgrounds can have weird, blown-out spots that mess up the smooth blur. Moving your subject, shooting early or late in the day, or throwing on a lens hood often helps keep the background creamy.
Accidentally Soft Focus
With super shallow depth of field, nailing focus is essential. I’ve lost count of times I missed it by focusing just behind the eye. Using single point autofocus and checking shots in-camera helps a lot.
Background Clutter
Sometimes, even nice bokeh won’t hide everything. If you spot branches, lights, or other distractions, switch up your position or your subject’s angle until things quiet down.
Advanced Tricks for Creative Bokeh Effects
Once you have the hang of standard bokeh, you can mix in some extra creativity:
- Add Lights: String lights, fairy lights, or reflective objects in the background can make amazing bokeh patterns, especially in night portraits.
- Custom Bokeh Shapes: Cut out fun shapes (hearts, stars) from black paper, tape them over your lens, and make your bokeh highlights stand out. It’s a simple DIY that ups the fun in your photos.
- Try Different Apertures: Shooting wide open usually gives the creamiest effect, but sometimes closing down just a little (to f/2.8 or f/4) gives more defined, stylish bokeh. It really lets you mix things up based on the mood of your shot.
You can also experiment with combining multiple tips, like using a longer focal length together with interesting background lights for unique effects.

Frequently Asked Questions
Here are some questions I often hear about getting creamy bokeh in portraits:
How do I get bokeh with a kit lens?
Move as close as possible to your subject, zoom all the way in, set the aperture to the lowest f-number possible, and try to have the background far away. Even basic lenses can give you some blur!
Which lenses give the best bokeh?
Classic portrait primes like 85mm f/1.4 or 50mm f/1.8 are top picks for creamy bokeh. Telephoto lenses like the 70-200mm at f/2.8 work wonders too, especially outdoors in natural light.
How can I get creamy bokeh with my phone?
Use your phone’s portrait mode, shoot with your subject close and the background far, and tap to focus on the face. You can also use editing apps to add extra background blur after the shot if you want to give it a little more punch.
Final Thoughts on Crafting Creamy Bokeh Portraits
There’s no denying the appeal of creamy bokeh in portrait photos. With the right gear, a few simple techniques, and a bit of practice, you’ll start to see smoother backgrounds and more compelling portraits in your own work. If you’re just starting out, mess around with aperture settings and try shooting in spots where your background is a bit distant—it makes a big difference.
Every photographer develops their own style, so don’t be afraid to experiment with light, lenses, and backgrounds. Your portraits will pop more and more as you keep playing with bokeh techniques. Grab your camera (or your phone), and try out these ideas. You might be surprised by how easy it is to get portraits with backgrounds that feel next-level cool.