Low light portraits can turn out incredibly moody and beautiful, but shooting them gets tricky, especially if you want to skip the flash. Working in these conditions means making the most of your camera settings, picking the right spots, and using what little light you have. I’m going to share what’s worked for me and some easy to understand tricks to help you capture sharp, good looking portraits in dim environments, all without ever firing a flash.
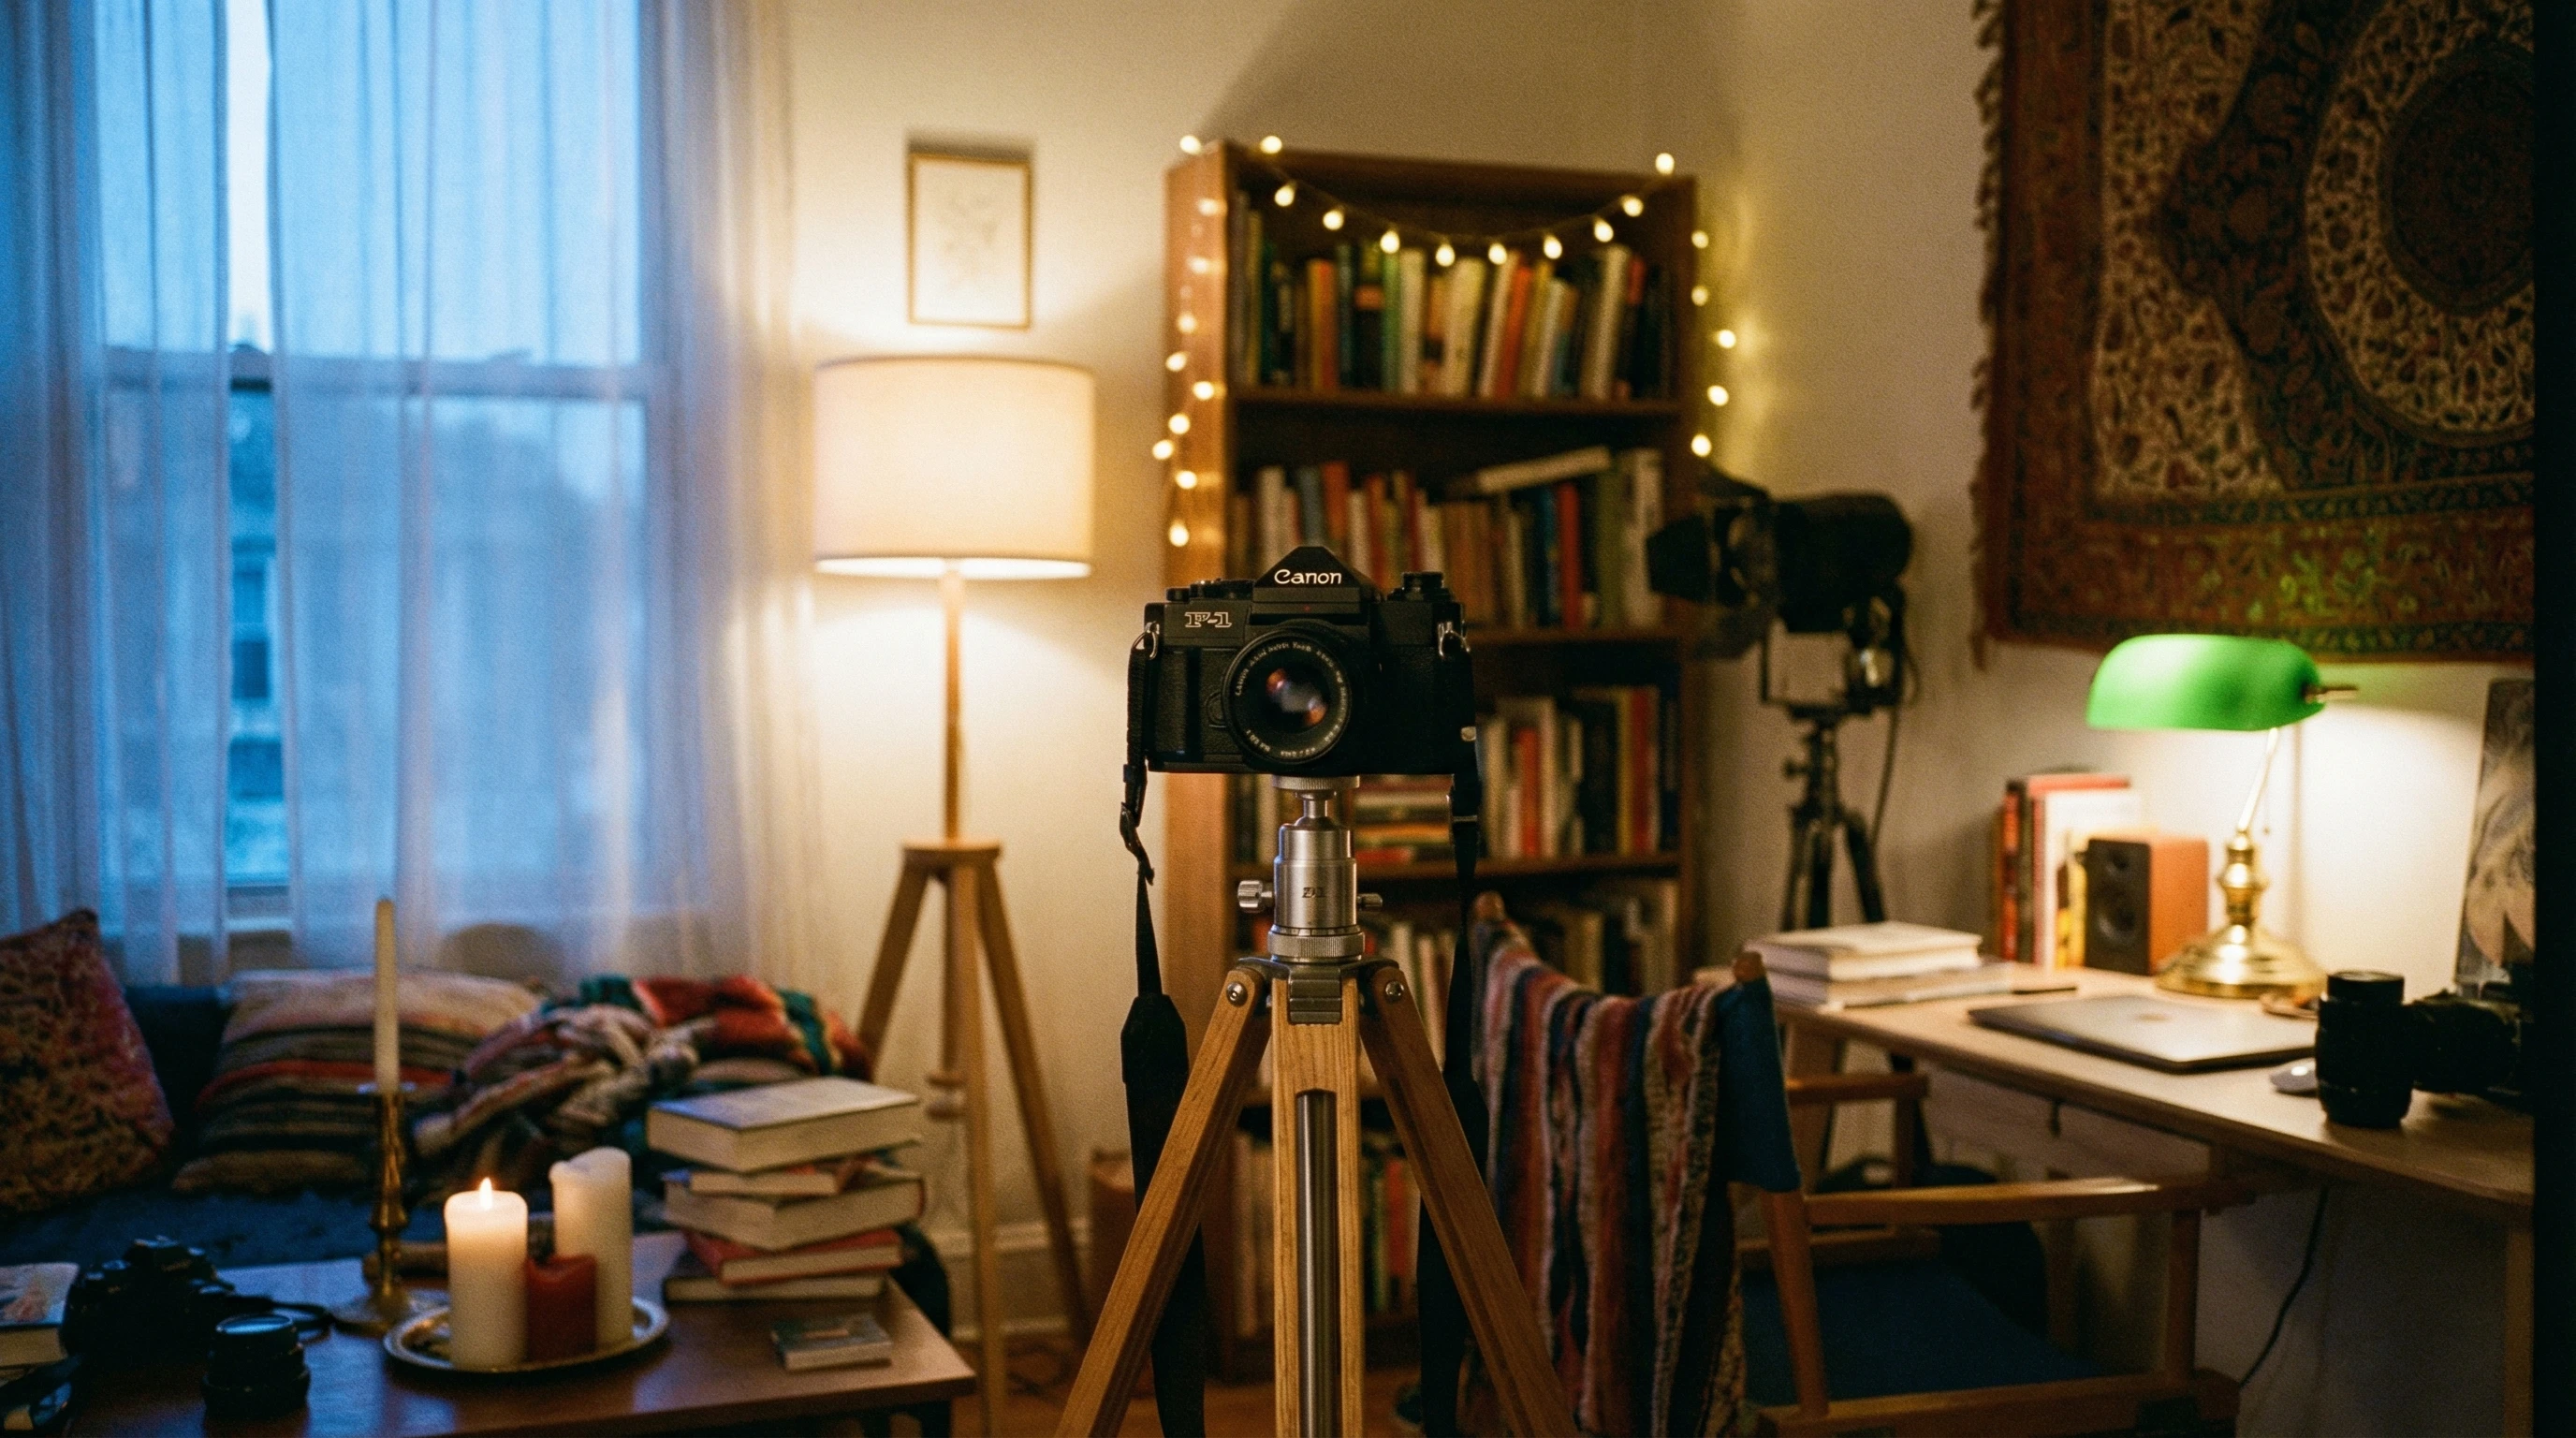
Why Try Low Light Portraits Without Flash?
There’s something special about low light portraits. They usually feel softer, more intimate, and have a lot of personality. Avoiding flash means things look more natural, and you don’t deal with that harsh, flat light or annoying red eye you often get from pop-up flashes. Shooting this way helps capture the vibe of the real scene, whether you’re indoors with lamp light or outside after sunset.
For anyone new to this style, low light portraiture opens up creative options and even pushes your camera skills to the next level. Modern cameras actually hold up pretty well in darkness. Sensor tech has advanced a lot in recent years, making it easier to shoot in dim conditions without getting too much noise. That said, nailing a sharp, flattering portrait without flash means paying extra attention to light, camera shake, and focus. It’s a learning curve but pays off in the vibe of your photos.
Setting Up for Low Light: What You Need
The right gear makes everything a bit smoother, but you don’t have to splash out on the fanciest kit either. Here’s what I recommend starting with:
As an Amazon Associate I earn from qualifying purchases.
Fast Lens:
Lenses with big apertures (like f/1.8 or f/1.4) soak up more light and let you shoot with faster shutter speeds. A 50mm f/1.8 is a classic go to and usually pretty affordable. If you’re using a smartphone, try to use the portrait mode and get close to a light source for a similar effect.
I personally shoot Nikon and they have a decent entry level option for around $250 CAD that I use regularly and find is sufficient for most things I need at that focal range.
Almost every brand is going to have their own option if you like to stick with your favourite. Images turn out quite crisp with this very affordable lens so I haven’t bothered to upgrade mine to any of the more expensive versions.
Steady Camera Support:
Tripods or even a sturdy table or windowsill can help avoid camera shake when your shutter speed drops. A stack of books or a beanbag can double as quick support in a pinch.
While I have often been caught balancing my camera on a deck railing or nearby log or rock I definitely feel a lot safe when it’s secured on a tripod.
If you’re just shooting stills indoors or on flat ground you can probably get away with one of the cheaper tripods under $50 without issue. Personally, I like to go hiking with my camera which often means shooting on even ground, I also like to be able to shoot video which sometimes requires panning, and I prefer a tripod I can travel with in my carry-on luggage so need something that has a strong but moveable head, very stable base, and folds up neatly. Those factors push my tripod needs well into the mid-range priced ones but I’ve still found I’m quite happy with those available in the $150-300 range and for the amount it gets used that still works out pretty cheap.
Modern Camera (Optional)
Cameras released in the last few years often have better sensors that handle noise well at higher ISOs. The motion capture possible in low light these days is also truly incredible. Some even have features where it can shoot back continuous so you never miss that exact millisecond you need! That said, even older cameras can work well if you put the effort into improving your technique – they just don’t cover for your mistakes quite as seamlessly as some of the new ones – but I think it can be good to learn how to be technically correct when you’re first starting out anyways, and it makes entry into photography a lot more affordable if you’re not set on the latest and greatest (which by the way will probably be considered “old and outdated” less than a decade from now too).
Some of the new mirrorless options look pretty incredibly and are on my list to buy someday. For the time being I still shoot with my good old Nikon D7200 most of the time, occasionally even breaking out the D40 as a second backup.
While year wise it’s outdated and an upgrade would be nice these cameras still take truly incredible shots; I may just have to work a little harder. Considering the image quality is still professional grade and I already own them, the price is right!
Remote or Self-Timer
Triggers help keep your camera still for longer exposures. Plus, they mean that you can potentially be in the portrait too!
I sometimes like to be in the group photo, or able to walk father away to get the right expression on an animal facing where I want them, so I use a cordless remote shutter release option, but if it’s just to reduce camera shake for you then the corded ones will work just as well. Check them out on Amazon.
You don’t need all of these, just the lens and a way to keep the camera stable make a huge difference.
Having something steady under your camera takes your photos up a notch in low light.

Camera Settings for Low Light Portraits
Messing with your settings is where the magic happens. Here’s a step by step look at what works best for me:
- Bump Up the ISO: ISO controls your sensor’s sensitivity to light. Don’t be afraid to go higher, even ISO 1600–3200 or more, depending on your camera. Some grain is normal, and it often adds to the mood of the shot.
- Open Your Aperture: Use the widest setting your lens goes (the smallest f-number). This lets in the most light and gives you dreamy background blur that’s really popular in portraits.
- Slow Down the Shutter (But Not Too Much): Aim for a shutter speed that’s quick enough to freeze motion, like 1/125 of a second, but you can go slower if your subject can keep still or you’re using a tripod. If you go too slow, things get blurry. With people, movement’s always a risk so try for a balance.
- Manual Focus Helps: Autofocus can struggle in the dark, so switch to manual if things look soft or your camera keeps hunting for focus.
- Shoot RAW: RAW files store more data and give way more flexibility when editing shadows and highlights later.
They take up a little more space/memory but after seeing the difference it makes in post processing I will never again shoot only in JPEG fine. At the moment I shoot RAW + JPEG fine for every image. It does require more available memory, but it also means I have a ready to go version for sneak peaks while also having something I can really work with in Lightroom later. In the past I have a shot only jpeg to save space and now looking back at some of those perfectly sharp images that I’ll likely never be able to re-create I truly am disappointed that I don’t have the came post processing options available to truly make them perfect.
Lexar Professional and Sandisk Extreme Pro are my go-to memory cards (and I tend to go for at least 128GB, ideally 256GB) but there are a lot of options out there, just make sure you check not only the memory bank size but also the write speed so that your ability to keep shooting isn’t slowed down but an insufficient memory card.
Quick tip: Test out a few shots and zoom in to check sharpness before going all in. Small settings tweaks can make a big difference in the final results.
Making the Most of Natural and Available Light
You don’t need fancy lights, just use what’s already around you. Here’s how I find and use available light to make portraits stand out:
- Window Light: Position your subject near a big window or door. Side or angled light adds shape and brings out features softly. Overcast days are ideal, but sheer curtains work to soften sunlight too. Just make sure you don’t put them right in front of the window or door unless you’re going to a washed out silhouette effect (most often light coming from behind the camera produces the best results).
- Lamps and Overhead Lights: Table lamps, string lights, and TV screens all make interesting light sources. Place these off to the side or behind your subject for cool effects and separation from the background. You can get lets filters to help soften harsh lighting or reduce an annoying colour hue that certain lights give off if need be.
- Street Lights and Neon: If you’re outside, signs, shop fronts, and headlights can glow up faces in creative ways. It’s a great trick for nighttime city portraits and can add drama to your shot.
- Reflections and White Surfaces: Bouncing existing light onto your subject with a white wall, sheet, or even open notebook comes in super handy to brighten faces a bit without resorting to flash.
Reflectors are available fairly cheap on Amazon, but often times you can get by without them. While they really can add value to a professional shot I find it a pain to pack them up and travel with so unless i’m shooting in studio, which is rare, I tend to not bother with them. If you’re a studio photographer shooting a lot of products and/or portraits then it’s a must have.
Look for light that’s soft, not harsh. Hard overhead bulbs or spotlights can leave weird shadows or make faces look flat, so move around to find the best spot. Experiment with the direction of the light on your subject’s face to see what looks best for mood and style.

Posing and Directing Your Subject
Low light usually means longer exposures, so stillness is a big help. Here’s what I’ve found useful for keeping portraits sharp and expressions natural:
- Support Elbows or Lean: Get your subject to brace against a wall, table, or chair. Even having them sit instead of standing can help with steadiness and makes it easier to hold a pose for a few seconds.
- Breathe and Pause: Asking your subject to hold their breath for a second during the shutter click cuts down on blur from movement.
- Use Props: Books, mugs, or cozy blankets can keep hands still and add to the mood. Having a prop also makes your subject relax and look more natural.
Let your subject know what you’re aiming for and review shots together. That way, you’re both on the same page and can adjust the pose or lighting if needed. You’ll get more teamwork and better end results by involving them in the process.
Editing for Low Light Portraits
Shooting in dim conditions almost always needs some editing. This is where RAW files really shine. I lean on a few basics during post-processing:
- Noise Reduction: Most editing apps have a tool to smooth out grain. Don’t overdo it or faces can look plasticky, just enough to take the edge off. If your software allows, mask noise reduction so it applies mostly to the background and not the face details. I like to use Adobe Lightroom Classic or Adobe Lightroom as my primary options but there is a bunch of great software out there to choose from these days.
- Bump Up Exposure or Shadows: Slightly increase brightness and open up the shadows. Go easy or it’ll start to look fake. Use the brush tool for local adjustments, brightening just the face if needed.
- Adjust White Balance: Indoor lighting can go orange or green. Tweak the temperature slider for natural skin tones, or use the eyedropper tool to quickly set white balance by clicking something neutral in your image.
- Sharpening: Carefully add sharpness so details pop, but not so much that the noise comes back in. Subtle contrast boosts can help add depth without making things look crunchy.
Editing is personal, so some like a dark, dramatic look while others want bright and clean. Find your style and roll with it. The beauty of shooting in RAW is you can always return and tweak again if you change your mind.
MASKING IS YOUR BEST FRIEND IN POST PROCESSING – seriously – the difference in the end result when you can edit sections separately in truly mind blowing. I get far more out of masking than I do a broad spectrum edit that covers the whole photo.

Common Challenges and How to Handle Them
Taking portraits in low light without flash does come with some hurdles. Here’s what pops up most and what I do about them:
- Grainy or Noisy Photos: Higher ISO boosts grain, but that’s normal. Noise reduction in software helps, and sometimes a bit of grain adds vibe. Embrace it if it fits the look you’re after; classic film portraits had the same mood. Sometimes the newer cameras are better able to manage this but in camera technique and strategic use of light can go a long way if you have less to work with.
- Blurry Shots: Use support (tripod or table), ask your subject to stay still, and use the camera’s burst mode. Take several shots in a row. One will usually come out crisp. You can always cull the softer ones later.
- Color Shifts: Different light bulbs cause weird colours. Shooting in RAW makes it much easier to fix these in editing. Try to have consistent light sources, or at least be aware of their colour to make corrections simpler and easier.
- Focus Problems: In darkness, autofocus can miss. Manual focus with focus peaking (if your camera has it) works great. If not, switch on your camera’s digital zoom feature (live view) to nail focus by eye. Take your time and check focus often on the back screen before moving on. There’s nothing worse than having an otherwise perfect shot out of focus and it’s a very hard thing to fix in post processing – you’re better off getting it right in camera.
If you ever feel stuck, switching on a flashlight or phone screen just to set focus quickly, then turning it off for the shot, works wonders. This quick trick helps you get sharp results even when conditions are tough.
RealWorld Examples: Where This All Comes Together
I like to use these methods whenever I want to capture a cozy reading scene in a living room, a musician at a dim gig, or street portraits at dusk. For instance, a simple photo example was just a friend, sitting on the couch at dusk with the window as the main light source. Camera on a tripod, ISO at 2500, lens was wide open at f/1.8, and a second to keep still. The end result was grainy but looked artistic, authentic to how the moment felt in real life.
- Documentary Shoots: Great for capturing real, unscripted moments by lamp or ambient light. This approach feels softer and more natural than a popped flash.
- Creative Self-Portraits: Try using a tripod and self timer by a window or lamp for atmospheric shots. Adding props or dramatic poses can result in next level cool self portraits. These can be a great way to practice your setup without wasting money on model time or frustrating family and friends for hours while you learn how to get it just right!
- Night time City Portraits: Streetlights and neon add colour and mood for fun, urban vibes. These types of shots really show off what available light can do when you work with it.
Frequently Asked Questions
These are some of the questions I get most about shooting low light portraits without flash:
Question: Can I use my smartphone for low light portraits?
Answer: Absolutely. Most newer phones handle low light surprisingly well, especially in “Night Mode.” Use window light and keep the phone steady (prop it up if you don’t have a tripod). Consider using burst mode for sharper results. For large professional prints a real camera is still best but phones have a come a long way and for an average size print, social media, or typical computer screen they are more than sufficient. Most phones can’t shoot in RAW though so post-processing (editing) isn’t available in the same way that it would be with a professional camera.
Question: How do I avoid motion blur with people in low light?
Answer: Raise your ISO to get faster shutter speeds, have your subject sit or lean, and take a few shots in a burst to up your chances of a sharp photo. If possible, ask them to pause breathing briefly just during the shot. Making sure the things you can control (like your camera) are as still as possible helps ensure that at least there is only motion on one end – your subjects.
Question: What lenses are best for low light portraits?
Answer: Go for lenses that open wide, like a 50mm or 35mm f/1.8. These are affordable, easy to use, and let in lots of light—super useful for dim scenes.
Question: How can I make skin tones look good under weird indoor lights?
Answer: Adjust the white balance in-camera (try the “tungsten” or “incandescent” preset for orange lights), or fix it later in editing using the temperature and tint sliders. Some lens filters can help with this as well. Shoot RAW for the most forgiving edits.

Getting Better at Low Light Portraits
Shooting in low light without flash is all about experimenting. Practice with friends or family, tweak your settings shot by shot, and study your results. Trust your eyes—if something looks cool, lean into it. There’s no single right way to do things, and every room, face, and light source will be different. Stay patient and play around until you get a look you like. Sometimes playing with an object or yourself is the subject can help a lot to figure out how to work with the lighting before bringing your real subject in.
Working through the challenges of low light portraits actually gives a boost to your skills for all kinds of photography. You’ll build up an eye for good light, steady hands, and confidence making choices with your gear. You can find more ideas and gear tips by checking out photography communities and YouTube channels like DigitalRev TV or the guides on DPReview. These are pretty handy if you want hands on walkthroughs and gear reviews.
I’ve found that sticking with it opens up a whole world of artistic images, no flash required. Have fun out there, and don’t stress about getting everything perfect—sometimes, the little imperfections are what make the photo feel real.