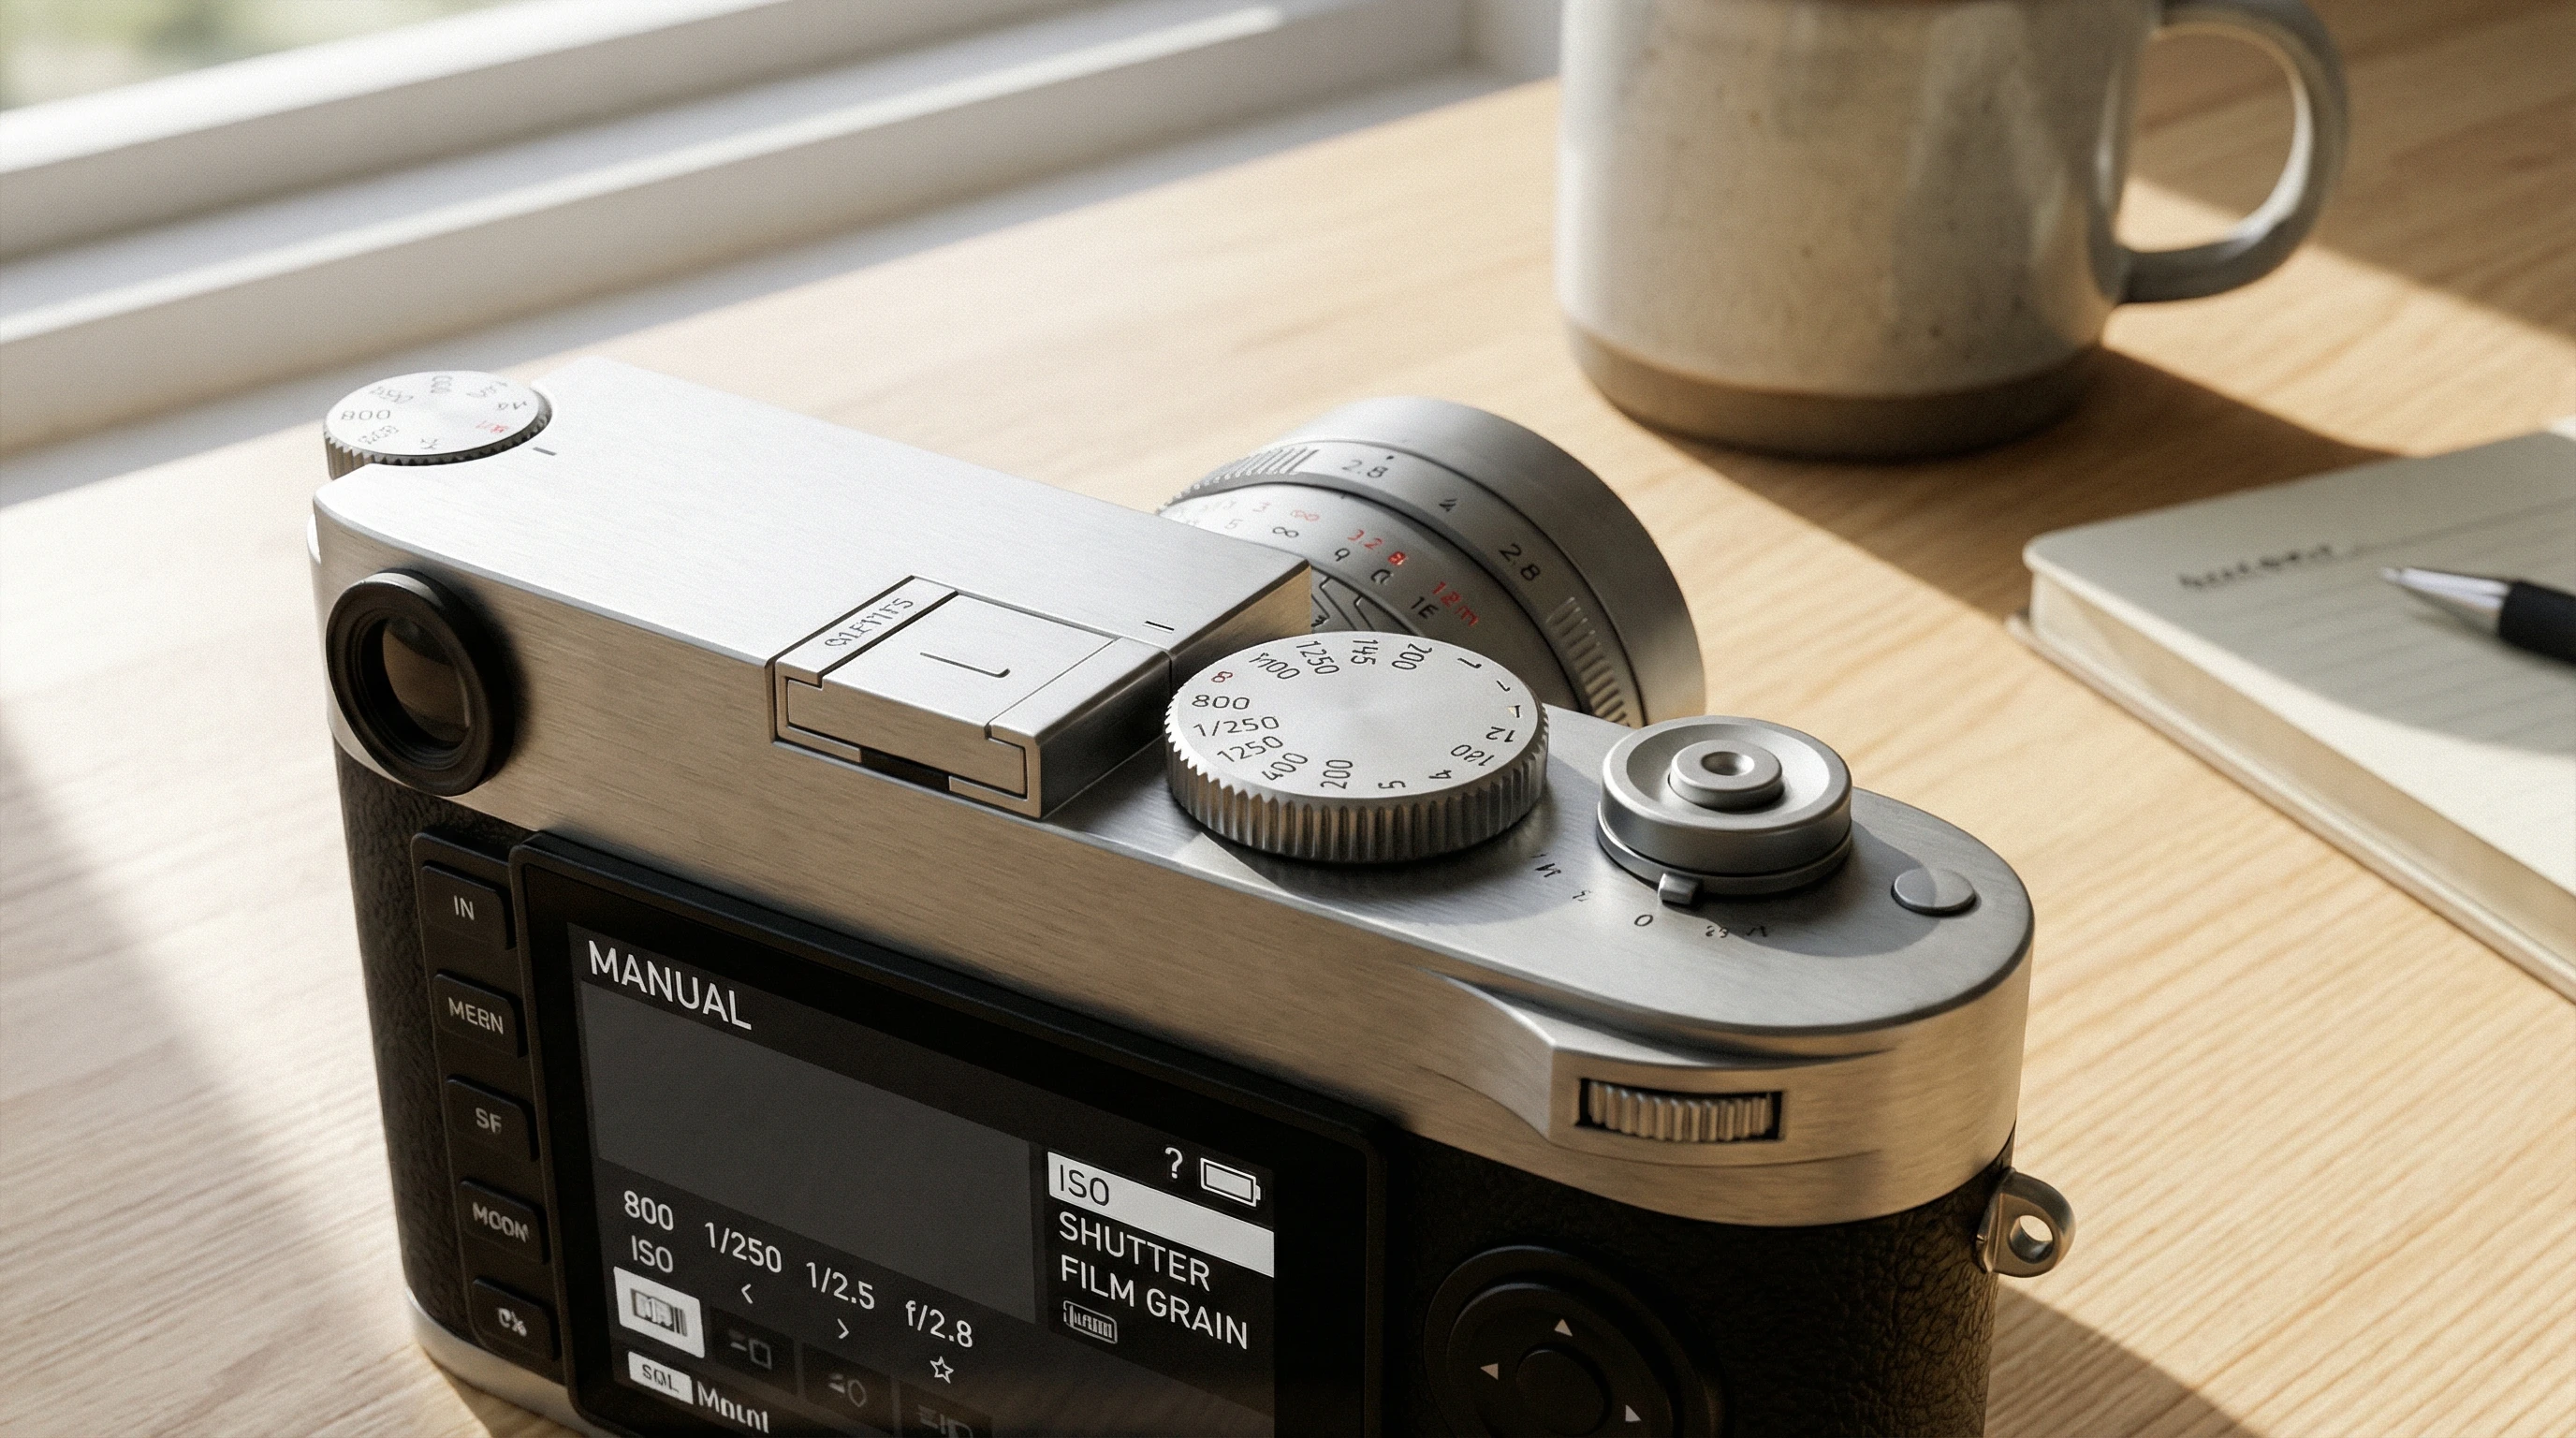
Manual mode on a camera can look pretty intimidating if you aren’t used to fiddling with lots of dials and settings. Still, if you want to take photos that match your creative vision, learning to shoot in manual is one skill that’ll seriously take your photography up a notch. I’ll break down what you need to know, how to practice, and a few practical tips from my own experience that will help you get more comfortable with those controls.
Why Bother With Manual Mode?
Shooting in automatic or semiautomatic modes like Aperture Priority or Shutter Priority is super convenient and totally fine for everyday photos. The real fun starts when you want to control every part of your exposure and create the look you’re after. Manual mode lets you set the aperture, shutter speed, and ISO yourself, which means you’re the one deciding how the photo will turn out, not the camera’s algorithm.
If you’ve ever taken a photo in tough lighting or wanted blurry backgrounds (or everything in focus), manual mode lets you make that happen. You might notice that pro photographers swear by manual for tricky situations like concerts, night shots, or creative effects. Once you get the hang of it, you won’t want to give that control back.
The Core Settings: Shutter Speed, Aperture, and ISO
Manual mode means you’re adjusting three main settings for each shot. Here’s what’s happening whenever you dial in those numbers:
- Shutter Speed: This controls how long the sensor is exposed to light. Faster speeds (like 1/1000) freeze motion, while slower ones (like 1/30) can blur movement. I use fast speeds for action shots and slow ones for night scenes or creative motion blur.
- Aperture (f-stop): This is how wide the lens opens. Lower fnumbers (like f/1.8) mean a bigger opening and a blurrier background. Higher numbers (f/11) let less light in but keep more of the scene in focus. If you’re shooting portraits, a wide aperture makes things look dreamy.
- ISO: Basically, this is how sensitive your camera’s sensor is to light. Lower ISOs (like 100) give the cleanest images, but you need more light or a longer exposure. Higher ISOs (like 3200) are good for dark scenes but might add grain, which isn’t always a bad thing if you want a gritty look.

Getting Comfortable: A Beginner’s Checklist
If you’re just dipping your toes into manual mode, it’s easy to feel overwhelmed. Here are the basic steps I use with any new camera or shooting situation:
- Start with a test shot. I usually point the camera at my scene and snap a shot using automatic mode just to see what settings the camera chooses.
- Set ISO first. I pick the lowest ISO that makes sense for the light I have. If it’s sunny, ISO 100. Indoors, maybe 400 or higher.
- Decide on aperture. If I want blurry backgrounds, I’ll pick a low f-number. For landscapes or groups where I want sharpness everywhere, I’ll go higher.
- Adjust shutter speed to match. I change the shutter speed until the light meter is centered, or nearly so, in the viewfinder or screen.
- Check results and tweak settings. If the photo is too dark or bright, I’ll adjust either aperture, ISO, or shutter speed until I get the look I want.
The “Exposure Triangle” in Plain English
The term “exposure triangle” gets tossed around a lot, so here’s how I explain it when friends ask. Each leg of the triangle (ISO, shutter speed, aperture) affects how light or dark your image is, but they also impact the way your photos look. Changing one means you usually have to tweak the others to keep things balanced.
For example, if you want a faster shutter speed to freeze action, you might need to use a wider aperture or a higher ISO for the same brightness. It’s about finding the right balance for your subject and the mood you want.

Common Challenges and How I Handle Them
- Photos are too bright or too dark: I check my LCD and histogram often. If something’s off, I’ll adjust the settings. Don’t be afraid to take several shots and review as you go.
- Motion blur when it’s not wanted: If my photo looks shaky, I use a faster shutter speed or ask my subject to hold still. Sometimes bumping up ISO helps.
- Focus issues: Shooting wide open (low fstop) is great for portraits, but focusing gets tricky. I always make sure my focus spot is locked on what I want sharp, especially eyes in a portrait.
Shutter Speed Tips
For sharp handheld photos, I try to use a shutter speed that’s at least the reciprocal of the lens’ focal length (for a 50mm lens, 1/60s or faster). If I want intentional motion blur, like for waterfalls, I’ll drop to 1/4s and use a tripod.
Aperture Tips
Shooting landscapes? I stick to f/8 to f/11 for sharpness from corner to corner. For portraits, f/1.8–f/2.8 usually gives nice separation with dreamy backgrounds.
ISO Tips
I keep my ISO low for sunny days and go higher only when I need to. If I notice noise creeping in, I’ll see if I can open up my aperture or slow my shutter just a little more.
Practical Scenarios: RealWorld Shooting Examples
Here’s how I handle different situations to get the shot I want with manual controls:
- Outdoor Portraits: Set ISO 100, aperture around f/2.8 for those blurry backgrounds, then adjust shutter speed until the exposure looks right.
- LowLight Street Photography: ISO 1600 to 3200, aperture wide open (like f/1.8), and then play with shutter speed. Sometimes I have to strike a balance to let in enough light while avoiding blur.
- Sports or Fast Action: Shutter speed is my top priority, like 1/1000s or even faster. I pick an aperture as wide as my lens allows, then raise ISO as needed.

Extra Tools That Help Make Manual Shooting Easier
Gear isn’t the only answer, but a few extras can make manual shooting less stressful. I keep a small tripod in my bag for low light and night photos. Neutral density (ND) filters help me shoot with wide apertures in bright sun, which is pretty handy for portraits. Sometimes an external light meter helps if the incamera one isn’t behaving, especially for film or older digital cameras.
FAQs: Common Questions About Manual Mode
Question: I’m always fumbling with settings and missing the shot. Any advice?
Answer: Preset your camera for the lighting you expect, and tweak from there. Practice changing settings fast without looking at your camera will make it much smoother. After a while, muscle memory kicks in, and you’re much quicker to react.
Question: How can I practice shooting in manual mode without getting overwhelmed?
Answer: Stick to one setting at a time. Maybe spend a day adjusting only aperture, and let your camera set the rest (using Aperture Priority). Then practice with ISO, then shutter speed. When you’re ready, bring them all together in manual.
Question: Should I always use manual mode?
Answer: Not always! If you’re shooting fastpaced moments where you need to react quickly (like street or event photography), semiauto modes are super useful. Manual mode is great for situations where you have more time to set up, or you want a specific creative effect.

Sharpening Your Skills and Creativity
The more you practice manual mode, the more you’ll start to “see” light and know what settings you need for each situation. I like to experiment during my daily walks—sunny, cloudy, or night—just to see how changing settings tweaks the vibe of a scene. Reviewing my shots and their settings helps me tweak my approach for next time. Try shooting the same scene with different settings, and check how much the mood or sharpness changes; this is an eyeopening way to get hands-on with learning.
Manual mode also gives you creative power, letting you play with double exposures, long exposures, and experimenting with intentional blur. As you try different techniques, you develop not just technical skill but a sense of your own style. Nailing manual mode isn’t about memorizing numbers; it’s about seeing how each setting works together for different looks. The more you shoot, the faster it clicks. Eventually, you’ll be changing settings without even thinking about them, and that’s when shooting in manual mode really starts to feel like second nature. Keep practicing, challenge yourself with new scenarios, and most importantly, have fun experimenting and making mistakes, since that’s the fastest way to grow in photography.