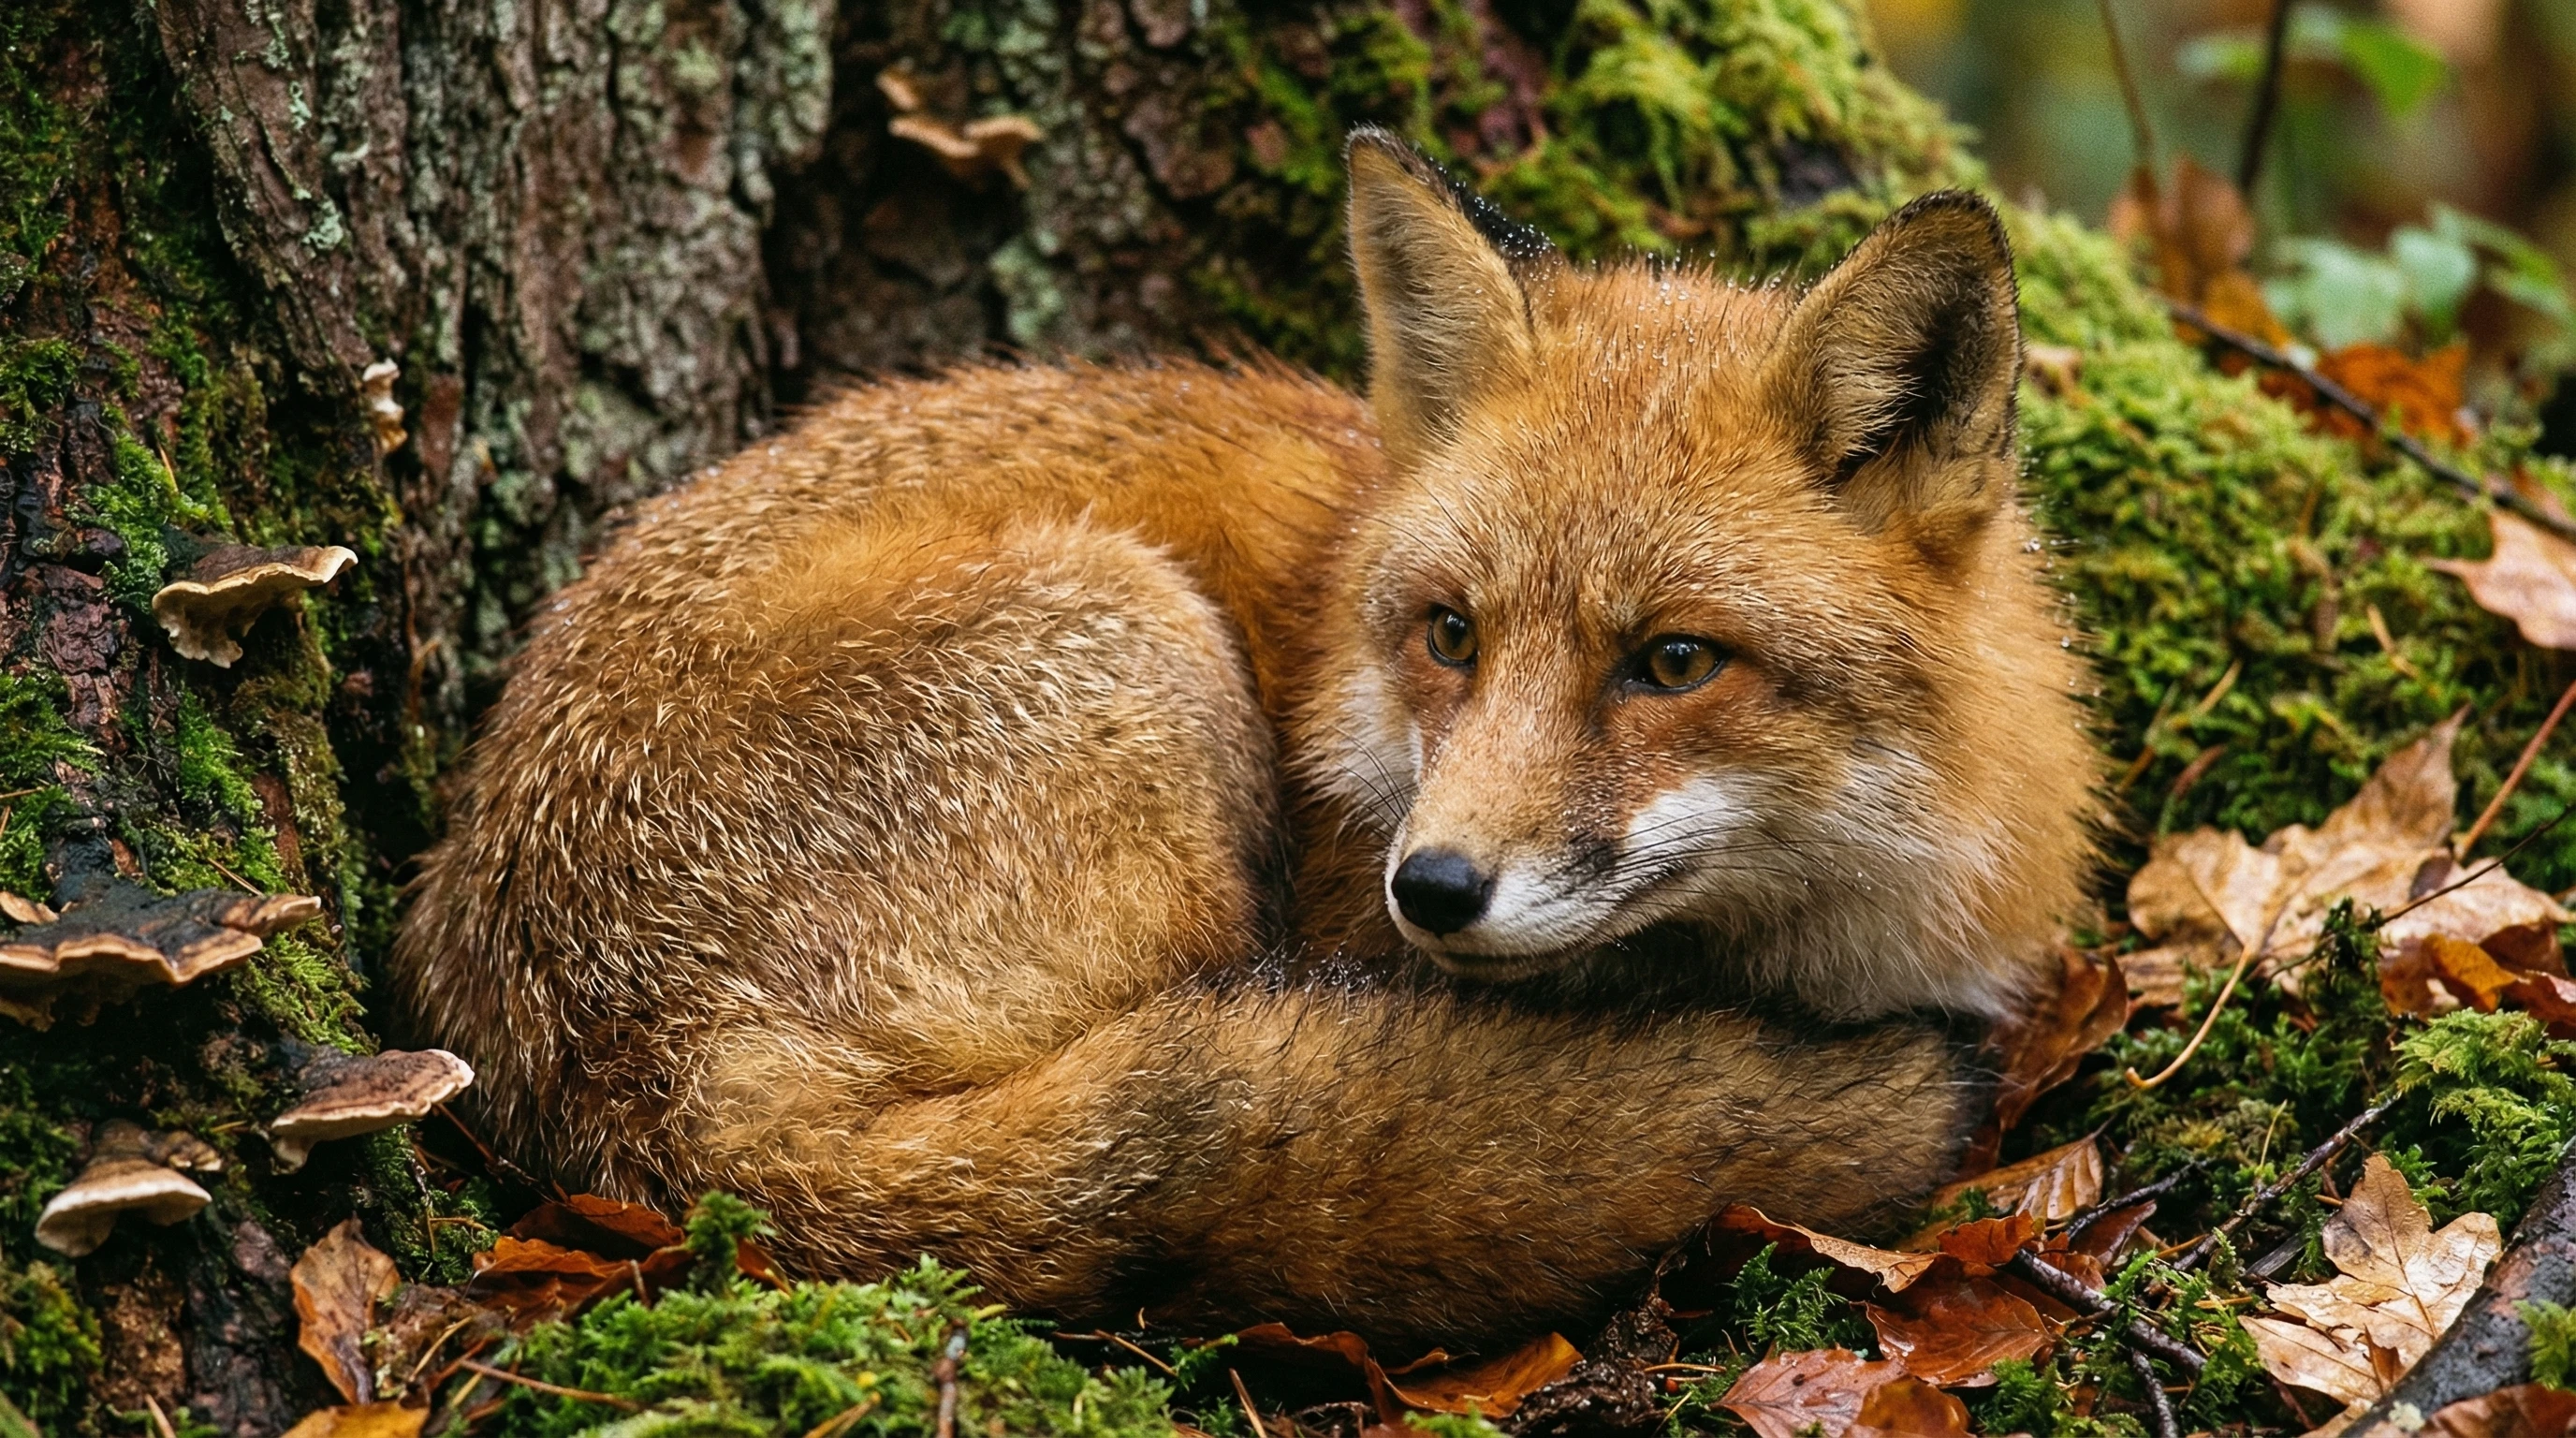
Wildlife photography always draws me in with its mix of adventure and connection to the natural world. There’s a certain thrill in capturing a split-second glance from a fox, a delicate bird at sunrise, or a powerful moment between wild animals. Getting those up-close and personal shots usually takes patience, some clever planning, and the right kind of gear. Here’s how you can add some real magic to your wildlife photos and the steps that help make those shots stand out from the crowd.
The Gear That Makes Close Up Wildlife Shots Possible
Having the absolute best camera isn’t always necessary, but knowing what’s really needed for wildlife photography comes in handy. Wildlife photography has spread like wildfire ever since digital cameras brought faster autofocus and better low-light shooting into reach. These days, even entry level cameras can get you crisp and engaging closeups when paired with the right lens.
Wildlife photography means getting ready for a range of scenarios. Sometimes this means hiking deep into parks or sitting for hours in a hide or blind. Bringing a solid kit really smooths out the experience and makes capturing those rare moments a lot easier.
- Telephoto Lens: These lenses bring distant animals up close without intruding on their space. A 300mm or 400mm lens serves both birds and big mammals, giving you sharp, detailed shots.
- Camera with Fast Autofocus: Wild animals don’t wait around. A camera that locks focus instantly lets you nab that perfect second, whether it’s a sudden leap or a head turning your way.
- Tripod or Monopod: Longer lenses get heavy in a hurry. A tripod or monopod keeps your arms fresh and your photos tack sharp, especially under tricky lighting conditions.
- Weather Protection: Nature is unpredictable. Rain covers and weather sealed equipment come in handy so you can keep shooting even if the weather takes a turn for the worse.
Through experience, I’ve learned that choosing the right gear for the locations and species you want to photograph can save tons of hassle. Even simple accessories like beanbags or portable blinds help a lot when waiting around for just the right subject.

Getting Ready: How to Prepare for Wildlife Encounters
Wildlife photography is half photography and half animal knowledge. Understanding animals, their routines, and the terrain you’ll be visiting plays a huge role in getting those intimate, in-the-moment pictures. Spending time learning about my subjects before heading out helps keep them undisturbed and boosts my odds of getting memorable images.
- Research Local Species: Every animal has its own unique habits. Birds might only appear at dawn, while mammals may avoid specific weather conditions. Checking out habits beforehand means your outings are more productive.
- Scout Locations: Walk or drive through the area before you bring your kit. Watch for tracks, nests, or feeding areas to figure out the best places to set up without trouble.
- Check Regulations: Parks and wildlife reserves sometimes have rules about getting near wildlife. Double-checking beforehand keeps both you and the animals protected.
- Pack Light but Smart: Only bring the essentials for that outing. A lighter kit makes you more agile and lets you be ready for quick, spontaneous shots.
Preparation isn’t about taking the kitchen sink. It’s about having animal knowledge, understanding the light, checking the weather, and picking gear that makes sense for the field. Smart packing saves both energy and time, making sure you’re focused behind the camera rather than fussing with equipment.
Simple Steps for Getting Closer Without Disturbing
Snagging close-up wildlife photos doesn’t mean walking right up to an animal. Instead, it’s about using some proven moves to collect your shots safely and respectfully:
- Move Slowly and Quietly: Quick actions make most animals bolt. Slow, steady approaches or patiently waiting for wildlife to come toward you work best.
- Blend In: Dress in earth tones, use camouflage, or set up a blind. Animals spot you less if you blend with their surroundings.
- Use Natural Barriers: Rocks, trees, and bushes make easy cover as you edge nearer or hide while you wait for the shot you want.
- Stay Downwind: Many mammals catch human scent quickly. Make sure you’re downwind so you go unnoticed.
- Let Animals Come to You: Some of my favorite closeup photos happen when I stay still and let animal curiosity shrink the gap instead.
Patience matters the most here. Often, I spend hours at one spot. But waiting for the animal to come closer always beats forcing it. Animals behave more naturally, leading to better photos and fewer regrets.

Points to Think Through Before Heading Into the Wild
Several unexpected things can happen during wildlife shoots. Being ready for common challenges makes outings smoother. Here’s what stands out, based on my experiences:
- Unpredictable Weather: Wildlife shows up in rain, sun, or fog, but camera gear often won’t cooperate with puddles or sand. Packing extra layers and rain covers helps you keep shooting, rain or shine.
- Changing Light Conditions: Dawn and dusk provide warm, flattering light. But these times aren’t always easy—knowing how to change ISO, aperture, and shutter speed can make or break your photo.
- Getting Too Close: It’s tempting to inch closer, but it can stress animals and stop you from future chances. Respecting animal boundaries makes your presence less stressful for them and keeps your experience ethical.
- Physical Challenges: Steep hikes, rocky terrain, and pesky bugs are all part of the adventure. Staying physically ready and packing basic supplies keeps your attention on capturing great moments.
Gear Maintenance and Safety
I always build routines around cleaning lenses, checking over camera bodies, and charging batteries before any trip. Wildlife photography often happens a long way from outlets, so power banks and a trusty lens cloth can be absolute lifesavers in the wild.
Staying Respectful of Wildlife
Responsible wildlife photography means protecting wild creatures and their environments. Avoid feeding animals, chasing them, or interfering with their routines to get a shot. The best images come from animals acting naturally, which only happens when they feel secure. Lots of organizations and parks offer advice on ethical practices—reading them ahead of time is a smart move for every new photographer.
Tips and Tricks for Dramatic Wildlife Photos
Once you’re settled with your gear and approach, a few strategies can help you take your photos up a notch:
- Focus on the Eyes: Eyes are naturally eye-catching. As your subject’s eyes remain sharp, people connect more deeply with the image.
- Embrace Low Angles: Kneel, crouch, or even lie down for the shot. Getting low brings an engaging, personal feel and a fresh viewpoint.
- Show Environment: Including a bit of the landscape provides more context. This approach weaves a story and showcases the animal’s world.
- Use Burst Mode: Animals are unpredictable, and burst mode lets you catch little in-between movements, like a sudden leap or flap of wings.
- Edit Thoughtfully: Post-shoot adjustments help bring out colors, crop your frame, and crank up details. Small tweaks can have a big effect on the final photo.
With these tricks in your back pocket, you’ll notice how your wildlife photography becomes more expressive and full of feeling.

Wildlife Photography for Beginners: What Works Best?
Jumping into wildlife photography can feel overwhelming. I suggest starting where you are. Any camera works, as long as you practice basic techniques like framing and patience. The more you get out there, the better you’ll get—gear upgrades can come later once you find your style.
- Photographing Birds: Birds at feeders, garden water sources, or local parks make great subjects, even with basic cameras. Consistent observation and patience pay off.
- Mammal Closeups: Local and national parks are excellent; animals used to people may come closer for a natural encounter.
- Macro Shots: When looking at insects or small critters, a macro lens makes a world of difference. Stay still and observe closely—you’ll spot entire new worlds hidden at your feet.
Stumbling upon inspiration through documentaries, online galleries, and nature magazines can spark new adventure ideas. Joining photography clubs, online groups, or workshops gives you a chance to swap stories, get tips, and push your skills faster.
Frequently Asked Questions
What camera settings work best for wildlife?
Answer: Fast shutter speeds around 1/1000s or higher help freeze motion. Continuous autofocus and burst mode make capturing action easier.
How can I photograph wildlife safely?
Answer: Keep a respectful distance, rely on longer lenses, and never interfere with animal habits or their habitat. Learning about ethical wildlife photography gives you more insight too.
When is the best time for wildlife photography?
Answer: Early morning and late afternoon are best for quality light and animal activity. Midday light gets harsh, and animals are usually less active.

Wrapping Up
Wildlife photography takes time to master, but every outing helps sharpen your photographer’s eye while growing your respect for the wild. The more you prepare, know your subjects, and practice patience, the better your chances of taking home photos that are personal, thrilling, and full of natural charm. Grab your camera, head outside, and see which powerful moments you’ll get to capture next.