Getting a handle on depth of field can be a real game changer for anyone looking to bring photos to life. Whether you’re snapping portraits, shooting landscapes, or aiming for more eye-catching pictures, depth of field can turn an ordinary shot into something next-level cool. In this guide, I’ll walk you through what depth of field really means, what choices affect it, and how you can use it to shape your unique style.
What Is Depth of Field in Photography?
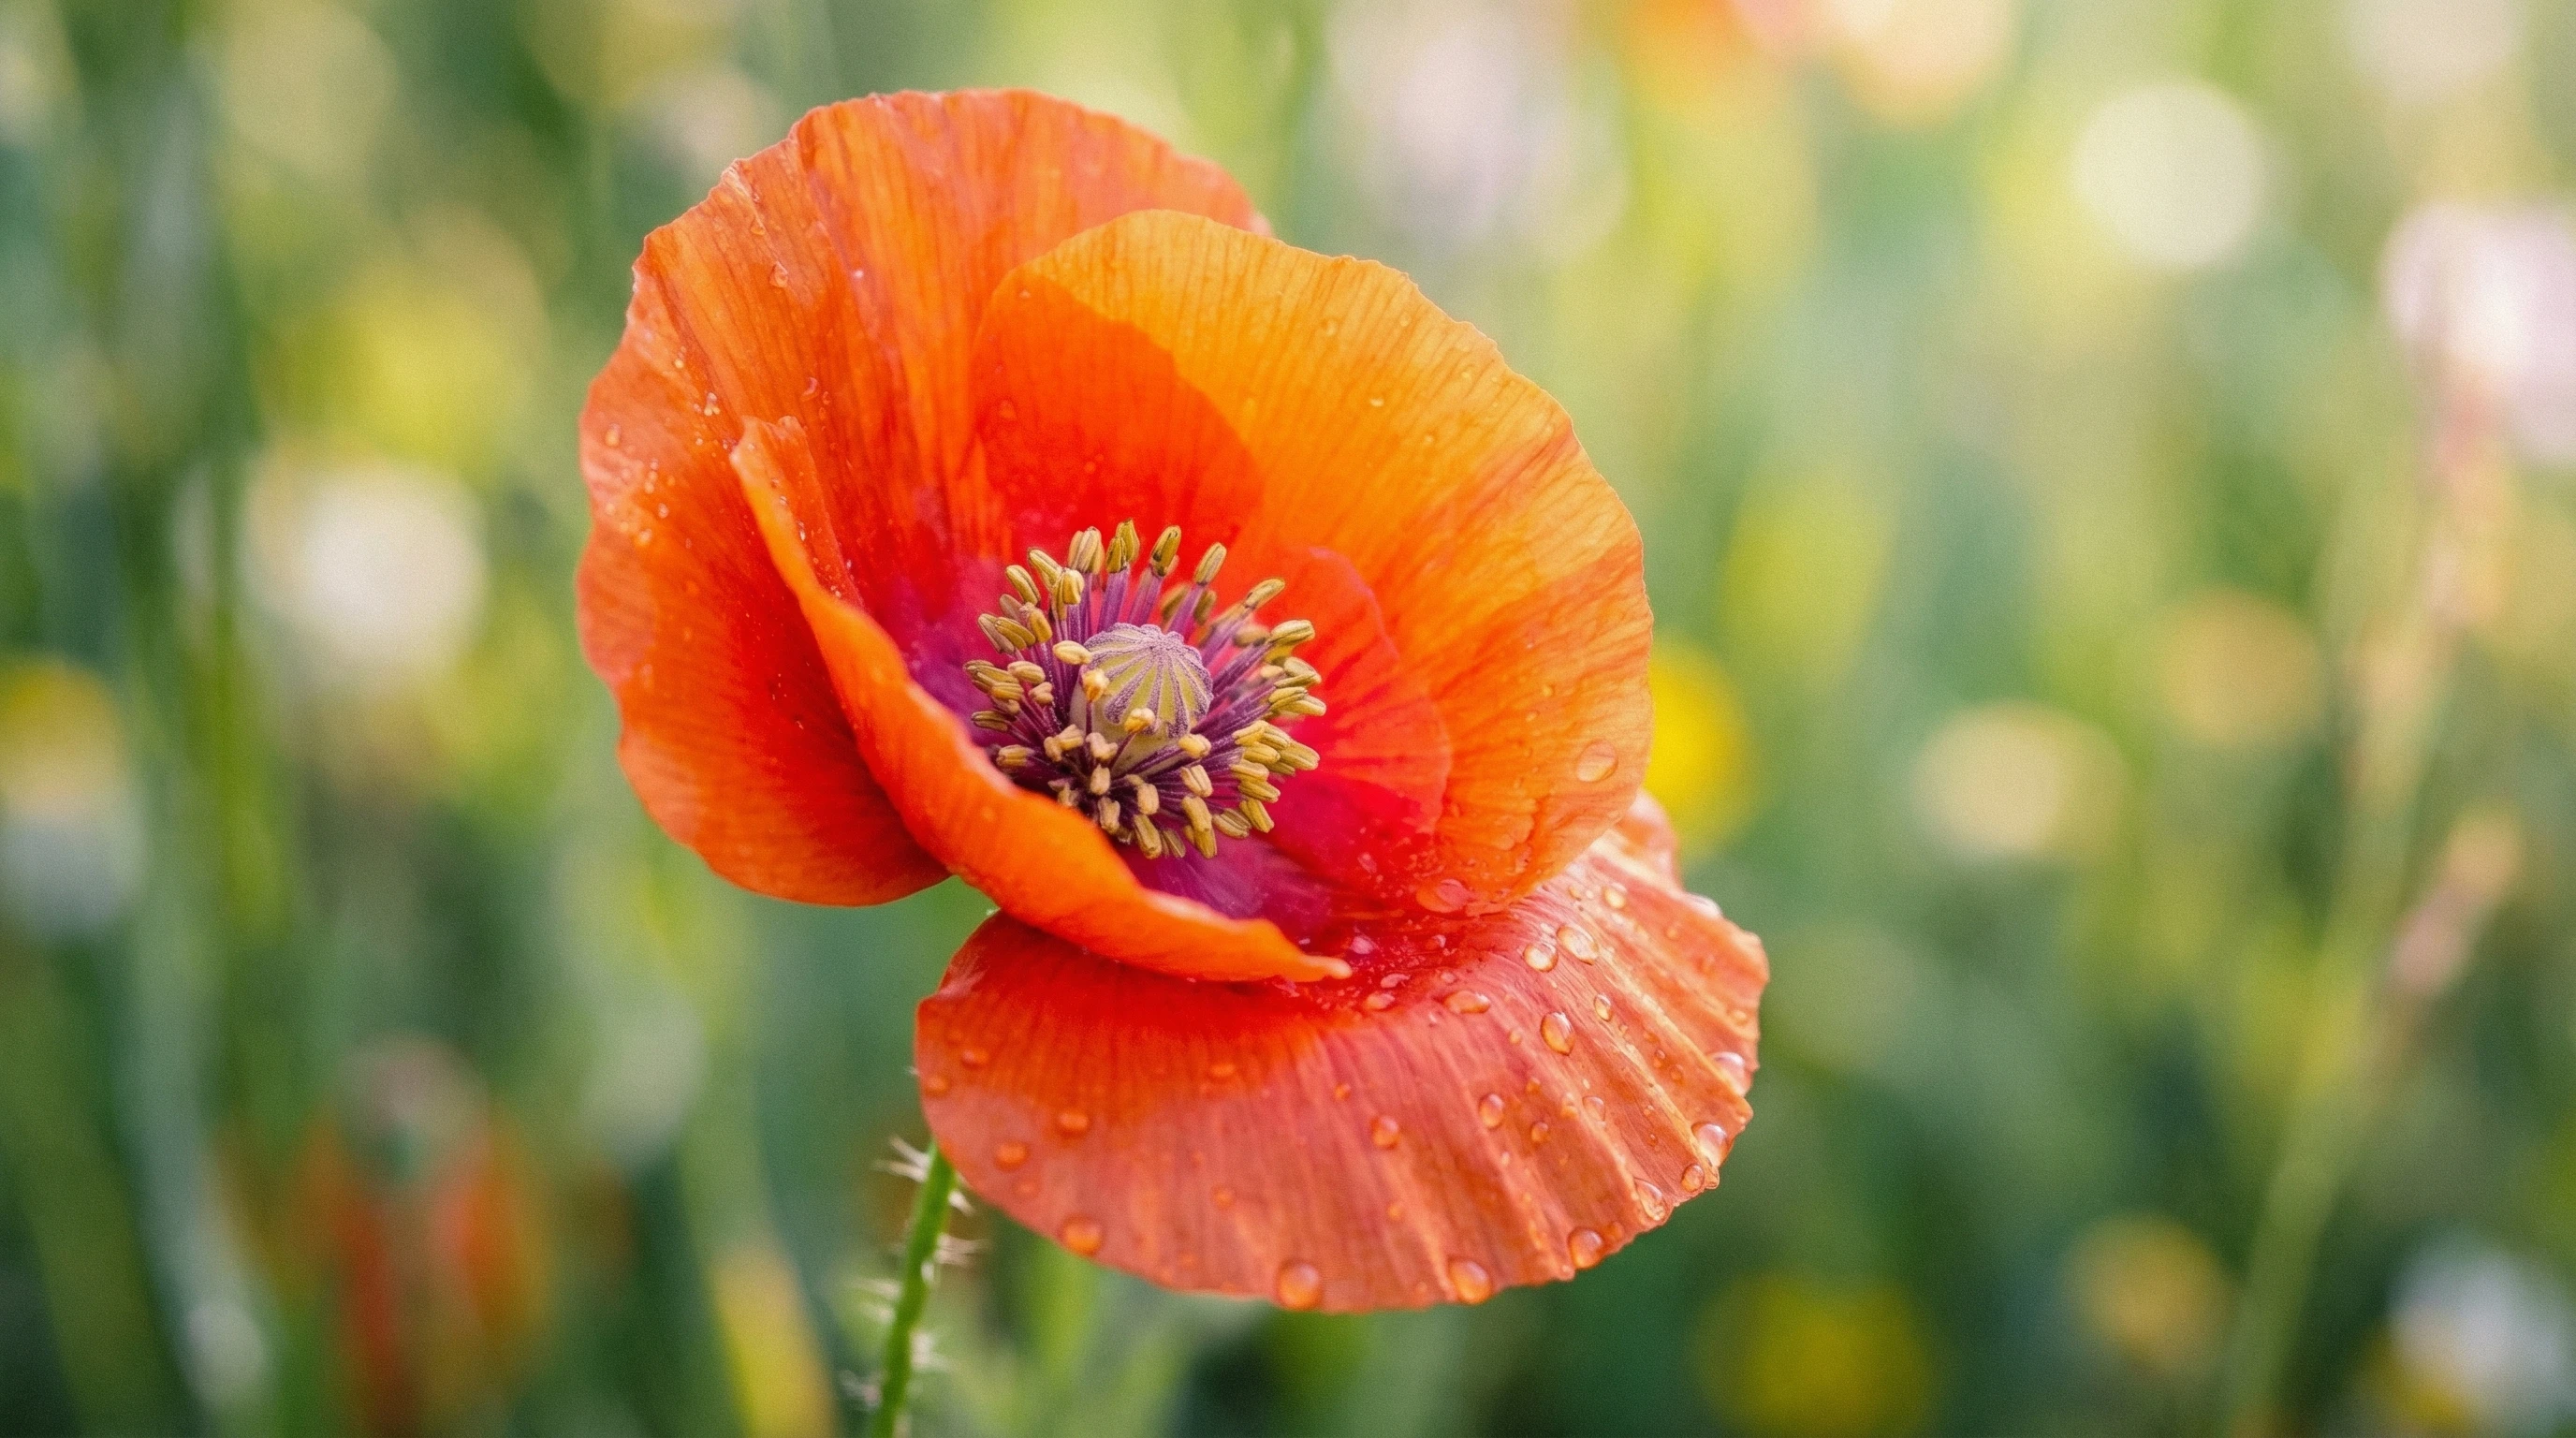
Depth of field, or DOF for short, is all about how much of an image looks sharp from front to back. It’s a principle that controls what stays in focus and what gets that much-loved blur—also called bokeh. Depth of field describes the distance between the nearest and farthest objects that appear sharp in a photo.
When you hear people talk about “shallow” or “deep” depth of field, they mean how much of a scene stays sharp. Shallow depth of field means just a sliver of your shot is sharp (like a person’s eyes), with everything else melting into blur. On the other hand, deep depth of field covers more space, keeping the foreground and background in focus. Each method gives off a different mood and can strongly influence what viewers focus on in your image.

Why Depth of Field Matters for Your Photos
Depth of field isn’t just some technical mumbo jumbo—it shapes the very story your image tells. By making smart choices with depth of field, you can guide people’s eyes right to the heart of your shot. Want to highlight a subject in a busy place? A shallow depth of field can isolate them from background distractions. Want to share the full beauty of a sweeping landscape? A deeper depth of field captures everything, from rocks at your feet to clouds on the horizon.
Even simple photos pop more when you play around with depth of field. A smooth blur behind a portrait makes it more intimate, and a crisp cityscape puts all those tiny details on display. As you get a sense of it, you’ll notice depth of field everywhere—from magazine covers to social feeds—and realize how powerful it is for your own photos.

The Big Four: What Controls Depth of Field?
Depth of field is shaped by a handful of technical settings. With some real hands-on practice, you can use these four factors to take control:
- Aperture (f-stop): This one’s the most direct. A wide aperture (a lower f-number like f/1.8) gives you a shallower depth of field; a narrow aperture (higher f-number like f/16) stretches the focus zone.
- Focal Length: Zooming in with a longer focal length (like 85mm or 200mm) often leads to a blurrier background, while short, wide angle lenses (like 24mm) tend to keep more of the scene sharp.
- Distance to Subject: The closer you stand to your subject, the shallower your depth of field will be. Step back and you’ll find more of the frame is in focus.
- Sensor Size: Cameras with bigger sensors (think full frame or APS-C) usually deliver a shallower depth of field for the same settings compared to cameras with smaller sensors.
Try manipulating each setting one at a time to get a feel for how it changes your shot. Over time, you’ll be able to mix and match for awesome results, tailored to your style.
How Depth of Field Changes Different Types of Photography
The impact of depth of field varies depending on the type of photography. Here are a few common scenarios where it matters:
- Portraits: Use shallow depth of field to make your subject pop by blurring the background.
- Landscapes: Deep depth of field brings every part of a dramatic scene into focus, from the foreground to the distant background.
- Street Photography: Adjusting depth of field can either spotlight a single subject or showcase the whole lively scene.
- Macro Shots: Getting up close to small subjects like insects means depth of field is super narrow, so focus becomes critical.
Take a look through your camera or phone–seeing the impact right there is the best way to figure out what works for your style.

Getting Started: How to Put Depth of Field into Practice
Stepping up your photos with depth of field is easy once you get the hang of a few basic steps:
- Switch to Aperture Priority Mode: This mode puts the f-stop under your control and lets the camera handle other settings.
- Pick Your f-stop: Want more blur? Go for a lower f-number. Looking for more sharpness throughout? Try a higher f-number. For portraits, f/2.8 is a good starting point, while for landscapes, f/11 often works well.
- Focus Carefully: Shallow depth of field means precise focus is a must—aim right for your subject’s eyes or key detail.
- Adjust Your Distance: Move closer to your subject for more background blur or step back if you want more of the scene in focus.
- Preview the Shot: Most cameras and phones let you see how the blur will look; use this preview to fine-tune before snapping.
Experimenting with these ideas brings quick progress, and you’ll soon learn what feels just right for different situations.
Things to Watch Out For When Controlling Depth of Field
Getting your shot just right sometimes takes a little troubleshooting. Here are some things to keep in mind:
- Lighting: Wider apertures let in more light, which is great for dim situations but may cause overexposure in bright conditions. Keep your eye on the exposure meter and make adjustments as needed.
- Focus Accuracy: With shallow depth of field, it’s easy to miss focus. Use camera features like focus peaking or magnification if available, and double-check that your key subject is sharp.
- Lenses: Not all lenses are created equal—some give you a much smoother blur than others. Experiment with a few to see which glass best matches your preferences and shooting habits.
- Sensor Dust: Stopping down to higher f-numbers (like f/16 or f/22) makes dust or spots more noticeable. Regular cleaning goes a long way to keeping your images looking sharp.
Aperture and Available Light
One thing to always consider: opening up the aperture for a shallow depth of field, especially outdoors, sometimes calls for a neutral density (ND) filter so you don’t blow out highlights. In darker situations, a wide aperture helps you shoot handheld without worrying about motion blur from a shaky camera.
Backgrounds and Subject Placement
Even a beautiful blur won’t always hide a distracting background. Before taking the shot, check what’s behind your subject and shift them or reframe so your blur looks smooth and intentional, not jumbled.

Advanced Tips for Taking Creative Control
Once you’re comfortable with the basics, here are some advanced ideas to give your images extra character:
Try Different Focal Lengths: Telephoto lenses (like 85mm or more) at wide apertures can make backgrounds super creamy and soft in portraits.
Play With Layering: Put branches, flowers, or fences close to your lens for layered, out-of-focus effects that add real depth to your shot.
Manual Focus for Precision: In low light or with moving subjects, flip to manual and zoom in on your screen. This helps ensure that the most important part of your image is crisp.
Focus Stacking: For landscapes or macro scenes, you can take several photos at different focus points and merge them in your editing software, creating an image that’s sharp from front to back.
Trying these approaches can help you take your photography up a notch and set your visual style apart, no matter the shooting situation.
Real-World Uses for Depth of Field
Depth of field makes a difference for all types of photography. Consider these examples:
- Weddings: Isolating couples from a busy ceremony or reception with a beautifully blurry background ensures all focus is on the big moment.
- Food Photos: Use shallow depth of field to keep the main dish sharp and the restaurant background smooth, directing attention right to the food.
- Nature Photography: A deep depth of field in landscapes means every detail—from the leaves underfoot to distant peaks—is crystal clear.
No matter what subject you love shooting, learning how to work depth of field into your process can really give your images a boost.
Frequently Asked Questions
Here are some common questions that come up for folks learning about depth of field:
Question: Can I get great background blur with my phone?
Answer: Most newer phone cameras have a “portrait” mode—it uses software tricks to mimic shallow depth of field. While it’s not the same as a real lens, it’s surprisingly convincing in most everyday shooting.
Question: Why does my whole image look sharp, even at a low f-stop?
Answer: If you’re using a wideangle lens or standing far away, you’ll naturally have more of the scene in focus. To get more blur, move closer to your subject or use a longer lens.
Question: What’s the best aperture for portraits?
Answer: Many people like shooting portraits at f/1.8 to f/2.8 for a soft background, but it depends on your lens and style. Try a few apertures to see which look you prefer.
Finding Your Own Depth of Field Style
When you get comfortable with depth of field, you can really start bringing your personality into every shot. Forget the so-called “rules”—use DOF to showcase what’s most meaningful to you. I love how a quick change in aperture or distance can totally change the mood of the photo. With some trial and error, you’ll stumble upon what works for your vibe and lock in a great technique for making eye-catching photographs, no matter the setting.