Getting great photos of products indoors really comes down to lighting. It’s something I had to learn the hard way. If you light a product well, you can make it look way more appealing online or in a catalog. With the right lighting setup, even an average product shot can suddenly look professional and eye-catching. I’ll walk you through some practical lighting setups for indoor product photography that I’ve found to be super useful, whether you’re just starting out or want to polish your work a bit more.
Why Lighting Is So Important For Product Photos
Lighting shapes how a product looks on camera. If the lighting is off, or just flat and uninteresting, the product will look dull and lifeless. Good lighting not only brightens the subject but also adds texture, highlights details, and can even control the mood of the shot. I always notice how professional product photos make use of clean, even light that really brings out the features of the product.
Almost every product photo you scroll past online uses some sort of intentional lighting setup, whether it’s a soft, diffused look or bright, directional highlights. Natural light is great, but it isn’t always predictable or easy to use indoors. That’s where artificial lighting setups come in really handy. Artificial light gives you control over intensity and direction, making it easier to achieve a polished result every time.
Especially if you’re working with products that have intricate details or shiny surfaces, relying on artificial light lets you avoid weird reflections and unwanted color casts. This consistency is invaluable when you’re shooting a whole product line or need to keep a consistent style for an online shop or catalog. I found that learning to use lighting creatively completely shifted my product photos from flat to vibrant. It’s worth experimenting with basic setups and slowly layering on more techniques as you get comfortable.

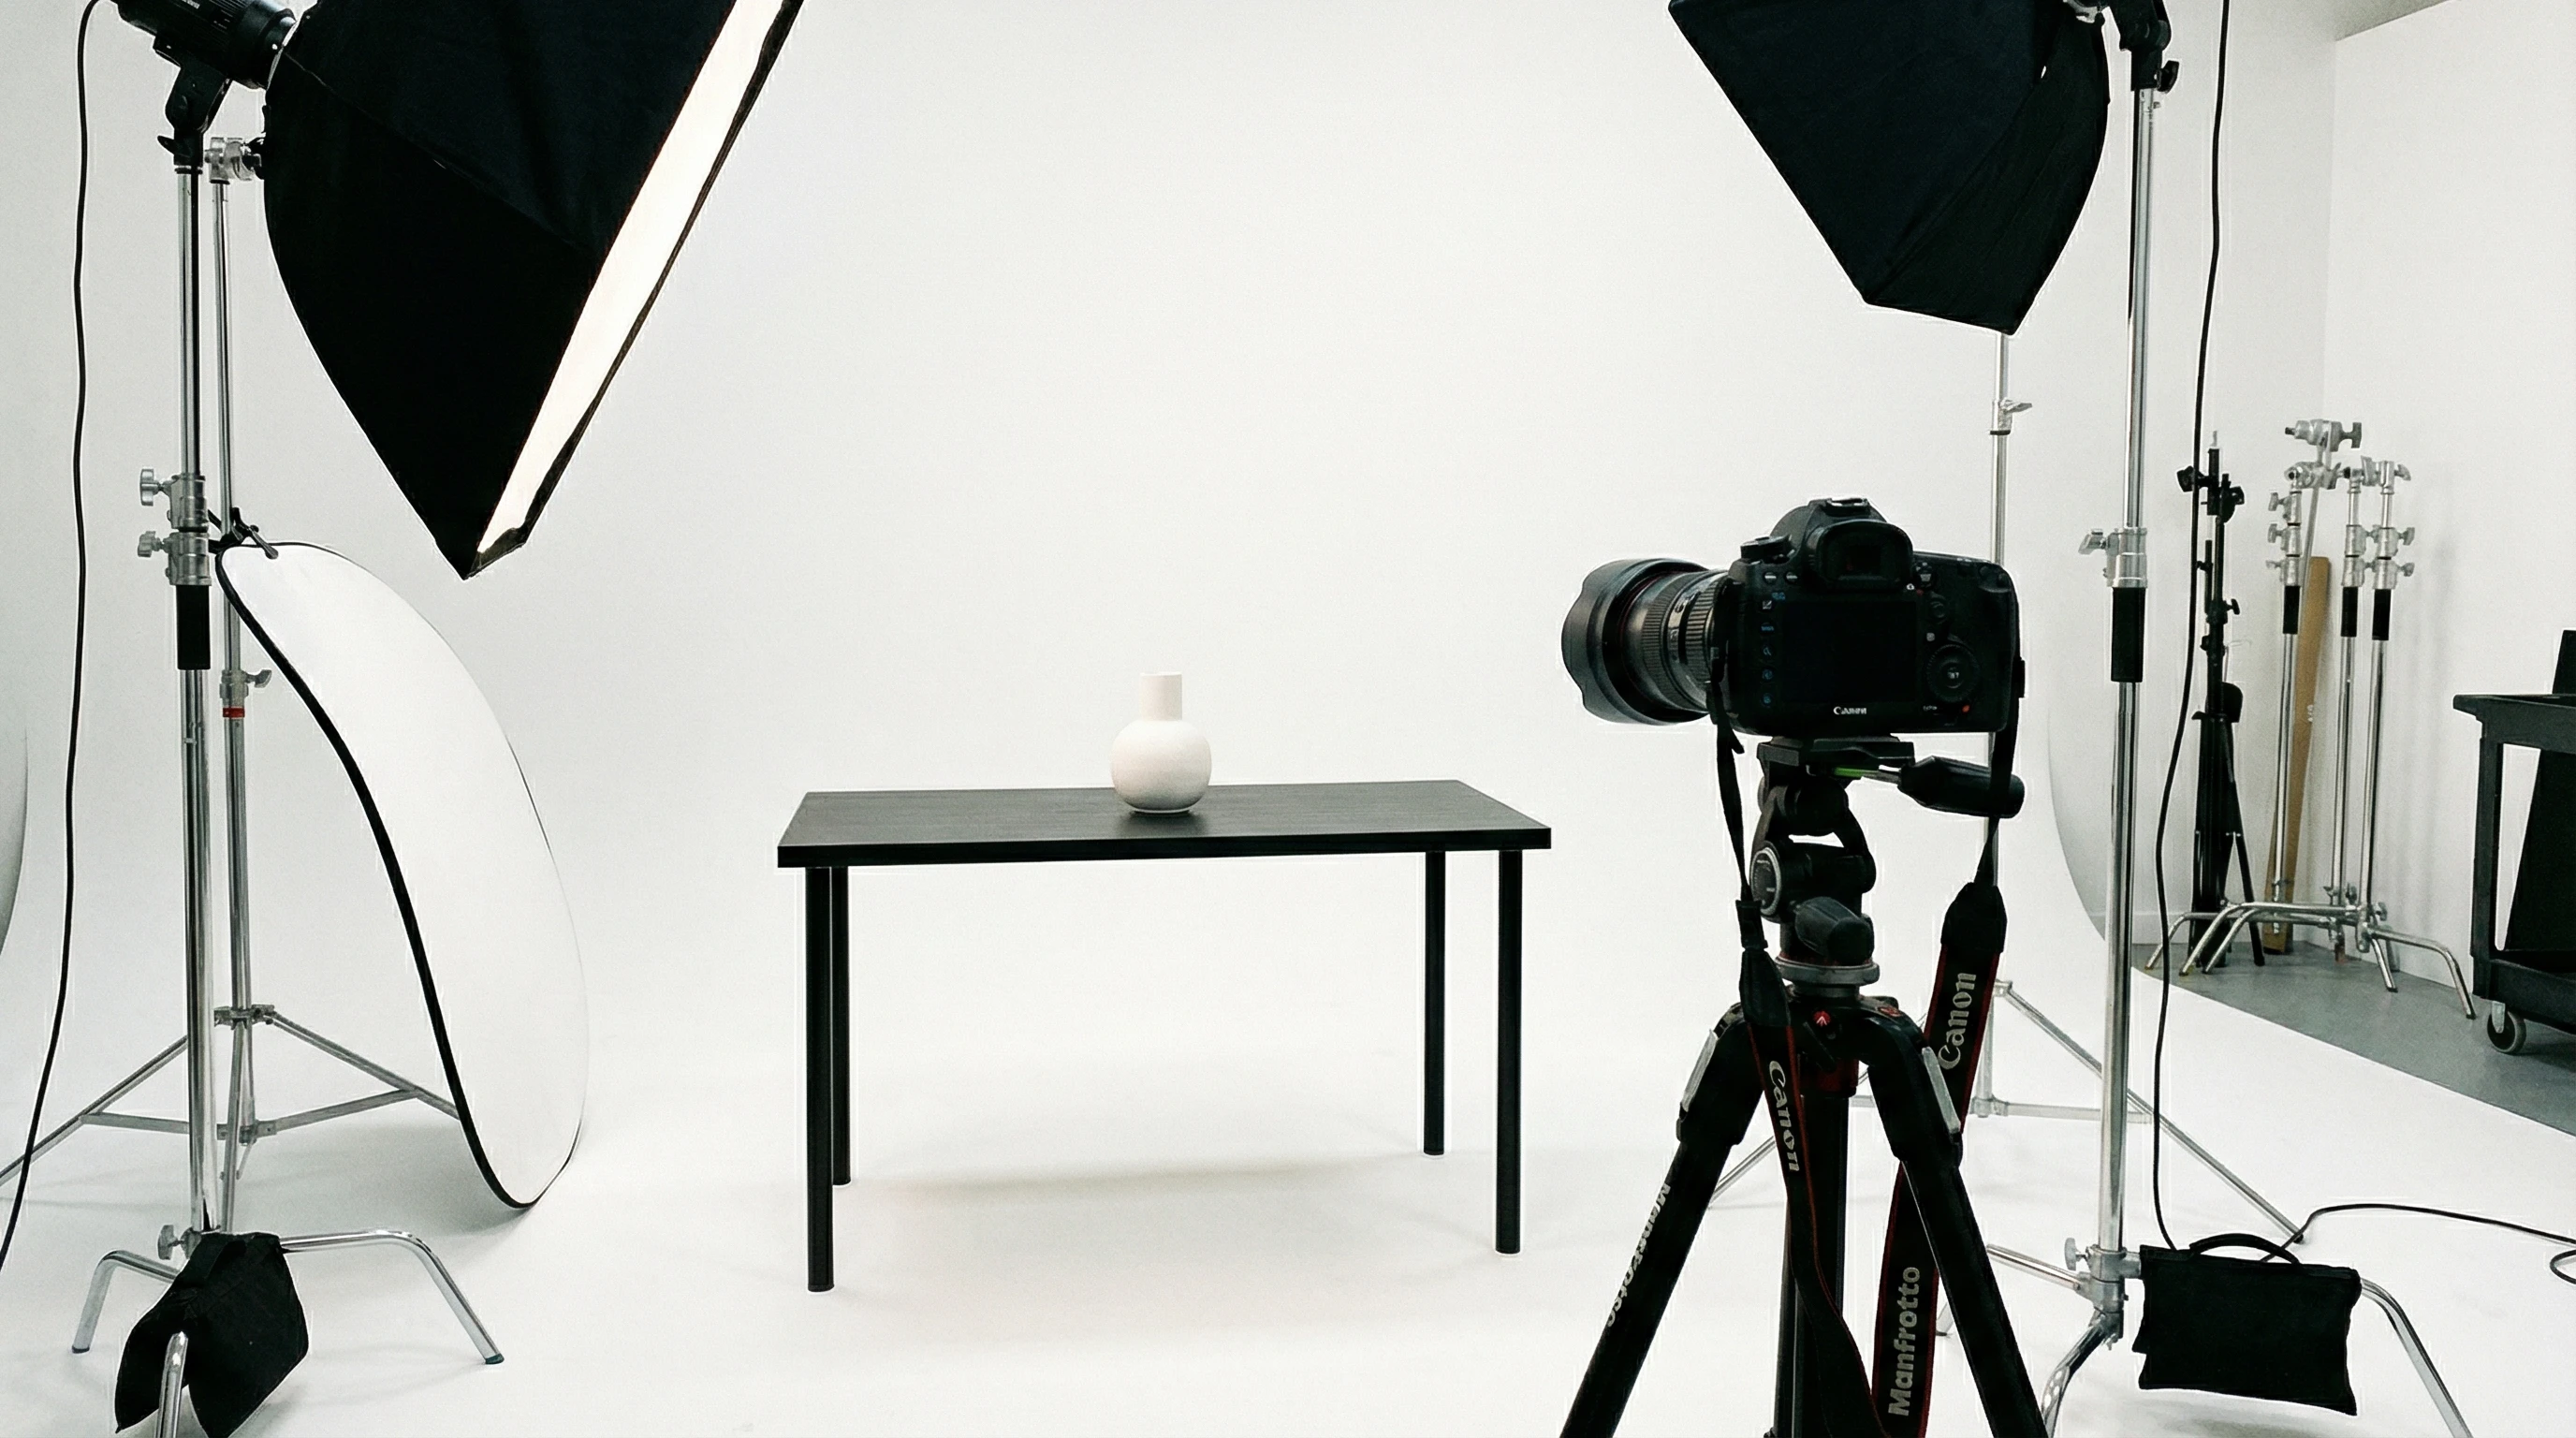
Essential Gear For Indoor Product Photography Lighting
Getting set up for indoor product photography doesn’t mean you need a ton of expensive gear, but having a few basics makes a big difference. Here are some key pieces I use for nearly every shoot:
- Continuous LED Lights: These are awesome because you can see how the light affects your product in real time. LEDs don’t get too hot and you can usually change the color temperature for warmer or cooler looks.
- Softboxes: A softbox diffuses the light, spreading it evenly and softening harsh shadows. I almost always use one for smoother product shots.
- Light Stands: These keep your lights exactly where you want them, nice and stable.
- Reflectors: Simple but super effective. Reflectors bounce light back onto your subject and help fill in any shadows.
- White Foam Boards: Cheap and effective for bouncing light or using as a plain, nondistracting background.
Don’t underestimate household items as stand-in gear if you’re just starting. Sometimes white printer paper or an old bedsheet can serve as a great makeshift diffuser. As you get more confident with your setups, you might want to explore options like C-stands for extra stability or roll-down seamless backgrounds for a bigger working area.

Basic Lighting Setups That Work Every Time
There are a few classic setups I use over and over, depending on the product and the vibe I’m going for. Here’s a breakdown of some of the most reliable arrangements:
1. Window Light With Reflector
If you have a big window in your space, you can create really nice, soft light. Place your product next to the window and use a reflector (or even a piece of white cardboard) on the opposite side to bounce light back onto the product. This helps minimize harsh shadows and keeps details visible. If the light is too harsh, sheer curtains can act as a natural diffuser.
2. One-Light Softbox Setup
This setup is perfect if you don’t have access to great window light, or you’re shooting at night. Set up a single softbox slightly above and to one side of the product, usually at a 45-degree angle. This gives natural-looking shadows and highlights, making the product look three-dimensional. A white foam board on the opposite side helps bounce a bit of light and smooths out the look without making things too flat.
3. Two-Light Softbox Setup (Key + Fill)
This is my go-to for bigger products or when I want super even lighting. Place your main (key) softbox at 45 degrees to the front of the product, and put a second, less intense (fill) softbox on the opposite side. Adjust the fill light’s strength so there’s still some subtle shadow; it keeps your photo from looking totally flat. Adding a reflector underneath or to the side also helps fill any shadows, especially with products that are shiny or curved.
4. Overhead Lighting For Flat Lays
If you’re shooting flat lays, like clothes or packaged goods, an overhead softbox or LED panel gives great results. You can add side reflectors or smaller lights if shadows are too harsh. Overhead lighting keeps everything consistent across the frame and avoids weird color casts or distracting shadows.
Using the right lighting setup for the specific type of product ensures you can draw attention to key features, textures, or branding. Experiment by shifting lights around just a bit to see what changes; sometimes a slight adjustment is all it takes to make a product look next-level cool.
Tips For Getting Consistent, Professional Results
Even with a basic lighting setup, only a few small tweaks make a big difference. Here’s what I’ve noticed works best:
- Keep White Balance Consistent: Mix and matching light sources can cause ugly color casts. Stick with one type of light (all daylight, all tungsten, etc) and set your camera’s white balance to match.
- Diffuse Whenever Possible: Harsh lights create harsh shadows and blow out the highlights. Anything from a proper diffuser to a white shower curtain can help soften things up.
- Adjust Power For Subtle Shadows: Shadows make products pop, but too much looks unprofessional. Dial down fill lights or move reflectors around until you get that nice, subtle shadow under your product.
- Watch For Glare: Shiny objects can bounce the light right into your lens. Angle your lights and camera a bit to reduce or avoid glare altogether.
- Check The Backdrop: Use a clean, plain background (white, gray, or black are all classics). Make sure there’s nothing distracting behind the product. Wrinkle free fabric, seamless paper, or foam boards all work nicely here.
Another tip: always double-check your shots on a computer screen before wrapping up your session. Sometimes small lighting quirks don’t show up on your camera’s display but stand out later. Being thorough during the shoot saves a lot of editing time down the road.

Common Challenges And How To Handle Them
Every shoot is different, and product photography has a few recurring headaches, especially with lighting. Here are some of the issues I run into most and how I handle them:
Dealing With Reflections
Glossy or metallic products pick up every reflection in the room, including yours. I try placing a larger white bounce board or sheet in front of the product to reflect soft, even light. Angling the product away from the light can help as well. If all else fails, a quick touch-up in editing can clean up stubborn reflections.
Photographing Small Products
Tiny items, like jewelry or coins, are sometimes the toughest. I use a macro lens, get lights as close as possible, and surround the item with white boards to push light into every crevice. Soft fill from all sides helps show detail without blowing out shine. For extra punch, a small light from behind the product can create a pleasing rim light.
Capturing Texture
Textured products really come to life with angled lighting. A side light from a low angle shows off bumps, stitching, or surface patterns. I pay close attention to how shadows fall so the photo looks dynamic without being overwhelming.
Don’t be afraid to move your setup until you spot an arrangement that shows off both detail and shape. Sometimes changing the angle or swapping out your light modifier makes a huge difference in how real or tactile a product appears.

Upgrading Your Lighting As You Level Up
Once you’re getting consistent results with simpler setups, there are a few upgrades that give a boost to your product photography as your skills grow:
- Using A Light Tent: These are awesome for shooting small objects like gadgets or jewelry. They create supereven light and eliminate most outside reflections. Just position your lights around the tent for the look you want.
- Color Gels: Adding colored gels to your lights can give creative backgrounds or highlights, especially for branding shots or adding a pop of color.
- Multiple Light Modifiers: Things like grids, snoots, and barndoors give you more control over exactly where the light falls, helping to create dramatic looks or spotlight effects.
Professional studios often use remote triggers and sync multiple lights for even more control. As you feel comfortable, don’t hesitate to experiment with specialized gear. A small investment in an extra modifier or a colored backdrop can spur creativity and keep your work interesting.
Quick Reference Guide: Lighting Setups For Popular Products
- Jewelry: Light tents, diffused light from multiple sides, and small reflectors to minimize shadows.
- Clothing: Overhead softboxes with side fill for flat lays, or angled lighting for hanging/standing display.
- Tech Gadgets: Softbox at 45 degrees, strong reflector for fill, and back/rim light for a modern, crisp look.
- Food: Sidelight with a diffuser to highlight textures and shapes, plus a reflector to soften shadows.
Frequently Asked Questions
How important is a softbox for product photos?
A softbox makes a huge difference by softening and spreading light, which leads to more professional results. If you’re new to product photography, this is one of the first lighting modifiers worth picking up.
What’s the best affordable lighting setup for beginners?
A single continuous LED light paired with a cheap softbox and a white foam board reflector is an easy, affordable starter kit. It’s what I used for ages before upgrading.
How do I avoid shadows under my product?
Position a reflector or fill light opposite your main light. Moving the main light higher and forward also makes shadows softer and less distracting.
Is natural light enough for indoor photos?
Natural light can work well, especially next to a big window, but it’s not always controllable or consistent. For regular shooting, some kind of artificial light, even cheap LED panels, gives more reliability.
Get Creative And Keep Experimenting
Lighting for indoor product photography is all about control and experimentation. Every product is unique, and sometimes a small tweak makes the photo go from “just okay” to “really professional.” The more you experiment, the more you develop your own style and workflow. There’s always something new to try, whether it’s testing a new modifier, using a different angle, or changing up your backgrounds. The best part is, pretty much all these skills carry over to other kinds of photography too. If you keep learning and play around with your lighting setup, you’ll start seeing better results, and your products will definitely look their best. Wrapping up, remember to stay curious and never stop tweaking your setups, because that’s how you grow both your confidence and your portfolio.