If you’ve ever scrolled past tiny plates of sushi or intricate miniature cakes on Instagram and wondered how the photos look so crisp and lively, you’re not alone. Miniature food photography is a seriously fun hobby, but getting good results with small subjects can be tough, especially when it comes to lighting. That’s where LED ring lights come into play. In this guide, we’ll cover how these handy tools work, what to look for, and how to use them for capturing your mini culinary creations—even if you’re just starting out.
Why LED Ring Lights Make a Difference in Miniature Food Photography
Lighting is pretty much the main thing that makes or breaks any small scale food shot. Miniature food, with its tiny details and textures, needs plenty of bright, even light to show off all those features. LED ring lights help in a few key ways:
- Even Lighting: LED rings surround your subject with light, cutting out harsh shadows that can make mini food look weird or overexposed.
- No Overheating: LEDs stay cool even in long sessions, so your chocolate cakes won’t melt before you get the perfect shot.
- Adjustable Brightness: Most ring lights let you tweak the brightness, which helps when you’re photographing different foods or backgrounds.
- Easy Color Control: Some have settings to adjust color temperature, so your whites look white (not orange or blue).
Using an LED ring light is a great way for beginners to skip the stress of complicated lighting setups and get straight to those clean, detailed images.
The Basics of Setting Up for Miniature Food Photography
Getting started doesn’t have to be complicated or expensive. Here’s what you need to set up a simple shooting station:
- Miniature Food Models: These can be handmade out of polymer clay, bought online, or even real foods you’ve prepared in mini form.
- Camera or Smartphone: Modern phone cameras work just fine. DSLRs or mirrorless cameras are great, but not required.
- Tripod or Stable Surface: Keeping your camera steady is really important to avoid blur, especially in closeups.
- LED Ring Light: A desk sized model (10–18 inches diameter) is usually best for small setups.
Find a table near a window if you want some daylight, but the ring light will provide the bulk of your illumination. A plain or lightly textured background like a clean plate or wooden board keeps attention on your food models.
How to Actually Use Your LED Ring Light: Step-by-Step
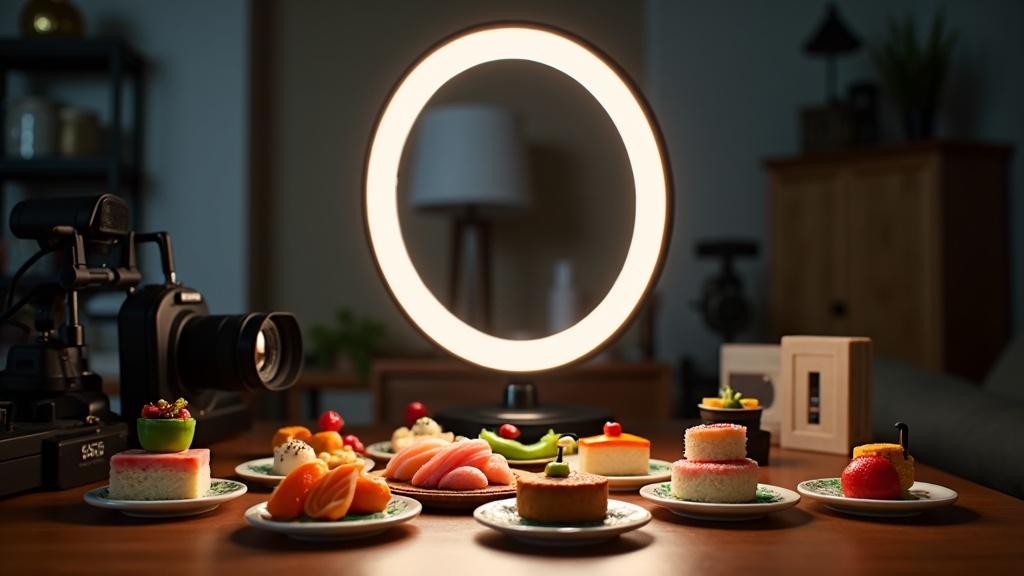
- Position the Light: Place the ring light so it circles the camera lens, or just above your subject if using your phone. This surrounds your miniature food with nice, even light.
- Set the Brightness: Start at around 50-75% brightness; you can dial it up or down as needed. For shiny foods (like fake jello), lower brightness can help avoid glare.
- Adjust the Color Temperature: Aim for a daylight or “neutral white” setting (usually marked at 5000–5600K) for truer food colors.
- Experiment with Angles: Slightly tilting the ring light back or raising it higher changes how shadows fall, and can add some pop to your photo without harsh lines.
I like to snap a couple of test shots and check how every detail looks. A ring light throws soft, shadow free light, but you can always add a white card or sheet of paper opposite your main light for extra reflection and brightness.
Things to Think About Before Buying a Ring Light
Finding a good LED ring light for miniature food photography is pretty straightforward, but certain features can make things easier.
- Size: For tabletop work, a 10–14 inch diameter is usually ideal. Bigger lights are brighter but can be more awkward on a small set.
- Brightness Levels: Go for a ring with adjustable dimming. Lower settings are useful for softer shadows, higher for dramatic pop.
- Color Temperature Controls: Being able to switch from warm to cool light helps when you photograph different types or colors of food.
- Power Source: USB powered lights are super handy. Battery options are portable but don’t run as long.
- Mounting Options: Some ring lights come with adjustable tripods or clamps. Make sure the setup is sturdy for your shooting space.
Doing a little research helps buyers make informed decisions, especially if you’re on a budget or in a tight workspace. Reading reviews for reliability and ease of use can save some hassle. Wirecutter has a good roundup of beginnerfriendly ring lights.
Common Challenges and Troubleshooting Tips
Miniature food photos can sometimes turn out not as expected. Here’s what I run into most often, with ways to fix them:
- Blurry Images: Usually because of shaky hands or not enough light. Tripods and a brighter ring light setting help a lot.
- Glare and Reflections: Move the ring light a few inches further away, or drop the brightness a notch. Sometimes placing a piece of wax paper over the light helps soften it.
- Colors Look Weird: If your bread looks blue or your veggies look orange, check the color temperature setting and make sure any nearby room lights aren’t mixing in other colors.
- Details Get Lost: Pull the light slightly above the subject to add a teeny bit of shadow, which makes details pop. Using “macro” or closeup mode on your camera can help, too.
Practicing with different placements and settings is the real trick; over time, you’ll recognize what works for your favorite foods and styles.
Tips for Going Beyond the Basics
Once you’ve got the hang of using an LED ring light, you can start experimenting with more advanced ideas to give your miniature food shots some personality:
- Try Colored Backdrops: Pastel paper, faux wood, or even a fun napkin add interest without stealing the show.
- Use Props Carefully: Tiny utensils, miniature plates, or a sprinkle of “crumbs” create a sense of realism and scale.
- Switch Up the Light Angle: Slightly offcenter lighting adds depth and makes textures pop, great for breads, pastries, or anything with surface detail.
- Stack Multiple Lights: If you want extra softness, using a second ring light at low power from another angle can be effective. Just don’t go overboard; keep shadows subtle.
- Edit Gently: Postprocessing apps like Snapseed or Lightroom Mobile help fix small color or exposure problems, but you don’t have to overedit. You want your mini food to look appetizing and real.
Trying new setups helps you find your style and figure out what makes your photos uniquely yours. Keeping things fun is part of the adventure!
Popular Uses of Ring Light Photography for Mini Food Creators
LED ring lights aren’t only for social media stars. They’re a great fit for lots of different people photographing small food subjects. Here are a few ways ring lights get used in this niche:
- DIY Food Modelers: Crafters selling mini food on Etsy need bright, sharp photos to show the tiny details buyers care about.
- Cooking Bloggers: Bloggers and foodies use ring lights for step by step shots, showing process and results clearly.
- Display Collectors: People who collect or build dollhouse food like to keep photo records or share their collections online; ring lights help fix poor indoor lighting that makes details hard to see.
Ring lights bring even, effortless results that are great for beginners and helpful as your photos get more advanced.
Frequently Asked Questions
Here are some common questions beginners have when getting started with LED ring lights for miniature food photography:
Question: Will an LED ring light work with a phone camera?
Answer: Yes! A phone camera and ring light combo works great. Just place your phone in the ring light’s holder (most lights provide one), and you’re set.
Question: What’s the best size ring light for tabletop food?
Answer: A 10–12 inch ring light is usually the sweet spot; large enough to surround your scene, small enough to fit easily on a table.
Question: Are battery or plugin LED ring lights better for home use?
Answer: Plugin models work well for long sessions, so you don’t run out of juice. If you want to shoot outside or move spots, batterypowered can be handy.
Start Exploring the Creative Possibilities of LED Ring Lights
Making miniature food photography pop is so much easier with an LED ring light in your kit. The even lighting lets you focus on details, experiment with different foods, and look like a pro, even if it’s your first day. As you keep playing with light, camera angles, and props, your images will start to stand out. Enjoy your mini food shoots and don’t be afraid to try out different lighting tricks along the way. Try new approaches, adjust your setup, and have a great time making your tiny culinary creations look their absolute best.