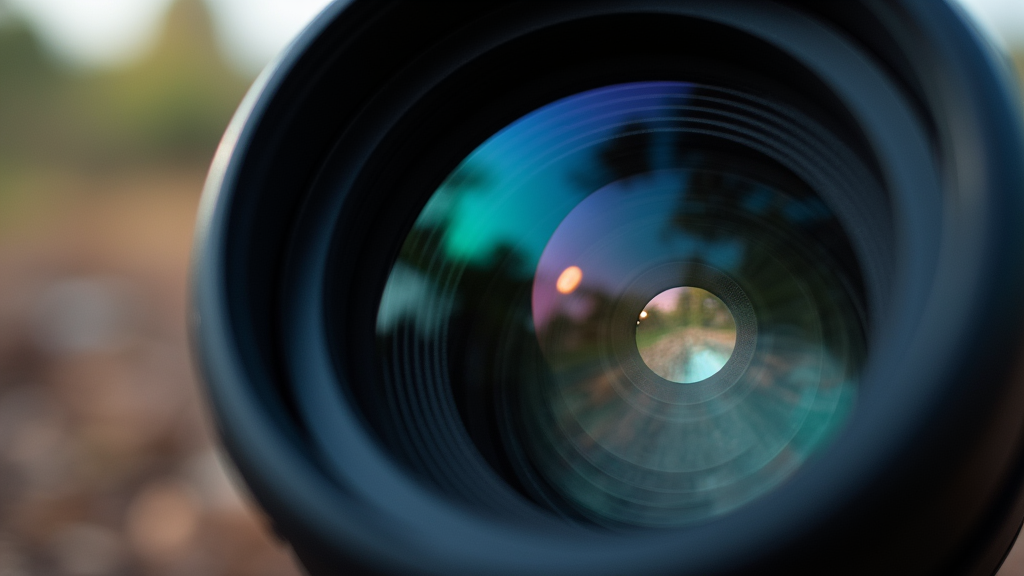
Photography offers endless ways to capture the world, and color accuracy is one of the main factors that can improve a photo’s impact. When colors appear off, the image can seem less natural even if the composition is solid. Understanding white balance can help you correct color casts and ensure your images look true to life. In this article, I dig into how to achieve accurate color in your photos by adjusting white balance effectively.
Understanding White Balance: The Key to Accurate Colors
White balance is a camera tool that adjusts the colors in your photos to reflect natural lighting. It acts as a bridge between the colors seen by your eye and those captured by your camera sensor. When this setting is properly configured, white objects appear truly white, and other hues are more accurate. Achieving correct white balance is really important, especially if you want your photos to have a natural and pleasing look.
Many cameras offer both automatic and manual white balance settings. With automatic white balance, the camera makes adjustments on the fly. While this option is convenient, it does not always produce the desired results, particularly in challenging lighting conditions. Using manual settings or custom presets can give you more control over the final image, allowing you to tailor the outcome to your unique style and lighting situation.
To get a deeper insight into why white balance plays such a vital role, think of it as the starting point for all color corrections in photography. Without the proper adjustment, even the best-composed shot can have a color cast that distracts from the subject. In many ways, white balance is the unsung hero behind creating images that truly resonate with life.

What is White Balance and Why It Matters
White balance refers to the process of removing unrealistic color casts so that objects that appear white in reality are rendered white in your photo. The way light interacts with surfaces changes the hues in a scene. For instance, different light sources like sunlight, incandescent bulbs, or fluorescent lights each have distinct color temperatures. This variation can cause photos to lean toward cooler or warmer colors.
By setting the correct white balance, you help the camera interpret the lighting conditions correctly. The result is an image that closely resembles what you see with your own eyes. When white balance is off, images can suffer from unrealistic tints that distract from the subject matter. Understanding how white balance works and making the right adjustments leads to more appealing photos that have a natural look.
This process is not simply about technical calibration; it is also about gaining a better feel for the environment you are shooting in. By getting a sense of how different lighting conditions affect the colors, you are better equipped to adjust your settings manually. As you practice, you begin to notice subtle changes that can really make the difference between a flat photograph and one that pops with genuine vibrancy.

How to Set White Balance: Basic Techniques
Getting the white balance right starts with knowing what options are available on your camera. There are several methods to set white balance, each with its advantages and limitations. I like to work with a practical approach that suits different lighting environments.
Many cameras offer a range of presets to cover common lighting scenarios. These options often include settings like sunny, cloudy, tungsten, and fluorescent. Each preset corresponds to a specific color temperature range. Choosing the appropriate preset can significantly improve the natural appearance of your images.
For more precise control, manual white balance can be the best option. This method typically involves using a white or neutral gray reference card. With this card in view of your camera’s sensor, you can calibrate the white balance to match the particular lighting at that moment. Once the reference shot is taken, the camera adjusts all subsequent images to maintain consistent color accuracy.
Below are some of the most common white balance options you may find on your camera:
- Auto White Balance (AWB): The camera evaluates the scene and adjusts the color tones automatically. While this is easy to use, it may not always catch unusual lighting conditions.
- Preset Modes: These include standardized settings like daylight, cloudy, tungsten, or fluorescent. Each preset is designed for specific types of lighting, making them quick and easy to apply.
- Custom White Balance: Using a gray card or neutral target, you can set the white balance manually. This option is ideal when you work in mixed or challenging lighting scenarios.
Additionally, many modern cameras allow you to tweak these settings even further. For instance, several newer models include options to adjust the tint and temperature independently in manual mode, giving you the freedom to experiment with nuances that suit your creative style. This extra level of control is particularly useful in environments where lighting conditions fluctuate rapidly.
Common White Balance Challenges and Solutions
Even when the settings on your camera are adjusted, various lighting conditions may still introduce color imbalances. Several common situations require attention for proper white balance management. I have encountered many instances where mixed lighting often poses a challenge.
Mixed Lighting Environments
Mixed lighting is a situation where multiple light sources with different color temperatures illuminate the scene simultaneously. An example is an interior shot that features a combination of natural daylight coming through a window and warm artificial lighting from a lamp. When these conditions exist, relying solely on auto white balance may lead to inconsistent color rendering. In these cases, using a custom white balance setting can help unify the tones in the image.
When facing mixed lighting, it is very important to experiment with different settings until you achieve a balance that feels right. Sometimes taking a test shot and then making incremental adjustments can be the key to solving color discrepancies. Remember that every environment is unique, and there is rarely a one-size-fits-all solution.
Indoor Lighting Variations
Indoor photography often presents challenges because artificial lighting sources, like bulbs and LEDs, may not emit a neutral light. These lights tend to cast yellow or blue tints over the scene. I have found that switching to a preset mode like tungsten or fluorescent usually yields better results indoors. Some cameras even allow fine-tuning these presets, giving you more control to adjust the colors further.
When shooting indoors, try to assess the dominant light source before setting your white balance. In some cases, you may even combine different techniques—using a preset to get a base level correction and then fine-tuning in post-processing—to arrive at an image with pleasing color balance. This layered approach can be particularly effective when the available light is inconsistent.
Post-Processing Adjustments
The adjustments you make in-camera can be further refined during post-processing. Software like Adobe Lightroom and other editing tools offer white balance sliders, which allow you to balance temperature and tint after the photo is taken. This step can be extremely valuable for fine-tuning the colors in your images, effectively managing any residual color casts.
It is a good idea to shoot in RAW format if you plan to do post-processing. RAW files provide more data, which gives you greater flexibility in making color corrections without losing detail. Fine-tuning white balance during editing can make a significant difference, especially when faced with complex lighting issues during the shoot.
Moreover, post-processing gives you the chance to experiment and learn what adjustments work best for different kinds of images. As you become more comfortable with editing software, you may begin to notice patterns and techniques that reliably bring out the best in your photos. With time, your ability to adjust white balance retrospectively will become an integral part of your photographic workflow.

Advanced Tips for Perfect Color Accuracy
Once you are comfortable with basic adjustments, there are several advanced techniques you can use to achieve even more accurate color in your photos. Advanced white balance techniques go beyond presets and rely on both in-camera controls and post-processing skills.
One useful tip is to create a custom white balance frequently in varying conditions. This preparation means that every time you shoot, even in rapidly changing environments, you are prepared to adjust properly. Some photographers use a portable white balance card with them wherever they shoot. Using this reference tool ensures you have a consistent reference point for color calibration.
Calibration tools are becoming more common and accessible. There are products available that help you measure the light temperature in a scene, which then allows you to make highly accurate adjustments. By learning to use these tools, your ability to control colors improves, especially when you work in professional or technical photography fields where accuracy is really important.
Another advanced strategy involves understanding how different colors in your scene interact with the overall white balance. Color theory plays a role in photography as some colors naturally influence the perception of others. For instance, a scene heavy with blue tones might require slight adjustments to warm up the overall image. The concept of color balance is very simple in theory but requires practice and sometimes a bit of experimentation to implement effectively.
In some situations, comparing the results of on-camera settings with an external color meter can be enlightening. This method gives you a second opinion on the light available and can help you set a more accurate white balance. Experimenting with these tools can improve your workflow and build confidence, particularly in challenging lighting conditions.
For those looking to take their skills further, consider attending workshops or online courses focused on color theory and advanced digital photography techniques. As you learn more about the nuances of color and light, you will naturally start to notice improvements in your ability to capture vibrant, true-to-life images. This level of expertise not only boosts the quality of your work but also serves as a foundation for creative experimentation in photography.
The Basics: How Equipment and Settings Influence White Balance
White balance is not only a function of camera settings, but it also depends on the equipment you use. Modern cameras have improved sensors that offer better color reproduction. However, the quality of your lens or additional filters can also affect the final image.
High-quality lenses tend to produce more consistent and true-to-life colors. In contrast, some lower-end lenses might introduce a slight tint or reduce the accuracy of the captured colors. I always pay attention to my gear because I have seen firsthand how the right equipment can lead to improved outcomes in both controlled and uncontrolled lighting.
Filters, such as UV filters, generally do not affect white balance substantially. However, specialized filters like warming or cooling filters directly change the color temperature of the light entering the lens. Understanding the role each piece of equipment plays helps to plan your shooting strategy. For instance, if you frequently work in an environment with strong color casts, investing in a set of color correction filters might be a wise decision.
- Quality Lenses: Better lenses often produce more accurate colors as they have better coatings designed to reduce color aberration.
- Filters and Accessories: Some filters can influence the color balance of your image. Use these thoughtfully to give a boost or correct your photos.
- Camera Settings: Regular checks on white balance settings ensure that you get the right color output during the shoot. This practice can save time during post-processing and help lock in the desired look for your images.
Furthermore, investing in the right accessories and understanding how each component affects the overall output is very important. For example, some photographers find that even slight differences in lens construction can lead to subtle shifts in color rendering. Experimenting with different gear combinations will ultimately help you build a more reliable setup tailored to your shooting style.
Frequently Asked Questions
Here are some questions I often encounter about white balance and how it affects photography:
Question: What does it mean when people talk about color temperature?
Answer: Color temperature describes the spectrum of light produced by a light source and is measured in Kelvin. Lower Kelvin values indicate warmer tones, while higher values indicate cooler tones.
Question: Is auto white balance sufficient for all situations?
Answer: Auto white balance works well in many scenarios but may struggle with mixed lighting or unusual conditions. In these cases, switching to a manual or custom white balance can produce better results.
Question: Can white balance be adjusted after taking the photo?
Answer: Yes, if you shoot in RAW format, you can adjust the white balance in post-processing with editing software. This is a useful way to refine the colors if the initial settings were not perfect.
Additional questions often focus on equipment compatibility and workflow adjustments. Many photographers ask how often they should recalibrate their white balance, especially when moving between different shooting environments. The answer typically depends on the variability of the lighting conditions and the sensitivity of your camera’s sensor. In many cases, a quick recalibration can save you hours of editing time later on.

Conclusion
Accurate colors can greatly improve the overall quality of your photos. Understanding and adjusting white balance is essential for capturing images that are true to life. Whether you choose an automatic setting, a preset mode, or a custom white balance, the key is to be aware of the lighting conditions and adjust accordingly. It isn’t just about setting a dial; it is about noticing and adapting to the nuances around you. When you take the extra time to fine-tune your camera, you open the door to consistently better images.
From using a white balance card to getting involved with advanced techniques, every photographer can improve their color accuracy with practice and patience. Start experimenting with different settings in various lighting conditions to see which technique works best for you. The path to perfect color is a blend of proper gear, thoughtful adjustments, and meticulous post-processing finesse. Each session behind the lens presents an opportunity to learn more about the interplay of light and color.
Keep testing your techniques and remain curious about what different shooting conditions can offer. Every shoot is an opportunity to grow as an artist, and every challenge presents its own set of lessons. Your adventure toward achieving accurate white balance in every shot is both practical and rewarding. Enjoy the process, and remember that the pursuit of photographic excellence is a continuous adventure filled with learning and discovery.
Ultimately, refining your white balance settings is not a one-time task but an evolving practice. As technology advances and your own skills improve, you may find new ways to adjust and perfect your images. Take advantage of each opportunity to review your work critically, learn new methods, and apply that knowledge to future shoots. This dedication will help you create images that not only capture a moment but also convey the true beauty of the scene as you experienced it.
Keep exploring new techniques, compare your results, and don’t be afraid to experiment. Over time, you will develop a style that is uniquely yours, one that stands out because of its vibrant, accurate colors and attention to detail. Photography is an art form that rewards dedication, and with each shot, you are one step closer to mastering the intricate dance of light, color, and creativity.