If you’ve picked up a camera and started hearing about “aperture,” you might feel a little lost. That’s totally normal. Aperture can sound mysterious, but once you get the basics, it gives you more control over how your photos look. I’ll break down what aperture is, how it changes your images, and how you can practice using it, even if you’re just starting out in photography.
What Is Aperture? Understanding the Basics
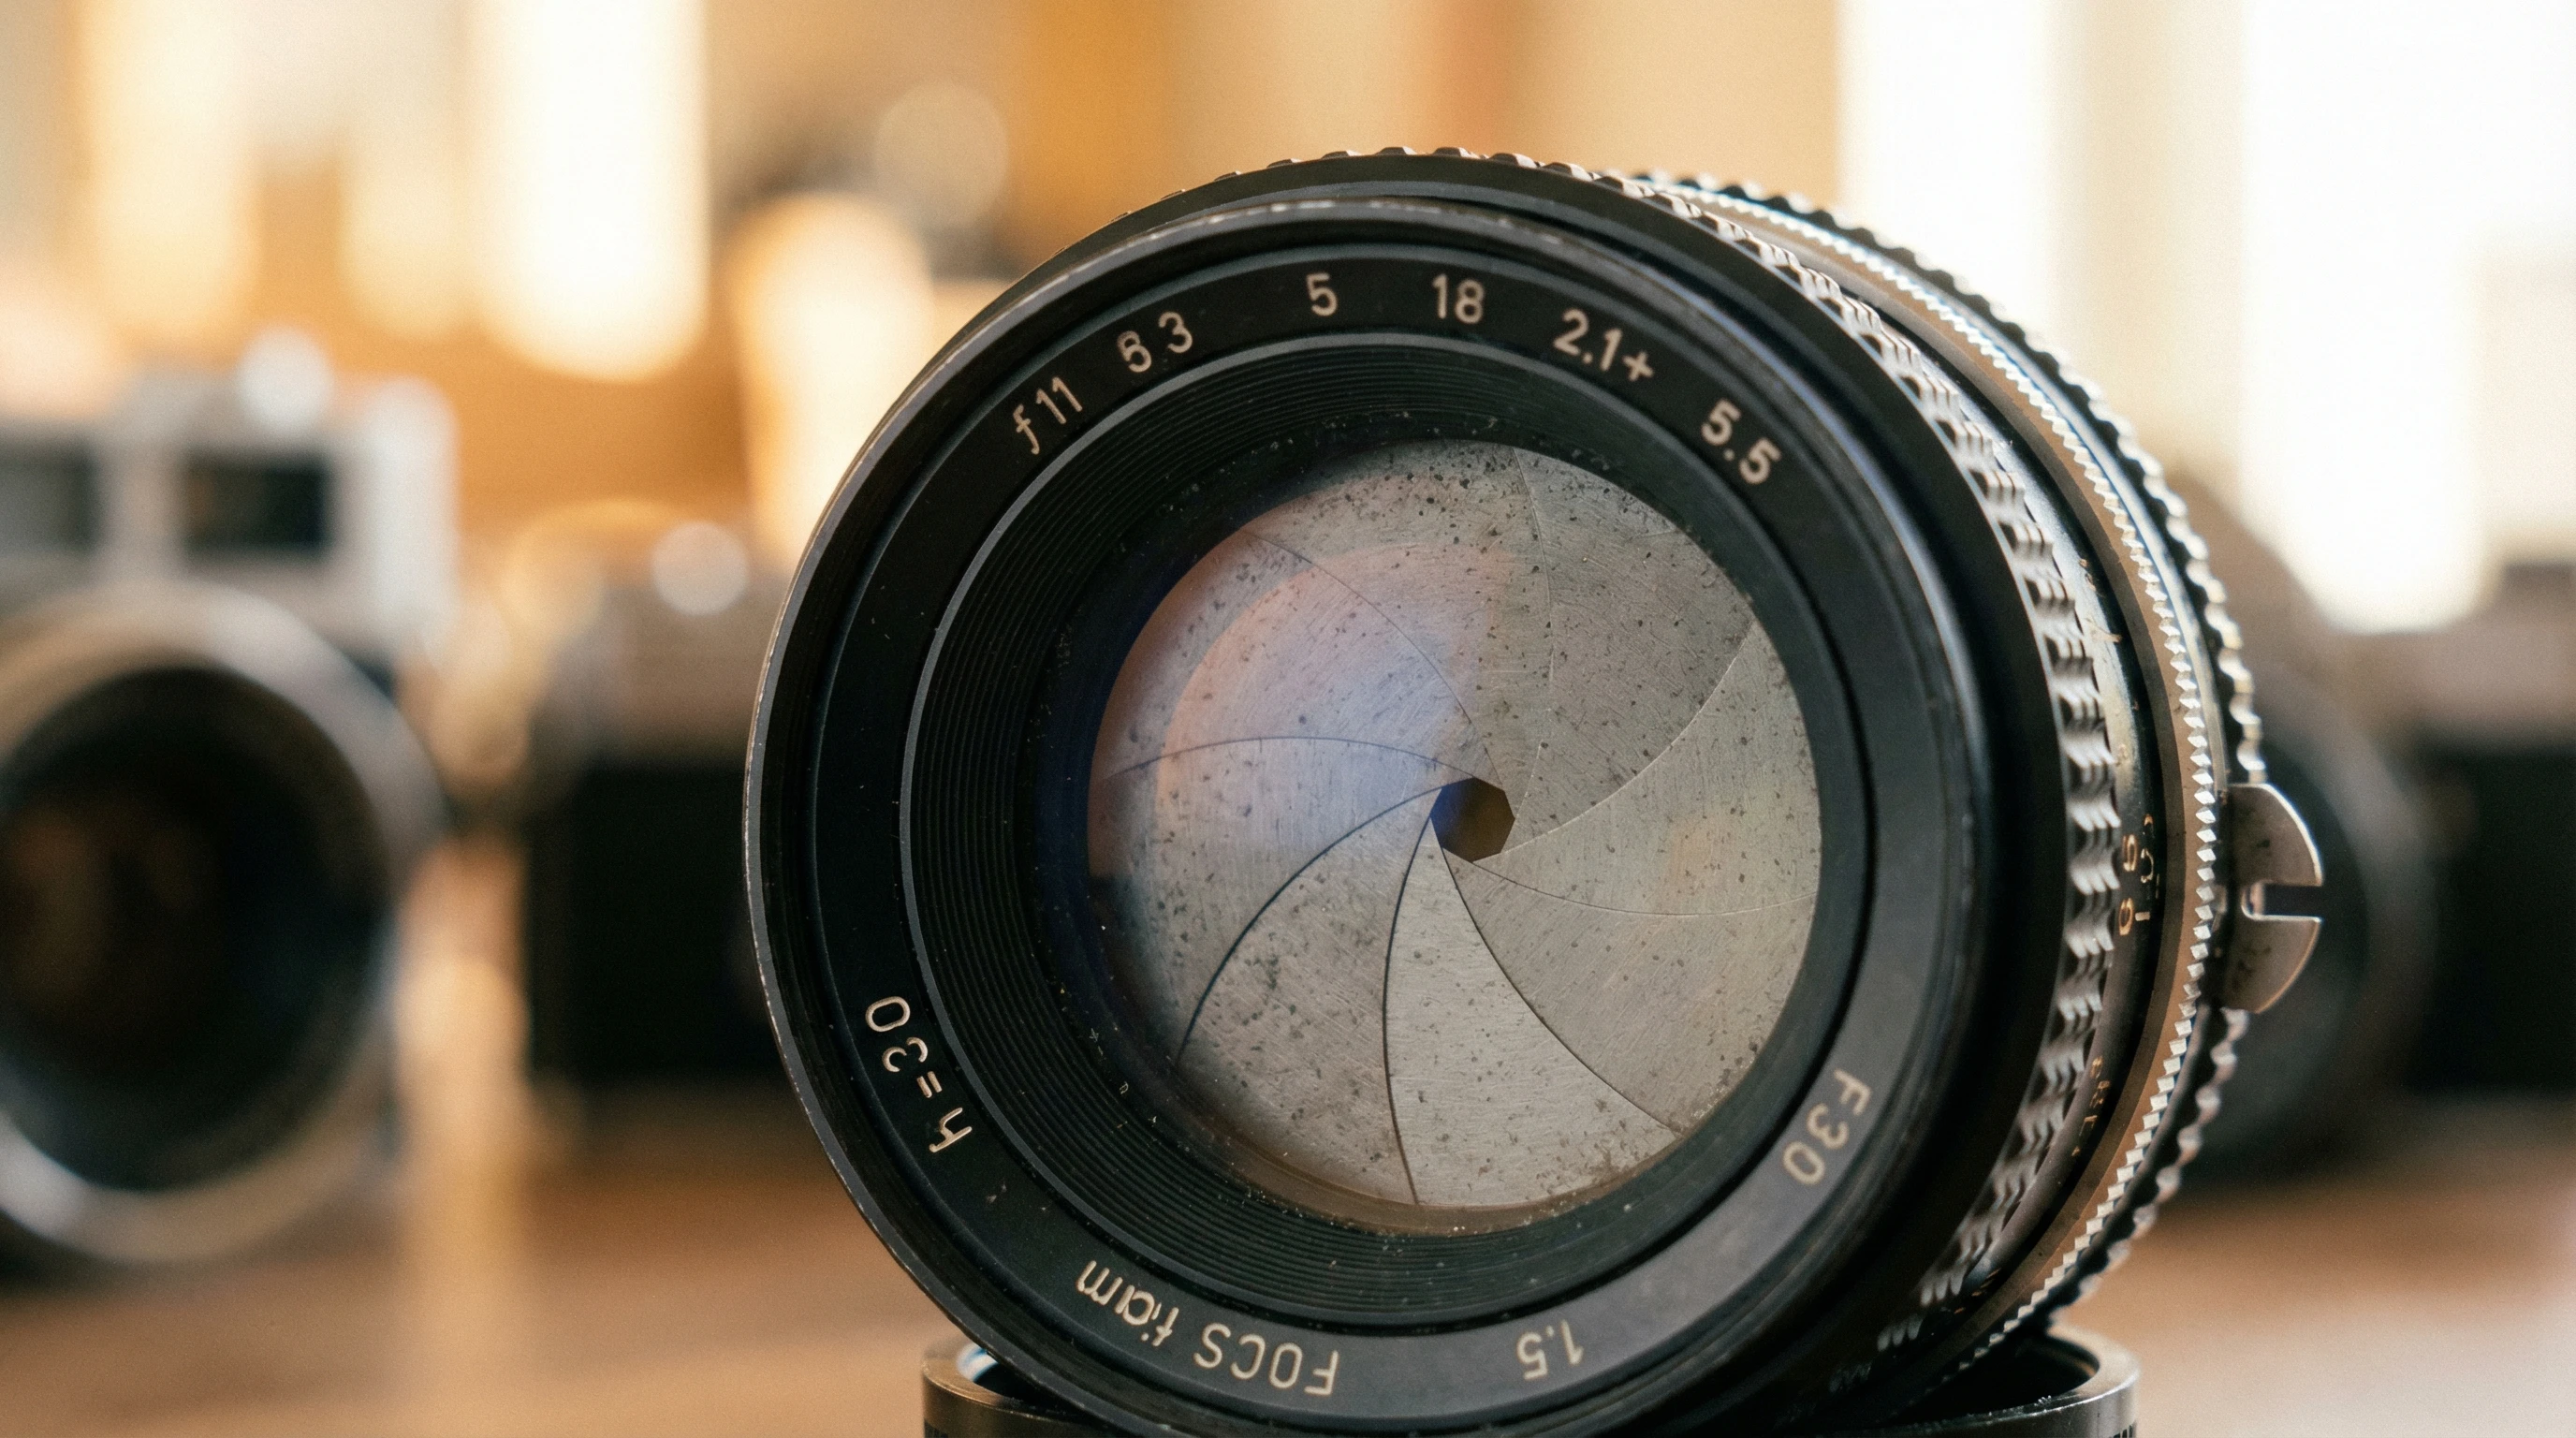
Aperture is the adjustable opening inside your camera lens that lets in light. Think of it just like the pupil in your eye. When it’s wide, more light gets in. When it’s narrow, less light comes in. The aperture size is measured in f-stops, such as f/2.8, f/5.6, and f/16. Lower numbers mean a wider opening, while higher numbers mean a narrower one.
The two main things aperture controls in your photos are:
- Brightness (Exposure): A wider aperture (smaller f-number) makes your picture brighter because it lets in more light.
- Depth of Field: This is how much of your picture is in focus from front to back. A wide aperture (like f/1.8) gives you that blurry background look. A tight aperture (like f/16) keeps everything sharp, from the front to all the way in the background.
Getting Started With Aperture on Your Camera
Don’t worry if all these numbers seem overwhelming. Here’s how to actually try changing your aperture and see what it does:
- Switch to Aperture Priority Mode (A or Av): Most cameras, even some phone cameras, have this mode. It lets you set the aperture, and your camera automatically picks the shutter speed.
- Look for the f-number: There’s usually a dial, touchscreen setting, or menu for adjusting it. Take some test shots at f/2.8, then at f/8, and f/16 if your lens allows.
You’ll notice right away how your image changes. The background blurs at lower numbers, and everything gets sharper at higher numbers.
Why Aperture Matters for Your Photos
Once you start playing around with aperture, you’ll see it’s a big part of building your “look” as a photographer. Here are some practical reasons to care about aperture:
- Portraits: If you want those dreamy backgrounds and your subject to really pop, choose a wide aperture like f/1.8 or f/2.8.
- Landscapes: You’ll usually want everything sharp, so pick a tight aperture; something like f/11 or f/16 works well.
- Low Light: Indoors or at night, a wider aperture helps your camera bring in more light to keep things bright without using a flash.
- Creative Style: Sometimes you might want a blurry background for mood or to draw more attention to a subject, like food or flowers.
Step-by-Step Guide: Aperture Practice for Beginners
The best way to learn about aperture is hands-on practice. Try these steps to build your confidence:
- Pick an object and background: Put your camera on a table or tripod. Place something interesting (like a cup or toy) in front of a background.
- Set your aperture to the widest setting (like f/1.8 or your lens’s lowest f-number): Take a shot. The object should stand out and the background will look blurred.
- Next, set it to a higher number (like f/8 or f/11): Shoot again. Now the background and the object will both be in focus.
- Compare the results side by side: This is the easiest way to really “see” what changing aperture does.
If you don’t have a lens that opens wide, use what you’ve got, the change is still noticeable between f/5.6 and f/16.
Common Questions Photographers Ask About Aperture
Getting used to aperture means answering a few questions early on. Here’s what I’ve heard most from beginners:
Q: I changed the aperture, but now my pictures are too bright or too dark. What gives?
A: Wider apertures let in more light, so sometimes the picture comes out too bright. If you’re in Aperture Priority mode, the camera should help balance brightness. Still, watch your pictures, and if they look too bright, try increasing the f-number or checking your ISO setting.
Q: My background isn’t as blurry as I hoped, even with a low f-number. Why?
A: Blurry backgrounds (shallow depth of field) are easier with lenses that open as wide as f/1.8 or f/2.8. If your lens only goes to f/4 or f/5.6, get the background farther away from your subject, or try to move your camera closer to your subject. Both tricks can help intensify the background blur.
Q: Can I use aperture priority on my phone camera?
A: Some phone cameras give you a “pro” or “manual” mode where you can change aperture, especially higher end models. While most basic phone cameras have a fixed aperture, portrait mode usually simulates background blur digitally, which mimics a wide aperture feel.
Q: What’s the best aperture for beginners to stick with?
A: For learning, f/5.6 is pretty forgiving. It gives decent sharpness and enough blur if you’re close to your subject. But experiment! Changing settings and seeing results builds skills faster than reading any manual.
Things to Watch Out For When Testing Aperture
While playing with aperture is fun, there are a few things that trip people up. Here’s what I think is really important to keep in mind:
- Lenses Limitations: Not every lens goes superwide. Starter lenses often begin around f/3.5 or f/4. That’s still enough to experiment with background blur, just get your subject closer to the camera.
- Sharpness “Sweet Spot”: Every lens is sharpest around f/8 or f/11. Superwide or supernarrow settings can cause a bit of softness at the edges. Try shots at your lens’s middle apertures to see how sharpness changes.
- Camera Shake: At higher f-numbers (like f/16), your camera has to use slower shutter speeds, which can blur your photo if you’re not using a tripod. Watch for this when shooting indoors or in low light.
Practical Tip: Test With Everyday Subjects
I love practicing on things like houseplants, coffeemugs, or toys on a windowsill. These simple setups help you focus on how the background changes as you switch fnumbers, instead of getting distracted by busy scenes outdoors. Try repeating the same shot every few days, your eyes will start noticing more details and differences in depth of field.
Real-World Example: Shooting Portraits and Landscapes
I once took a portrait outdoors using f/1.8. My friend’s face was super sharp, while the leafy vines behind her melted into a soft, dreamy blur. Later that day, I shot the same spot at f/11, and now every leaf and detail was crisp. That’s when I realized: learning aperture isn’t just about settings. It’s about seeing what kind of image you want to create.
More Tools to Explore Aperture
If you’re big on learning by doing, there are a bunch of helpful resources worth checking out:
- Cambridge in Colour’s aperture guide has super detailed explanations and a simulator for changing fnumbers.
- Many camera makers (like Canon and Nikon) have video tutorials on their official websites, showing real examples for beginners.
- Photo sharing sites like Flickr Explore often include lens and aperture info in image descriptions. Look at images you like and see what settings were used and how background blur is handled.
A Few Final Tips for Beginners
Getting the hang of aperture settings takes both practice and patience. Here are the things that helped me most early on:
- Don’t be afraid to delete or reshoot. Digital photography makes it easy to test new settings with no risk.
- Keep a notebook or use your phone to log which fnumbers you tried and what results you got. It helps to track what worked best.
- Read your camera manual’s section on aperture. Even a quick glance can reveal shortcuts for changing settings on your specific model.
Aperture settings make a huge difference in how photos feel and what story they tell. The more you experiment, the more you’ll understand, and adjusting it will feel just as natural as taking the shot itself.