Low light photography is one of those skills that can really test your creativity and know-how. Whether you love shooting cityscapes at dusk or cozy indoor scenes, dealing with limited light is pretty common for any photographer. Figuring out how to make the most out of those dim conditions can open up a whole new world of moody, dramatic images. In this guide, I’m going to walk you through the basics, gear, and some tried and true techniques that help you get sharp and vibrant shots, even when the lights are turned way down.
Why Low Light Photography Is Worth Learning
Shooting in low light is pretty different from bright daytime photography. Dim environments tend to make your images look grainy, out of focus, or washed out, but that’s just one side of the story. With the right approach, you can use those challenges to make some seriously dramatic photos. Soft shadows, neon city lights, candlelit portraits, and colorful night skies all become possible when you know your way around your gear and camera settings. Lots of my favorite shots come from late night walks or candlelit dinners with friends, so it’s definitely a skill that’s worth some practice.
According to experts at National Geographic, shooting after the sun goes down is a great way to tell a story in a photo you just can’t get during the day. It gives you a whole new color palette and mood to work with, which is super fun for creative projects.
The Right Gear for Low Light Photography
Having the right stuff in your camera bag makes a giant difference. While you don’t need to buy the fanciest gear out there, a few specific items will help you handle low light a lot better. Here’s what I always make sure to have with me when shooting in the dark:
- Lenses with Wide Apertures: Look for lenses that go down to at least f/2.8 or wider (like f/1.8), since these let in much more light.
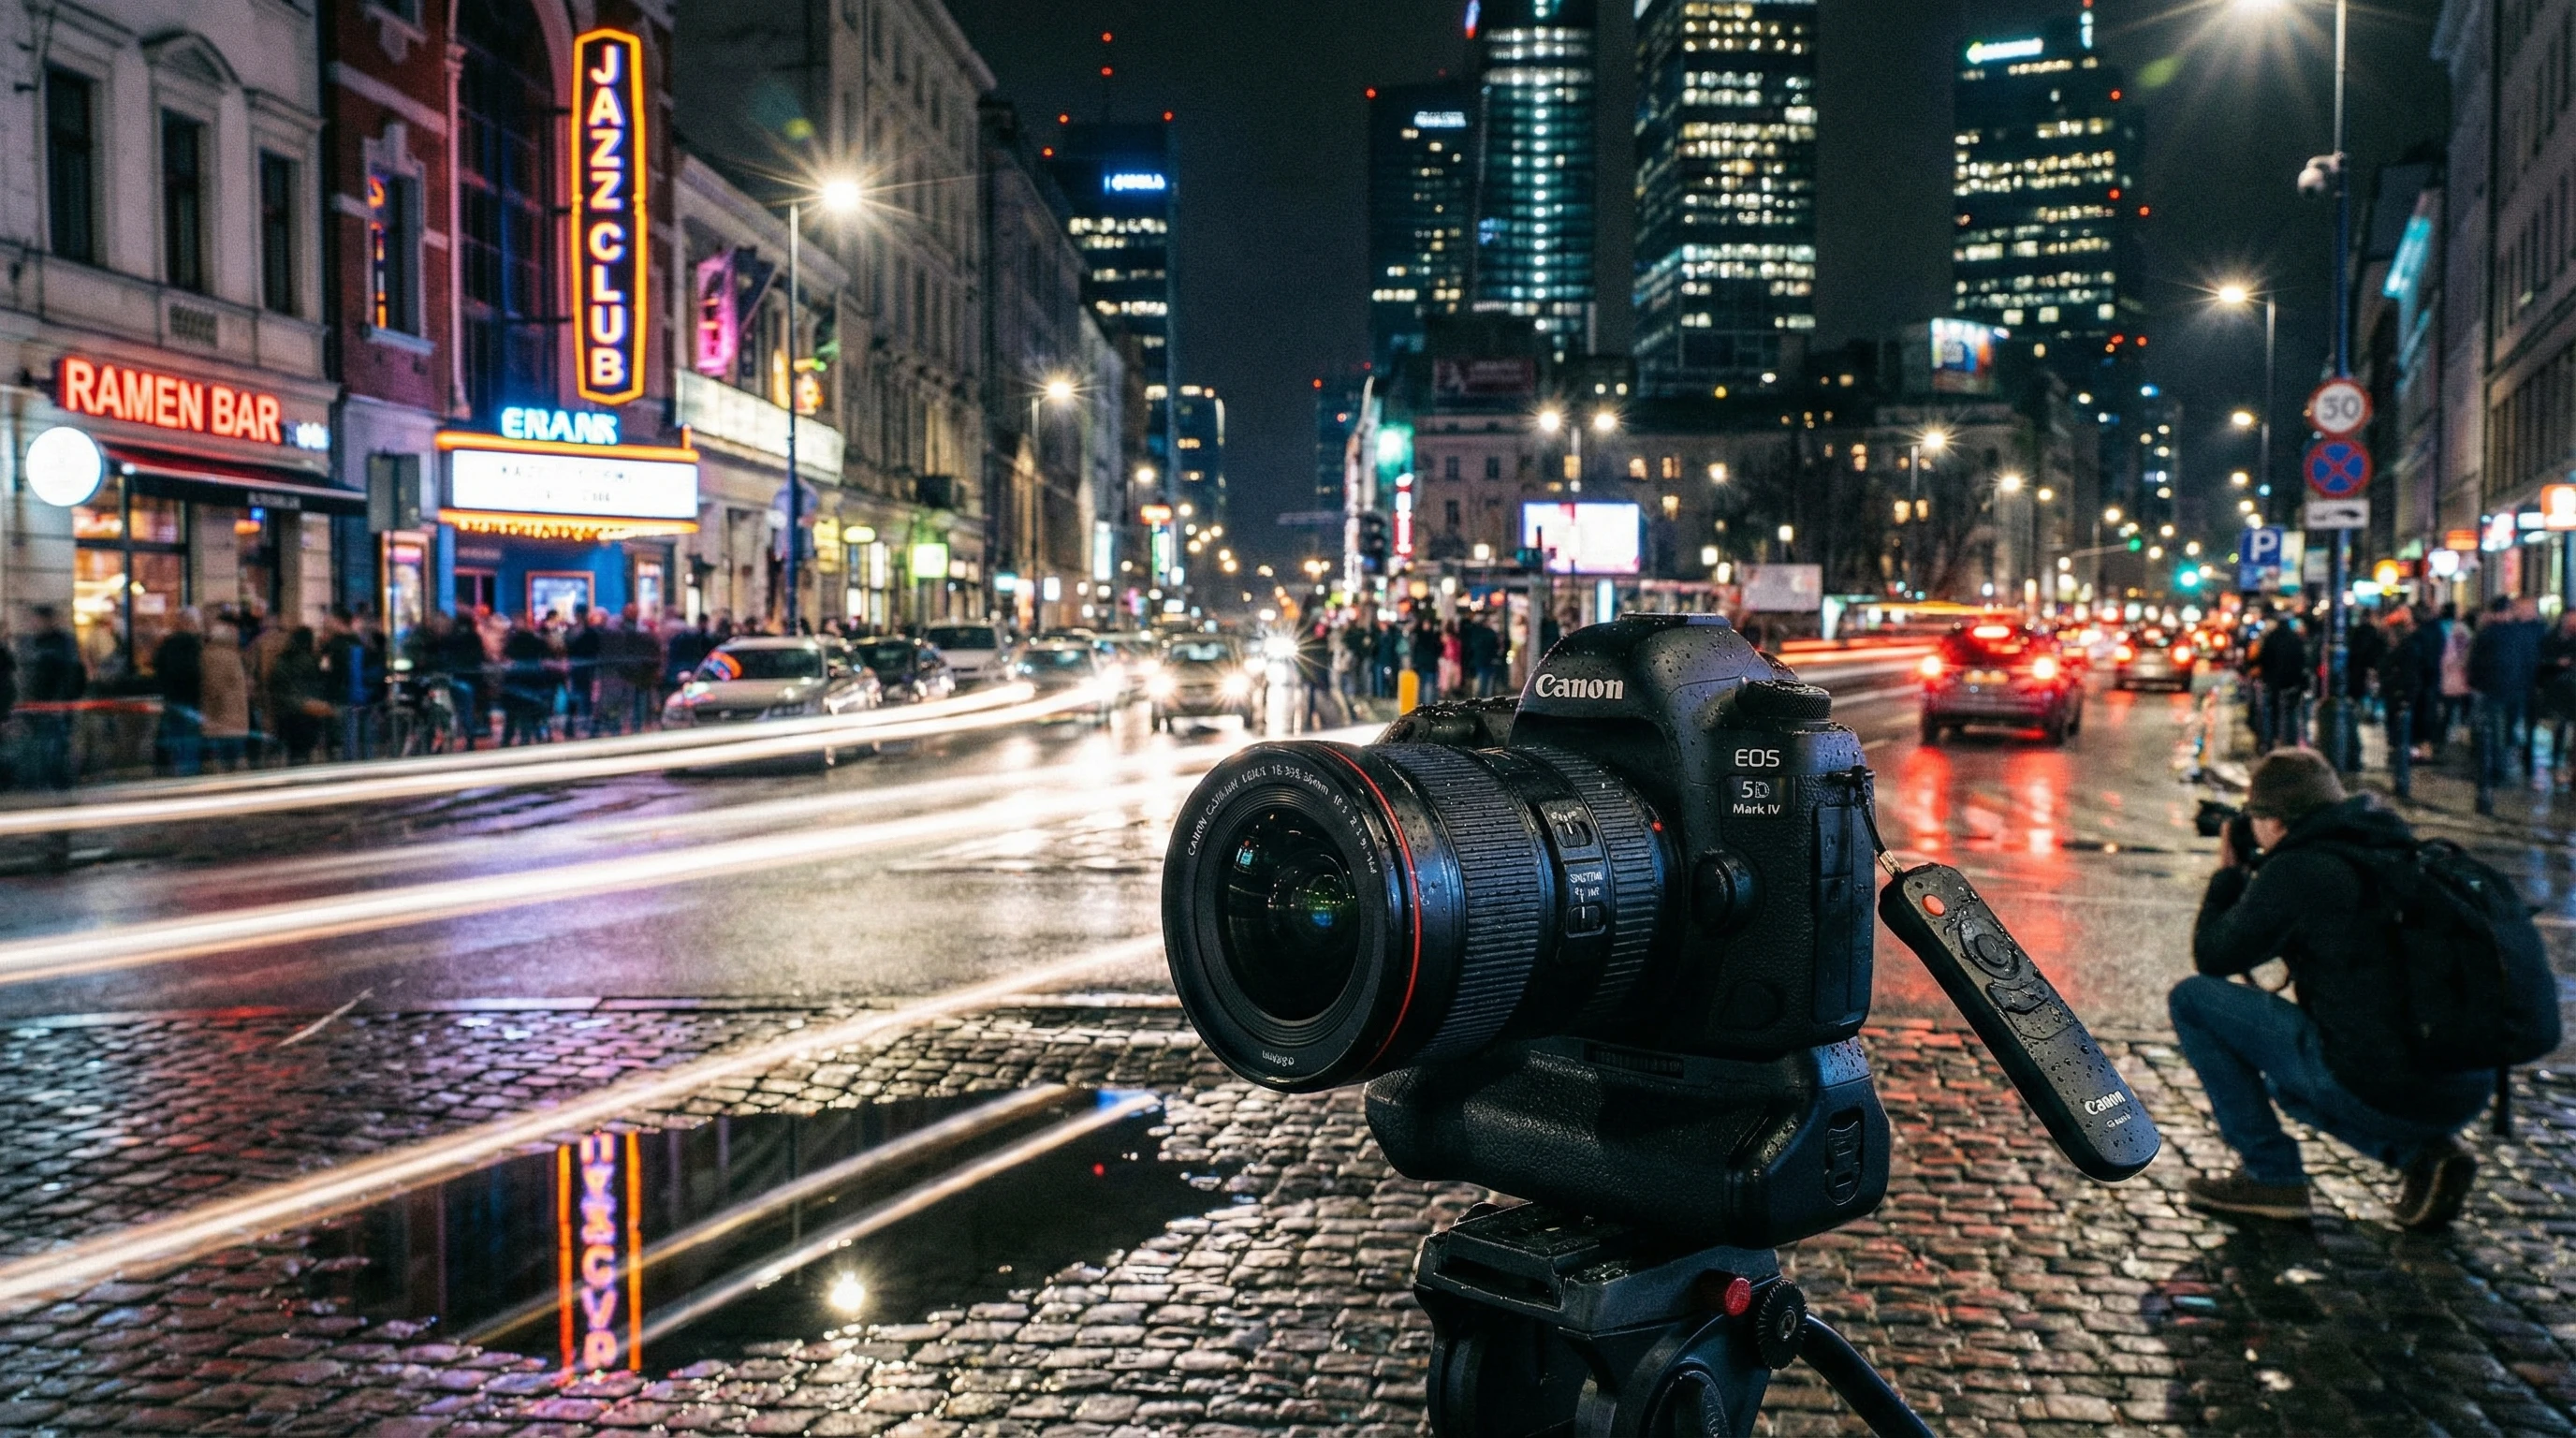
- Tripod: Super important for keeping your camera steady during long exposure shots. Even a compact travel tripod does the trick if you’re on the move.
- Remote Shutter Release or Timer: Helps stop camera shake when you’re pressing the shutter button. Your camera’s built-in timer can be handy too.
- Spare Batteries: Low light and long exposures can drain your camera batteries quickly, so I always bring at least one backup.
- Camera with Good Low Light Performance: Most modern cameras handle higher ISOs pretty well, but some models (like full frame cameras) deal with noise much better.
If you’re shooting with just a phone, there are great manual camera apps that let you adjust your settings in a way that’s similar to a DSLR or mirrorless camera. So, it’s still possible to get creative even if you don’t have pro equipment. Some clip-on lenses and portable phone tripods can also give your mobile photography a boost in darker environments.
Getting Started: Core Camera Settings for Low Light
Nailing your camera settings is probably the most important part of low light photography. Every camera is a little different, but there are a few main things to keep in mind:
- Aperture: The wider the aperture (the lower the f-number), the more light your lens lets in. I usually stick with f/1.8 or f/2.8 if possible.
- Shutter Speed: Slower shutter speeds let in more light, but your camera needs to stay totally still to avoid blur. A tripod really comes in handy here.
- ISO: Raising the ISO brightens your shot, but too much can make photos look noisy or grainy. I push ISO up only as much as I need, and keep an eye on the image quality.
- Manual Focus: Autofocus can struggle when it’s dark. I switch to manual focus for more control, especially for static subjects like architecture or street scenes.
On phones, look for apps that give you a “pro” or “manual” mode, which lets you adjust shutter speed, ISO, and focus manually. This is super useful for low light shots where the default settings don’t quite cut it. Some phones even feature “night mode,” which merges several images for a brighter, clearer result.
Step-by-Step Guide to Taking Great Low Light Photos
If you’re not sure where to begin, here’s how I usually go about setting up for a successful low light photo session:
- Scout Your Location: Walk around and find a spot where you won’t be in the way, and where there’s an interesting source of light (street lamps, neon signs, bridges, etc.).
- Set Up Your Tripod: Even if the camera feels stable, a tripod makes those longer exposures and lower ISOs possible.
- Switch Camera to Manual Mode: This gives you full control over your settings, instead of letting the camera guess what you want.
- Dial In Your Settings: Start with a wide aperture (like f/1.8), slow shutter speed (try 1/10s up to several seconds on a tripod), and ISO of 400-1600. Check how it looks and adjust as you go.
- Use Manual Focus: When it’s really dark, focus on the brightest spot or use the focus magnifier if your camera has one.
- Take a Test Shot: Review and zoom in on the preview to check for sharpness and exposure. Bump up ISO or slow the shutter as needed.
- Try Different Angles: Play with reflections, puddles, lamp glow, or silhouetted shapes to add that vibe to your shots.
Moving your camera just a little during a long exposure can totally blur your whole shot, so keeping things steady is super important. If you’re shooting handheld, try to keep the shutter speed above 1/60s, but lean on your tripod for longer exposures. You could also experiment by purposely allowing some blur for creative light trails or abstract effects.
What to Watch Out For: Common Challenges with Low Light Photography
Low light photography throws a few curveballs you might not expect. Here are some big ones, plus what I usually do to get around them:
- Image Noise: Higher ISO settings can make photos look rough or speckled. I try to keep my ISO as low as possible and fix minor noise in postprocessing using software like Lightroom.
- Motion Blur: Slow shutter speeds make it easy to blur your shot if anything moves. I plan my shot so moving subjects (like people or cars) become streaks intentionally, or I choose faster shutter speeds if I want things sharp.
- Focusing Issues: Sometimes there isn’t enough contrast for autofocus to work. I switch the camera to manual focus, which is more reliable.
- White Balance Problems: Streetlights and indoor bulbs can add weird color tints. I shoot in RAW so I can quickly fix colors later.
Handling Noise
Most cameras let you reduce noise a bit in camera, but my favorite way is to use postprocessing software. Lightroom and free tools like RawTherapee have noise reduction sliders that do a pretty good job cleaning things up without making details look smudged. Shooting at a lower ISO when possible will also help you end up with a cleaner image.
Avoiding Camera Shake
Even with a tripod, I use the camera’s timer or a cable release to avoid the tiny shakes from pressing the shutter. If the wind is strong, I weigh the tripod down with my bag. For handheld shots, I tuck in my elbows and breathe out slowly as I click the shutter to keep things steady.
Dealing with Color Casts
Weird color casts from different light sources are really common. Shooting in RAW gives you way more control to fix colors during editing, making whites actually look white and keeping skin tones natural. If you’re not shooting RAW, try setting the camera’s white balance to “incandescent,” “tungsten,” or “custom” to better match indoor or city lights.
Pro Tips for Nailing Low Light Shots
Once you’re familiar with the basics, a few lesser known tricks can help your night and indoor photos pop:
Take Multiple Exposures: Sometimes it’s impossible to get detail in the shadows and highlights in one shot. So I take a few shots at different settings and blend them later in software like Photoshop for a balanced image. Experimenting with exposure bracketing can help you capture every bit of detail in high contrast scenes.
Use Available Light Creatively: I look for car headlights, neon signs, candles, or anything that can be used as a backlight or sidelight. Moving around your subject a bit can totally change the mood. Try using window light indoors or reflections from shiny surfaces to add a dynamic touch.
Try Light Painting: With longer shutter speeds, even a phone flashlight can create cool effects. Just wave a light source in front of the camera while the shutter is open for fun streaks or highlights. This works great for adding signatures, outlining objects, or drawing shapes in midair at night.
Edit with Care: Low light shots need a different approach in editing. I boost shadows and tone down highlights, use noise reduction, and play with contrast to give the image a punchier look. Sharpening your photo and applying local adjustments can further help emphasize important parts of your composition.
Real-World Uses for Low Light Photography
Low light photography really shines in lots of everyday situations. Here are a few places it comes up all the time for me and other photographers I know:
- Night Cityscapes: Skyline and architecture shots light up at night, letting you catch colorful lights and glowing windows.
- Concerts and Events: Capturing the energy of a show, even when spotlights and shadows are everywhere. The unpredictable lighting can make for very dynamic and expressive photos.
- Indoor Portraits: Cozy lighting can create really intimate, naturallooking portraits. Try using string lights, candles, or a single lamp to add mood and depth to your images.
- Nature at Dusk: Forests, lakes, and mountains look totally different as the sun sets, giving landscapes a quiet, dreamy vibe. Sometimes, capturing wildlife in the early evening or just before sunrise will require these low light techniques too.
Lots of photographers use these techniques for shooting weddings, parties, food, and products too; the possibilities are wide open. Street photographers, for instance, can play with contrasting shadows and artificial lighting to create an urban atmosphere that’s impossible in daylight.
FAQs About Low Light Photography
How do I get sharp photos in low light?
Use a tripod whenever you can and try to use manual focus. If you’re shooting handheld, keep your shutter speed faster than your lens’ focal length (like 1/50s for a 50mm lens). It’s also good to practice holding your camera steady, and taking a burst of shots, increasing your chances of picking a sharp frame.
What is the best lens for low light?
Lenses with larger maximum apertures (called “fast lenses”) like f/1.8 or f/1.4 are great. They let in a lot more light, making things easier for you and your camera. Prime lenses usually offer these wide apertures at a much lower price than zooms.
How do I avoid grainy photos?
Keep ISO as low as you’re able, use a tripod, and expose your shot correctly. Some grain is okay, but you can clean up extra noise in editing later. Try not to underexpose, as brightening very dark images in postprocessing can increase visible noise.
Wrapping Up
Getting really good at low light photography takes some patience and trial and error, but it’s totally worth learning. With a basic understanding of your camera, a bit of gear, and some thoughtful technique, you can capture scenes that many people simply walk past after dark. The next time you find yourself reaching for your camera once the sun goes down, try a few of these tips. Your shots might surprise you, and you’ll get to enjoy a whole new side of photography that’s filled with mood, color, and atmosphere. Don’t be afraid to experiment and step up your skills with each nighttime or indoor session—practice truly is the key.