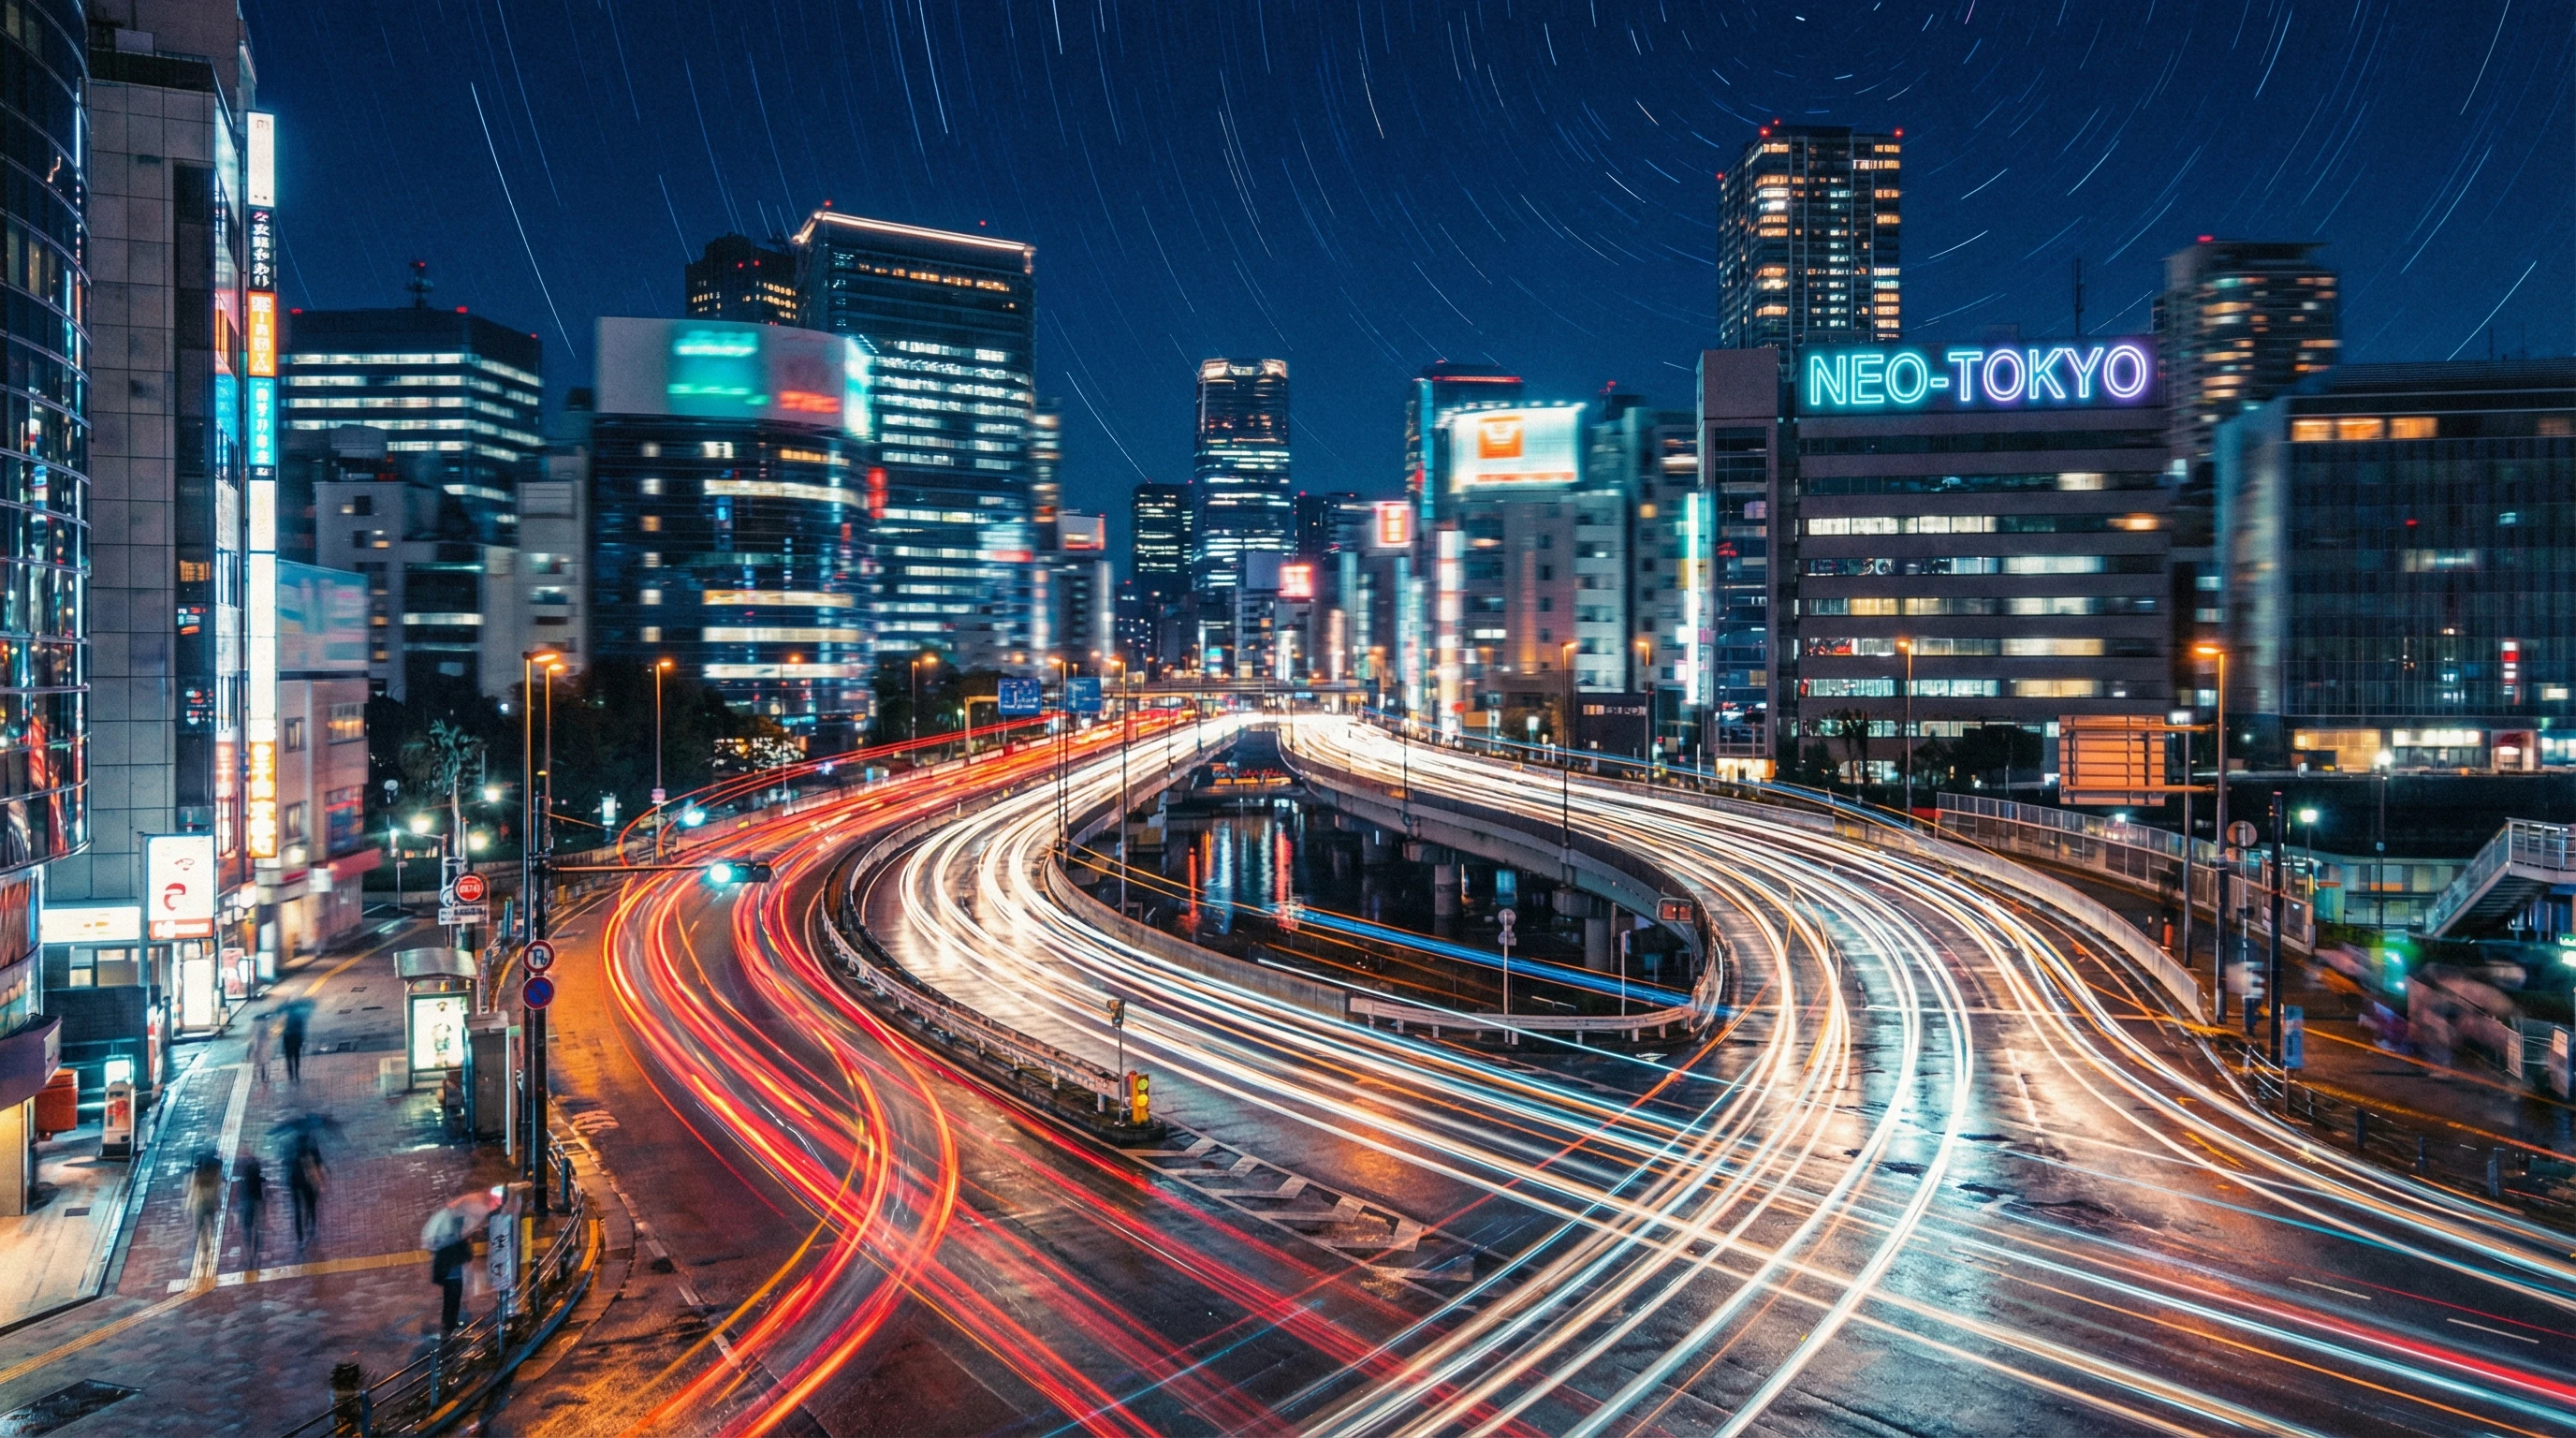
If you’ve ever seen photos of eye-catching streams of light across busy city streets or misty waterfalls that look like velvet, you’ve probably come across long exposure photography. This technique lets you capture time in a single image, whether that’s the swirl of taillights down a highway or stars racing over a landscape. It might sound a bit technical; however, with a bit of know-how and practice, anyone can get some really cool results. I’ll walk you through what you need, how to get started, and a bunch of practical tips to help you create your own light trail masterpieces.
What Is Long Exposure Photography?
Long exposure, sometimes called slow shutter photography, uses slower shutter speeds to show motion over time in a single frame. Instead of freezing everything in a crisp snapshot, this style of photo lets moving lights or objects paint streaks and patterns. It’s really popular for photographing moving traffic at night, star trails in the sky, smooth rivers, or even the movement of crowds. The central trick here is keeping the camera steady (usually with a tripod) while your shutter stays open for seconds, or even minutes.
Long exposure shots have been around for a long time. Even in the earliest days of film, photographers needed slow shutter times to let enough light hit the negative. Today, the principles are the same, but digital cameras and editing tools make experimenting with timing and color adjustment way easier. You don’t need to invest in fancy gear to get started, either; most DSLRs, mirrorless cameras, and even some smartphones offer manual control of the shutter speed.
Essential Gear for Long Exposure and Light Trails
Grabbing successful long exposure photographs relies on stable gear and a couple handy accessories. Here’s what I always keep in my kit when I head out chasing light trails:
- Camera With Manual Controls: Any camera that lets you control shutter speed will do. Most modern DSLRs and mirrorless cameras are perfect for this.
- Sturdy Tripod: The camera has to stay perfectly still during the exposure to avoid a blurry result. A solid tripod is pretty much a must.
- Remote Shutter or Timer: Pressing the shutter button can give you unwanted camera shake. Using a remote or just the inbuilt timer function solves this issue.
- ND Filter (Optional): If you want to take long exposures in daylight, a neutral density (ND) filter helps by blocking out some light so you can slow your shutter without overexposing your shot.
Most beginners start by shooting cityscapes or simple light trails at night, where you generally don’t need an ND filter. Once you’re comfortable, bringing in an ND filter for daylight shots or waterfalls gives you way more flexibility. If you really want to get creative, you can try using flashlights or even your phone’s light as impromptu brushes for writing or drawing in midair, adding another layer of fun experimentation to your sessions.
How to Set Up for Awesome Light Trail Photos
Getting those slick, streaky lights usually comes from photographing things like moving traffic, carnival rides, or people waving glow sticks. Here’s my typical light trails setup:
- Secure Your Camera: Mount your camera on the tripod, aiming at the area where you want to see motion or streaks of light.
- Dial in Your Settings: I usually start with manual mode. ISO goes low (100–200) to reduce grain, the aperture is set midway (f/8 to f/11) for sharpness, and the shutter speed is the creative part; start with a few seconds (like 5–20 seconds for nighttime car trails). Try different timings to see what works for your scene.
- Focus Carefully: Autofocus sometimes struggles in the dark. I like to focus early, then switch to manual focus so nothing shifts after I press the shutter.
- Use a Shutter Remote or Timer: Trigger your photo with a remote or timer to avoid any vibration. Even the tiniest shake shows up when shooting several seconds or longer.
- Review and Adjust: Check your shot on the screen. Too bright or dark? Adjust your exposure time, aperture, or ISO. Not enough trails? Let more cars or lights move through the scene before triggering again.
Experimenting is half the fun. Sometimes a 3-second shot is perfect, and sometimes you’ll want to let the shutter open for a full minute. City corners, highways, amusement parks, and rivers are my favorite playgrounds for this style. Plus, early morning and twilight can give your shots totally different moods—so don’t be afraid to try various times of day for your experiments. Shooting during blue hour or golden hour, for example, creates dynamic lighting that can really make your trails pop.
Common Challenges with Long Exposure and How to Handle Them
Getting the hang of long exposures means dealing with a few common issues. Here’s how I work around typical hurdles:
- Camera Shake: Even a light breeze or a shaky bridge can ruin a shot. Always use a sturdy tripod and, if possible, weigh it down with your camera bag. A remote shutter release comes in handy.
- Overexposure: Long exposures under city lights sometimes come out too bright. Lower your ISO, close down the aperture, or shorten exposure time. For daylight shots, using an ND filter is a game changer.
- Focusing in the Dark: Autofocus can struggle at night. Focusing on a nearby streetlight or using manual focus works better.
- Risk of Noise: Long exposures can bring out digital noise in your photo. Always shoot at the lowest sensible ISO and consider using your camera’s built-in long exposure noise reduction if available.
Even with a tripod, watch out for trip hazards in busy places and respect local rules about being on bridges or public walkways with your gear set up. If you’re visiting touristy areas or events, consider asking permission if you’re planning to be there for an extended period.
Quick Tips to Improve Your Long Exposure Shots
Once you’ve mastered the basics, adding a few tweaks helps take your images up a notch. Some tips I rely on include:
- Arrive Early: Set up your shot before night falls and scout your location while there’s still light.
- Stop Down Your Lens: Using a narrower aperture, like f/11, keeps light stars sharp and crisp.
- Play with White Balance: Some scenes look colder or warmer depending on your white balance setting. Try “daylight” or “tungsten” to switch up the color of your trails.
- Stack Multiple Shots: Taking several shorter exposures and blending them in Photoshop can offer more control over the final result than a single, very long exposure.
- Include Interesting Foregrounds: Composing with a statue, fence, or tree silhouette in frame gives your shot extra depth and atmosphere.
Don’t be afraid to break the “rules.” Sometimes bumping the ISO a little or throwing in an unusual foreground adds a creative twist you just can’t plan for in advance. Try using reflections from wet pavement for an added dramatic effect, or experiment with lens filters and color gels to add unique hues to your photos.
Real-World Ideas for Stunning Light Trails
There’s a huge range of subjects that look awesome with long exposures. These are my favorite ideas for getting those streaky, next-level cool photos:
- Highway Bridges: Photos shot from overpasses with cars zipping beneath create dramatic red and white trails that feel alive.
- Bustling Intersections: Set up at a busy city corner to catch overlapping lines of traffic from all directions.
- Amusement Parks: Ferris wheels, carousels, and spinning rides become swirling, glowing shapes with a long shutter.
- Fireworks and Sparklers: On holidays or special events, slow shutter speeds turn fireworks and hand held sparklers into wild shapes and frames.
- Bicycle and Boat Lights: In the right setting, even bike or boat lights can become hypnotic rivers of color; try positioning yourself near docks or bridges for best results.
- Pedestrian and Train Movement: Train stations and busy crosswalks capture pulsating bands of movement. Set up at a vantage point above, and you can highlight the rhythm of city life.
For nighttime shooting, check out apps like PhotoPills or Light Pollution Map to help plan where and when to shoot. These tools can be pretty handy for finding dark skies or checking sunset times. Also, consider exploring less crowded areas during off-hours to stumble upon new, interesting settings without too many interruptions.
Frequently Asked Questions
I get a lot of questions from people dipping their toes into long exposure. Here are the most common ones:
How slow should my shutter speed be?
Most light trails look good with 5–30 second exposures. The magic number depends on how fast the lights are moving and how bright the overall scene is. Play around with shorter or longer times to track down your favorite effect.
Can I do long exposure with my phone?
Many newer smartphones have a “Pro” or “Manual” mode that lets you set longer shutter speeds. There are also apps for iOS and Android that give you even more control. Just remember, you still need to keep the phone steady with a tripod or beanbag for the best results.
What if I don’t have a remote shutter?
Nearly every camera (and most phone camera apps) has a self-timer mode, which works in a pinch. Set it for two seconds, then let go so there’s no shake when the camera fires.
Why do my long exposure photos look blurry, not streaky?
If everything in the photo is blurry, it’s usually from camera shake. Make sure your tripod is steady and you’re not touching the camera during the shot. Only the moving parts (like car lights) should make trails; stationary things should stay sharp.
Do I always need an ND filter?
At night, you can almost always shoot fine without one. If you want to shoot in broad daylight and still stretch your shutter speed, that’s when an ND filter becomes super useful—especially for scenes like bright waterfalls or clouds drifting across the sky.
Why Long Exposure Photography Is Worth Trying
Long exposure isn’t just a fancy trick; it’s a really creative way to tell a story about movement, time, or the buzz of city life. For me, half the reward is seeing something with my own eyes that only shows up as a blur, then letting the camera turn that blur into something beautiful. There’s a lot of trial and error, but that’s part of the fun. Every time I tweak my settings or choose a new location, I learn something new, and my portfolio grows, too.
Next time you’re out at night or near moving water, bring your tripod and try a few long exposures. With patience and a bit of experimentation, you’ll start creating those mesmerizing photos that seem to capture magic in motion. Stick with it, and before long, you might even stumble upon a personal style or a unique take that sets your long exposure work apart from the rest.